The one drawback to dehydrating your garden vegetables and farmers market scores is that dehydrators need to run for many hours, and that means using electricity for many hours. Over time, this works out, and the fact that you’re not using constant freezer storage and electricity to keep your food saves a lot in the long run (along with other factors like shelf life, longevity, etc.).
According to Darcy at the Purposeful Pantry, the cost to dehydrate a product like blackberries to dry and shelf stable is about $2 US (obviously depending on electric rates, etc.). Using this as a base average, that’s not too bad.
That also depends on optimal appliance performance and efficiency. That, fortunately, is a matter within your control for the most part.
You just need to know how to make sure you’re using your dehydrator in the most efficient and energy-saving way.
That’s what we’ve got for you today:
Jump to:
- 10 Ways to Save Electricity and Money with Your Dehydrator
- 1. Fill the unit
- 2. Mix and match Loads
- 3. Dry products with like drying times together
- 4. Run at off-peak hours
- 5. Use the right tray accessories
- 6. If you have to run it partially loaded, space out the trays
- 7. Rotate trays during drying
- 8. Choose a good drying space
- 9. Choose to dehydrate on good drying days (when possible)
- 10. Don’t overload the appliance
- Money Saving Bonus Tips
- Package Soon After Cooling
- Final Thoughts
10 Ways to Save Electricity and Money with Your Dehydrator
Here are the top ten ways to make sure you’re not wasting electricity and money when you run your dehydrator:
1. Fill the unit

You know how your mother always told you never to run a half load of laundry or not to run the dishwasher until it was full? It’s the same for a dehydrator.
Your dehydrator will use the same amount of electricity for a half load as it will for a full load. So, load it up!
If you don’t have enough produce or product for a full load, there are some things you can do. Keep reading.
2. Mix and match Loads
Who says you have to dry all of the same types of things in your dehydrator to make that full load?
There are plenty of vegetables and fruits that you can mix and match to make up a load. Most vegetables, fruits, and berries with similar water content dry at the same temperature. For the most part, berries are all done in the same temperature range. The same is true for all vegetables. Meat and poultry dry at the same temperatures, too, and it’s the same way for herbs of all types.
The best temperature range for each of these categories varies, but the range within the types really does not (at least not enough to make a big enough difference so that you couldn’t mix and match types in the groups).
These are the general drying ranges for different types of food and produce:
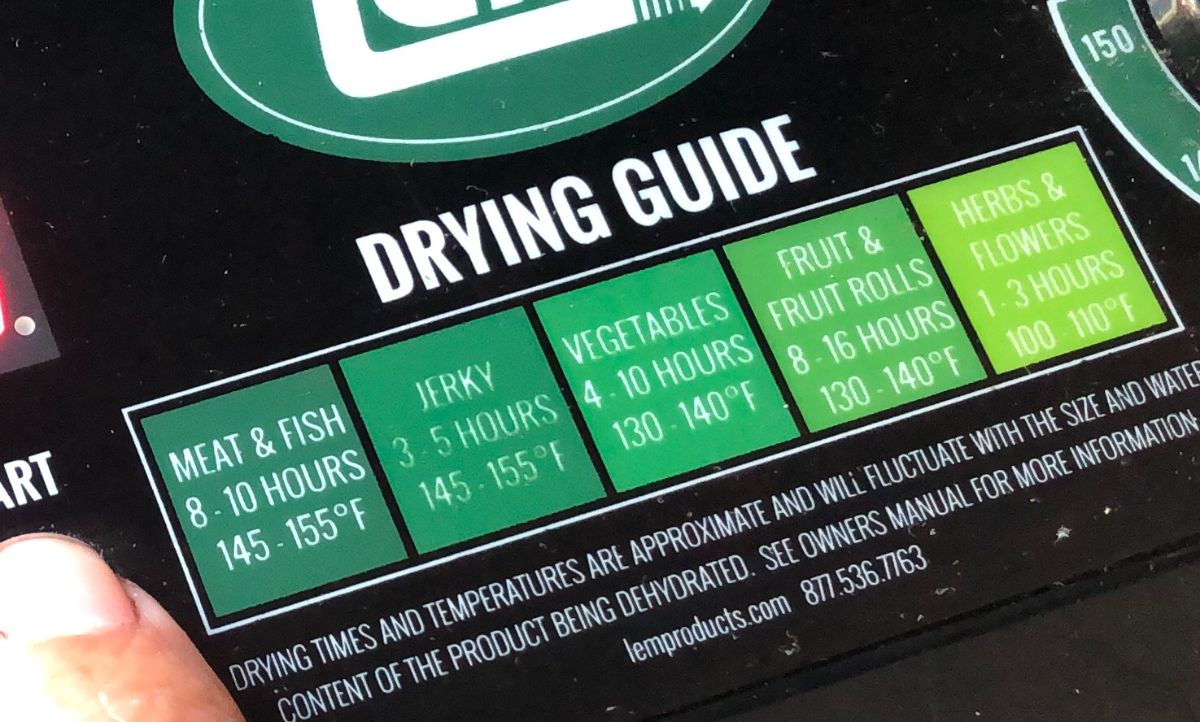
- Fruit and berries: 130 to 135 F (54 to 57 C)
- Vegetables: 125 to 130 F (51 to 54 C) (Don’t dry vegetables above this range so you don’t experience “case hardening” – when the outside dries faster than the inside. If you’re mixing vegetables with fruit or berries in the dehydrator, set the dehydrator for vegetable temperatures. The best temperature for vegetables to prevent case hardening is 125 F/51 C.)
- Herbs: 100 to 105 F (37 to 41C)
- Meat and poultry: 145 to 155 F (62 to 68 C)
Some of these drying ranges are close enough that you can meet in the middle and even mix and match between the groups. In fact, you can vary temperatures for a group within about 10 degrees (Fahrenheit) without changing the end product. Meat would be the one exception—you should stick with a more food-safe temp of 145 F/62 C or above for meat.
Some things may take longer to dry, but if you have to run the dehydrator that long for the other type of produce, you’re not creating any extra demand or energy use overall.
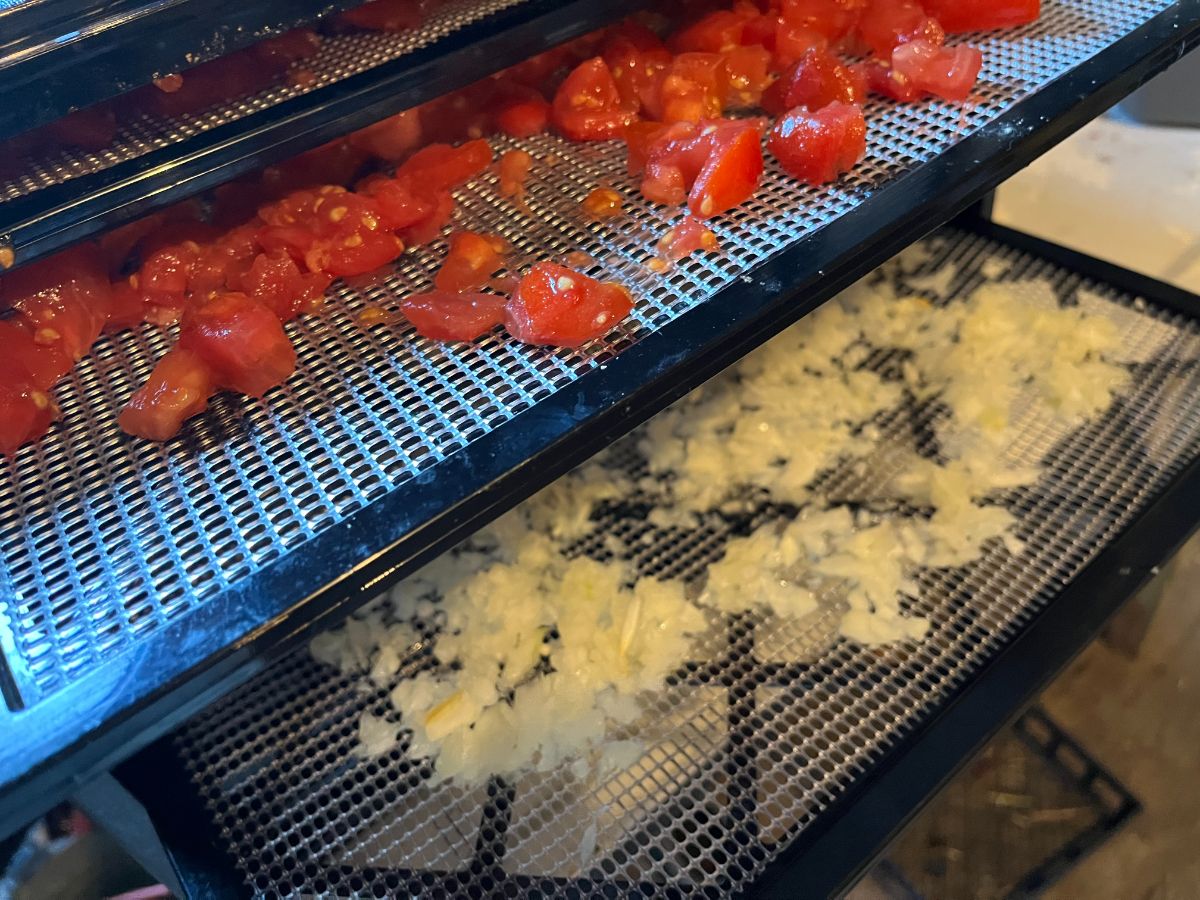
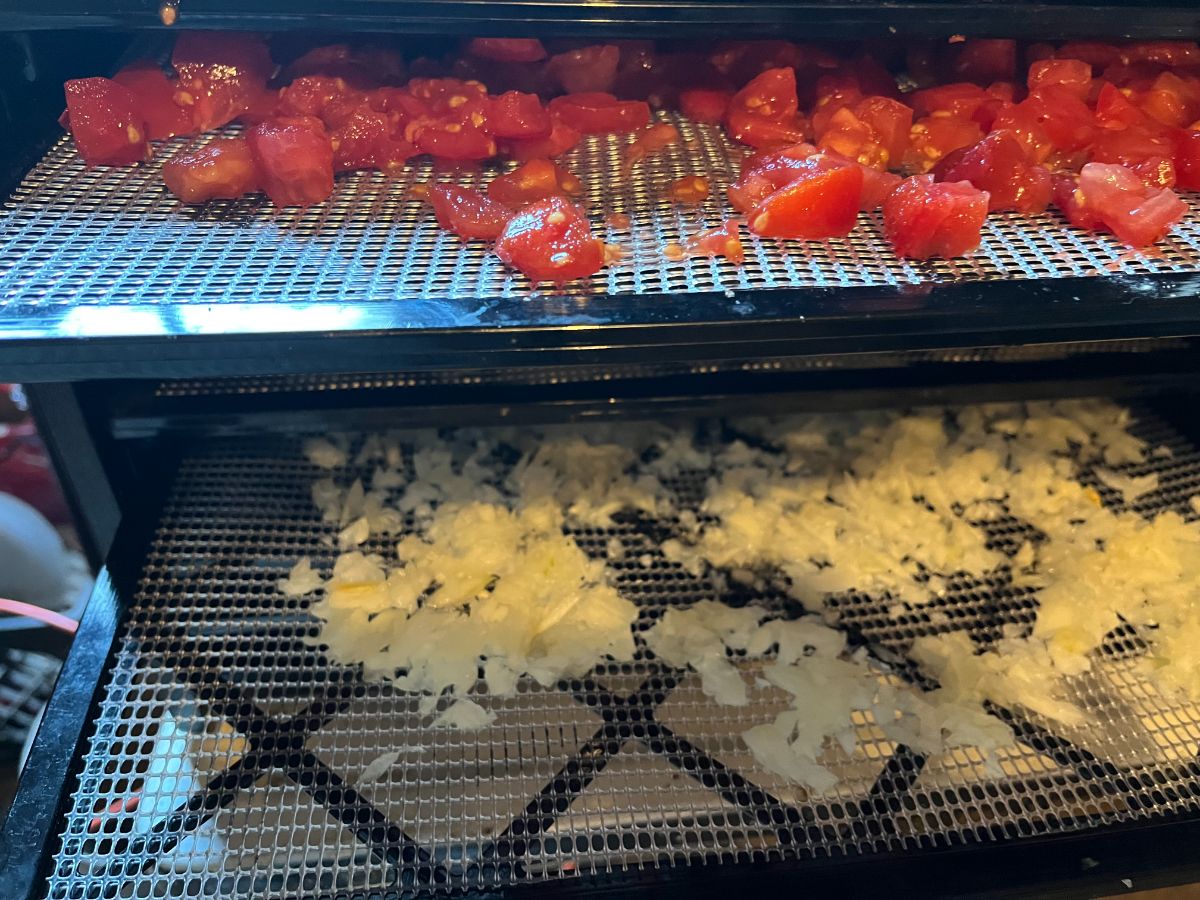
For example, you could dry tomatoes and onions perfectly fine in the same dehydrator (if you’re not afraid of the potential flavoring of the tomatoes from the onions); for this, a temperature of 130 F/54 C would work perfectly well. The onions will be done before the tomatoes, so remove them when they’re finished. When mixing and matching loads, always check the drier product for finishing before the “wetter” product. Remove the things that are dry.
Something you might want to consider when mixing and matching food types and produce is whether the products are likely to taint or flavor each other. For example, you might think twice about drying a strong flavor like onion or garlic at the same time as a milder flavored vegetable like summer squash or with drying garlic with sweet berries.
If you do mix and match different products to make up a load, put the juicier product on the bottom so it doesn’t drip on top of the drier produce, which could discolor or flavor what’s below it. For example, if you’re drying peaches and apples, put the peaches on the lower trays because they’re more likely to drip.
One thing you do not want to do is to dry meat and poultry with fresh produce. This is a safety issue, a quality and dehydrating issue, and an issue of cross-contamination. Keep meat with meat.
3. Dry products with like drying times together
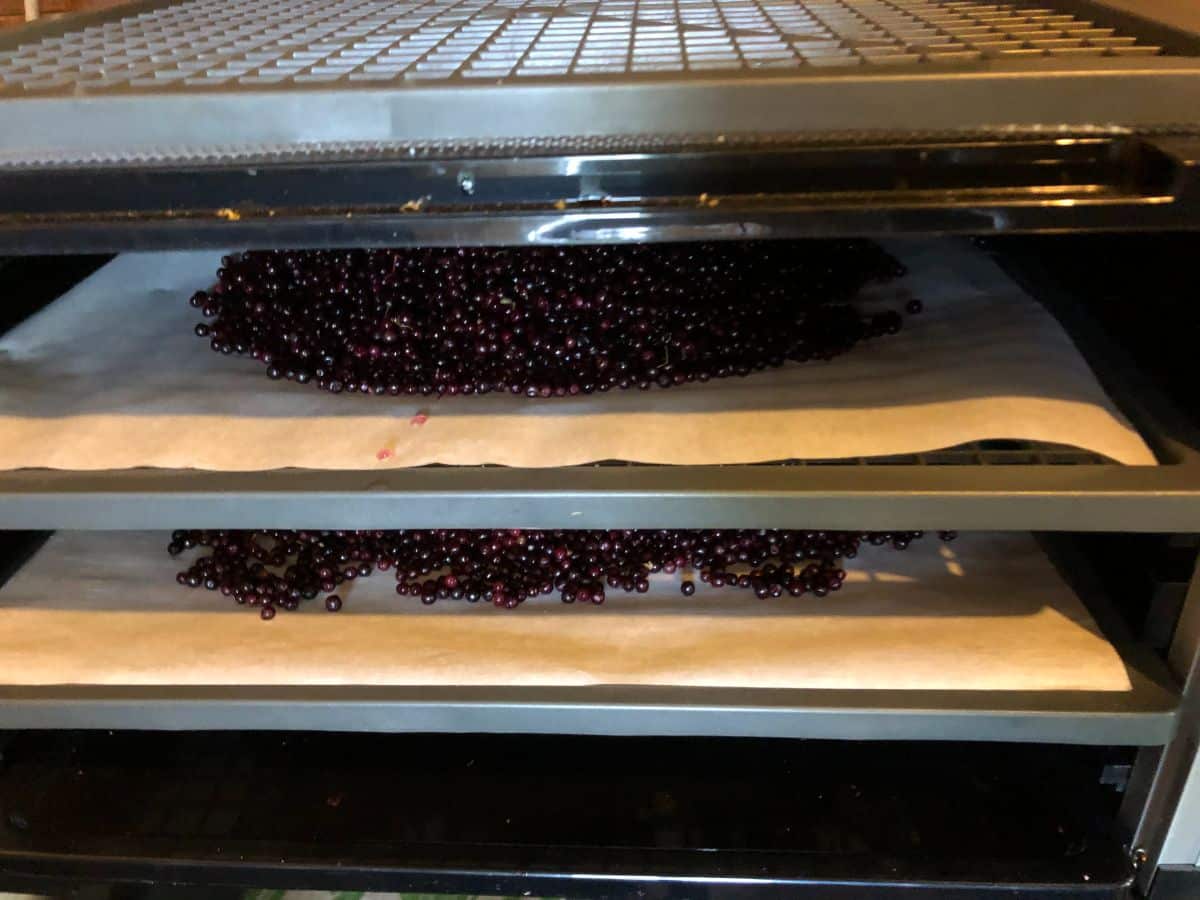
Matching up products by expected drying time saves you time, hassle, and electricity. You won’t need to watch loads, check the drier versus wetter produce, or set multiple timers.
Again, working within groups and categories is your friend and makes good, efficient, full use of your dehydrator. Choosing the things that have the same drying temps and times increases that.
Raspberries and blackberries, for example, are practically the same thing when it comes to dehydrating them. This is an even more efficient match than a mix-and-match load of different types and categories.
4. Run at off-peak hours
Did you know that you’re not always paying the same rate for the electricity you use? That you pay more or less at different times of the day?
It’s true! Many electricity suppliers charge more per kilowatt hour when demand is high—when people are up and active and using more electricity. This is usually during the day, but it can also be related to periods of high demand, like when everyone is running their air conditioners during a summer heat wave.
For the most part, the times when people are up and active are the higher demand and thus the more expensive times of day to use electricity. Costs can be double or more during peak usage.
The cheapest time of day to use electricity is typically at night. By prepping during the day and turning on your dehydrator when you go to bed, then letting it run during the overnight and morning hours, you can save a lot of money and make dehydrating your food even cheaper.
Know that different times of year, different locations, and customer demands dictate peak and off-peak use and rates, so it’s smartest to check with your supplier to find out when the cheapest time to use electricity for your dehydrator is.
5. Use the right tray accessories
Maximum airflow is the most efficient way to run your dehydrator. That results in the fastest and best level of dehydration (drying) in the shortest amount of time while preserving the highest quality—including color, essential oils, and flavor. But there are some recipes and products that require you to sort of block some of that airflow.
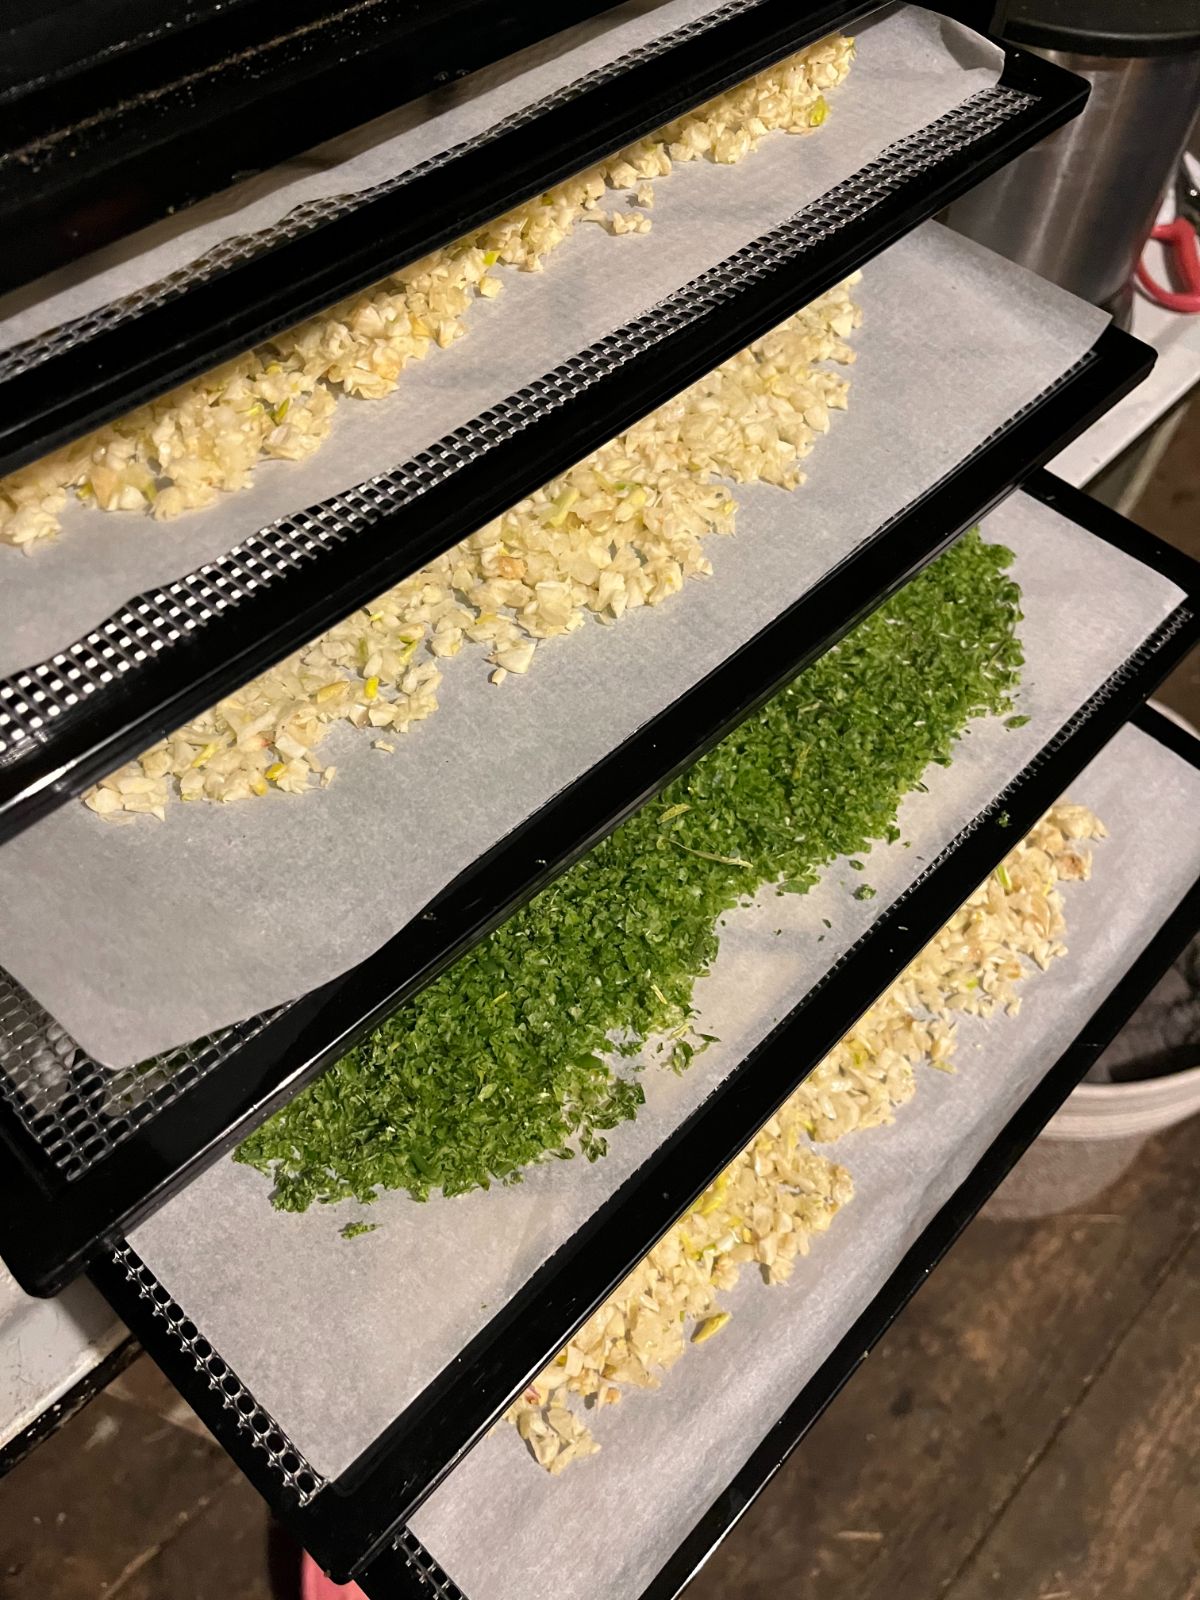
When you are drying very small things (like tiny flower blossoms such as elderflower or small-leafed herbs like thyme) or liquid products (like fruit purees for fruit leathers), you need to block some airflow to prevent spills and sifting. For things like this, you’ll need accessories like fine mesh screens, parchment paper, cheesecloth, or silicone tray liners.
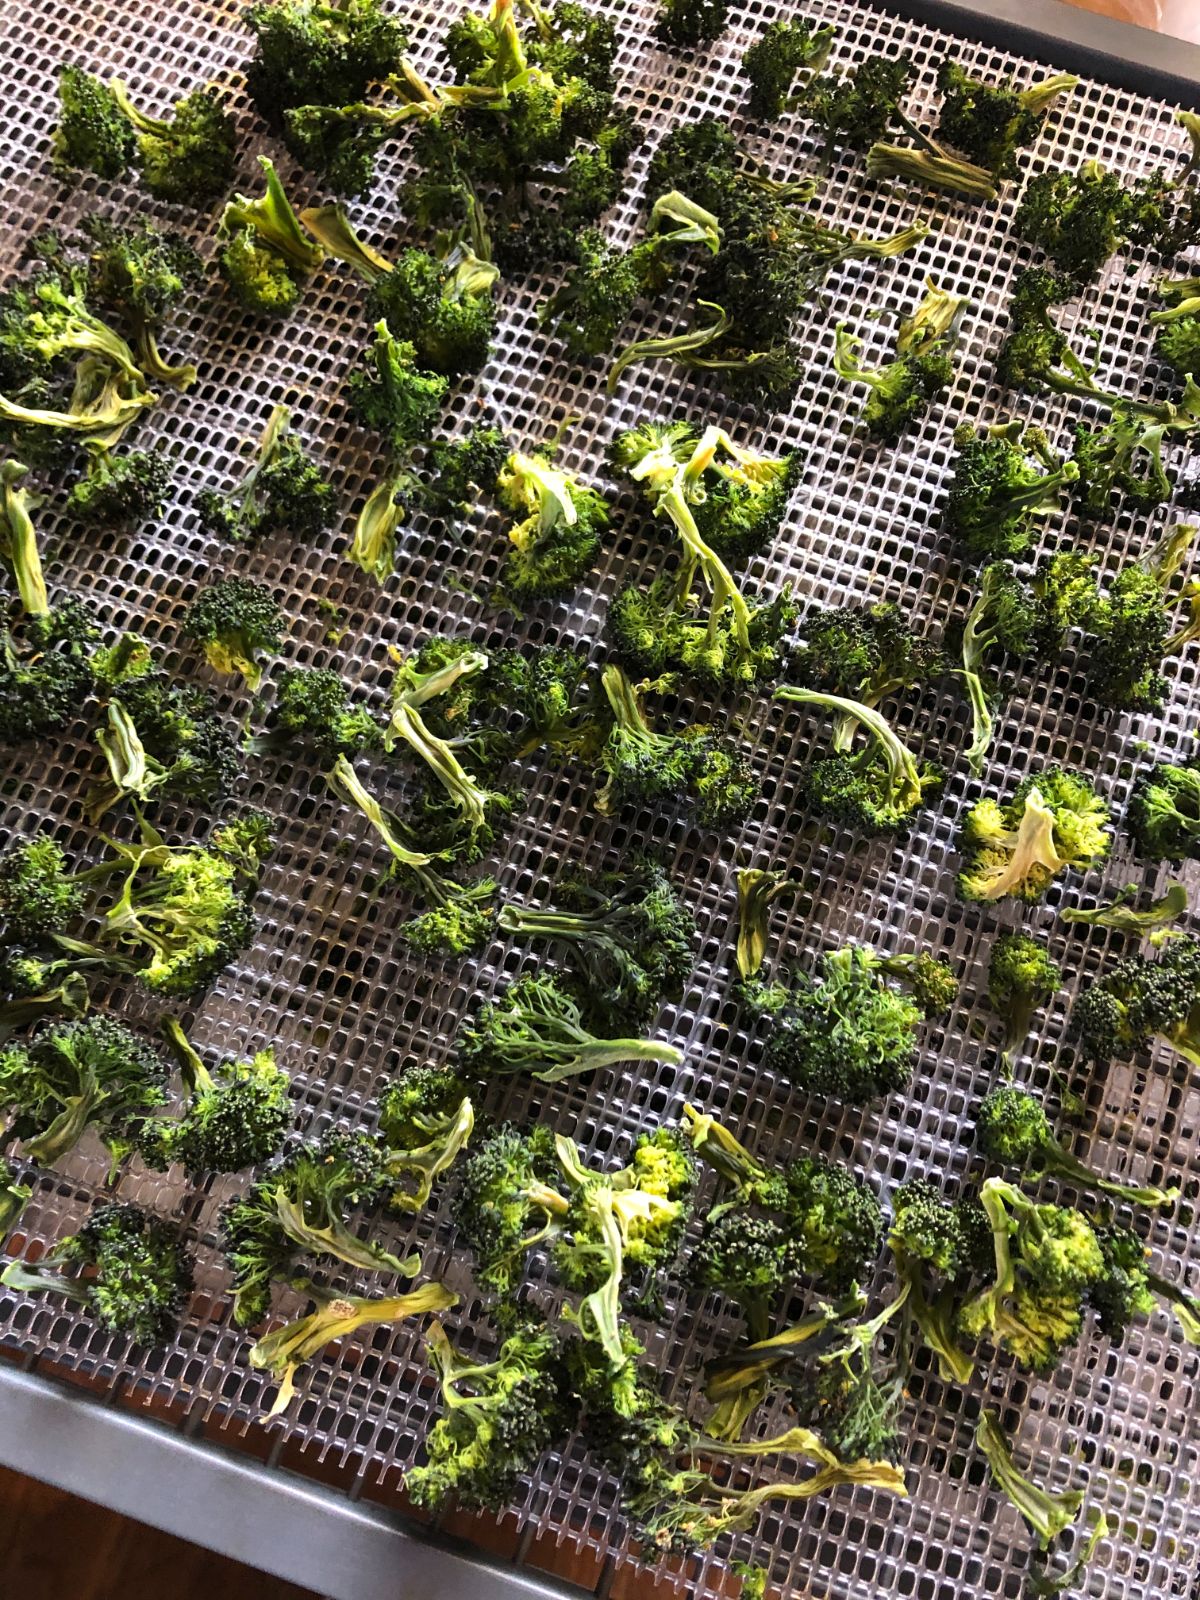
When you don’t need to use this type of accessory, don’t. Using a solid tray liner for larger diced products just because it’s handy will only block air circulation and extend the drying time—possibly by a lot. Match the right tray liners and accessories to the right product so every product gets the best airflow it can have.
6. If you have to run it partially loaded, space out the trays
If you really don’t have enough similar products to make up a full dehydrator load, then space out the loaded trays.
Most dehydrators don’t leave a lot of room between the racks. If you’re drying a partial or half load, you can double the airflow by taking out the extra racks and setting the filled racks on every other set of rails.
You may also need to do this if the item you are drying is taller or thicker than the space between the trays when the trays are inserted. If you have to cram loaded trays in, you should consider whether drying time will be reduced by increasing the airflow and only using every other tray. This may not be the ideal, but if the alternative is a mass of wet produce that is touching and won’t let air by, it is probably the right decision.
7. Rotate trays during drying
Dehydrators have warmer and cooler spots and areas that are closer to the fan than others. There are certainly dehydrators that achieve more even drying all around, but this is still true of even the best of them.
The simple way to moderate drying and keep it even is to rotate the trays as the drying progresses. After a few hours, turn the trays from front to back. You may also rotate the trays top to bottom (rearranging the trays in the rails and giving them an entirely new position in the dehydrator).
This helps to make sure one side or area doesn’t become over-dry while another is under-done, but it also regulates the drying process and keeps things moving along, resulting in shorter overall dehydrating times and less energy use.
8. Choose a good drying space
Picking the right spot in your home (or outside at your home, depending), can shorten drying time.
You don’t want to run your dehydrator in an area that has higher humidity. That makes the dehydrator fight the ambient air and spend extra time drying out the air before it can dry your produce or product. This can make it take a lot longer than expected for food to dry.
Your kitchen may seem like the most logical place to run your dehydrator, but it often is not. In the kitchen, we run a lot of hot water for cleaning, dishes, and dishwashers. We boil and steam food. We cook and send evaporating moisture into the air. In short, we make the room more humid. Exactly the opposite of the best conditions for dehydrating.
A warmer room with dry air—or at least the driest air you can find—is the best place to run a dehydrator. Sometimes, dehydrating outside on a covered porch or in a breezeway works well, but keep in mind that if the weather is humid, inside, where the air might be drier, is better.
9. Choose to dehydrate on good drying days (when possible)

We don’t always have the luxury of choosing the day when we can dehydrate because harvest time and ripe vegetables or fruits need to be preserved as soon as possible. This gives us the best nutrient retention, flavor, and quality.
But if you do have a choice, choose a day when the air conditions are favorable. For example—the day when it’s not raining and not 100% humidity. A day with lower humidity and drier air to begin that won’t make your dehydrator fight so hard to remove that moisture from your air and your food.
Likewise, if there is a part of the day that will be less humid, choose that time of day to run your dehydrator. This is usually later in the day and overnight into the morning hours. Fortunately, this tends to line up with the times of day when electricity is on off-peak hours, and therefore cheaper to use and “buy”.
10. Don’t overload the appliance
Overloading blocks airflow, too. Don’t make the mistake of thinking that just because you can cram it all in and it will shrink eventually, that you can pile up or create what are essentially solid blocks of food in your dehydrator.
Pieces of food should be spread out. There should be room between the top of one tray and the bottom of the next. Your dehydrator fan needs to be able to blow air above, under, and around your food.
The number one reason not to pile up and overlap food is safe drying—you need the centers to dry as thoroughly as the outside. Number two is good circulation and efficient operation to shorten the drying time, saving electricity and saving money.
Money Saving Bonus Tips
That completes our top ten, but before we go, here are a few more tips:
Bonus Tip #1: Don’t Compound an Energy Problem
Don’t compound your overall electricity use when you are using a dehydrator at the same time as other appliances or heating or cooling units. Don’t make these units work harder to do their jobs.
You can do this by not running your dehydrator where or when it’s competing with other energy-consuming appliances...like an air conditioner that is running on a thermostat to cool a room but working harder and using more electricity to do it because you have a dehydrator that is pumping 135-degree heat into the air to dry your food.
On the other hand, you may be able to capitalize on that exhaust if you can turn down a thermostat or heater in the room because your dehydrator is throwing extra heat.
Bonus Tip #2: Consider a More Efficient (Higher Wattage) Dehydrator
A higher-wattage dehydrator may cost you more when you buy it, but it can pay for itself over the years of use. It will run less than a low-watt unit, dry faster, and so should also last longer over time. A unit that doesn’t run as much or as long won’t spend as much time in use, so it won’t wear out as fast.
Higher-watt dehydrators end up using less energy and less electricity, resulting in a lower bill, too.
Package Soon After Cooling

Yes, this is a way to save on electricity. How? Because it prevents you from having to restart your dehydrator if your dried products are left in your machine for too long.
Things that have been dehydrated will still absorb moisture from the air after they’re finished. They’ll continue to do this as long as they are open to the air and the moisture that’s in it.
You do need to let dried products cool to room temperature before they are packaged (thoroughly and completely with no hot spots). Once drying is done and they are cool, put them into an air-tight container for conditioning and long-term storage.
If your dehydrator finished overnight and your product sucked in some of that moisture, run it for an hour again to get the extra air back out. Then cool and package. If it seems cool, dry, and fine, go ahead and package it.
Final Thoughts
A few final thoughts before we go:
- A good dehydrating reference is worth its weight in safe, quality food products. Get you one. Get a good book and follow it for the best drying temperatures and times. Keep it on hand for ready referencing.
- Everything has its sweet spot of best quality and ideal temperature range. Don’t go more than 10 degrees (in Fahrenheit) outside that range. If you do, you will either extend the drying time unnecessarily and for a much longer time, or you will cook your product instead of drying it. Cooked is not the goal.
- Also, be sure to check your products part way through. Check them at the halfway point and then every 2 hours after that. As time gets closer, check a little sooner (like every hour). When you run your dehydrator at the right temperature and you keep a good eye on things every now and again, it’s hard to over-dry most produce. The exceptions are fruit leathers and jerkies, which can be taken too far.
- It’s important to know that drying “recipes” and instructions are really only guidelines. Fresh produce will come in a range of moisture and ripeness. The thickness of prepped produce and other factors can lengthen or shorten drying times. Don’t treat dried foods like baked goods. Know that they have a range of time. Pay attention and stop dehydrating when you feel the product is done right.
Doing the job right is the way to maximum efficiency. Maximum efficiency is the best way to reduce and limit electricity consumption and to make your dehydration the least expensive it can be.






Leave a Reply