It's fall. the days are getting shorter, while the shadows get a little longer. In the rose garden, things are going to be slowing down. Even in late fall, roses are going to keep on blooming, partying out until the freezing weather shuts everything down for winter.

But there’s always plenty to do in the garden! Especially if it’s a rose garden!
Jump to:
- The Best Method for Rose Care
- What to Do Before The First Hard Freeze
- Keep Watering Your Roses
- Eliminate Pesky Weeds with Newspaper Mulch
- Planting Bare Root and Container Roses
- Get Rid of Puny Roses
- Pruning and Snipping
- Clean Up Blackspot and Other Diseases
- Have a Soil Test Done on Your Garden
- Preparing a New Rose Bed for Next Year?
- Mulch and Mulch Prep
- Get Your Mulch Ready Ahead of Time
- Potted Roses
- What to Do After the First Hard Freeze
- Tuck Your Roses in for a Long Winter’s Nap
- Rodents and Mulch
- Take Extreme Measures for Tender Roses in Extreme Conditions
- …Or Take Less Extreme Measures for Tender Roses in Extreme Conditions
- Dormant Sprays for Overwintering Diseases
- Clean Up Your Spraying Equipment
The Best Method for Rose Care
I’m going to list a lot of chores here; but don’t be daunted by the length of this to-do list. Some of these fall rose garden chores work better for different climates or different garden setups.
The best method for rose care? It’s the one that causes the least headache for you and the most benefits for your roses. Remember that now.
So without further ado, here is a big task list for fall in the rose garden.
What to Do Before The First Hard Freeze
Keep Watering Your Roses
Enjoy the last roses of the season since, obviously, we won't be getting many more. If you want to bring some roses blossoms into the house and enjoy them, this is a good time to do it before they’re gone.

In the meanwhile, stick to your watering schedule, especially if the weather is dry. Pretty soon, they’ll be going dormant, but a rose that’s been watered well will have an easier time surviving the winter. The winter wind can pull a lot of water out of a rose, even when it’s dormant.
Eliminate Pesky Weeds with Newspaper Mulch
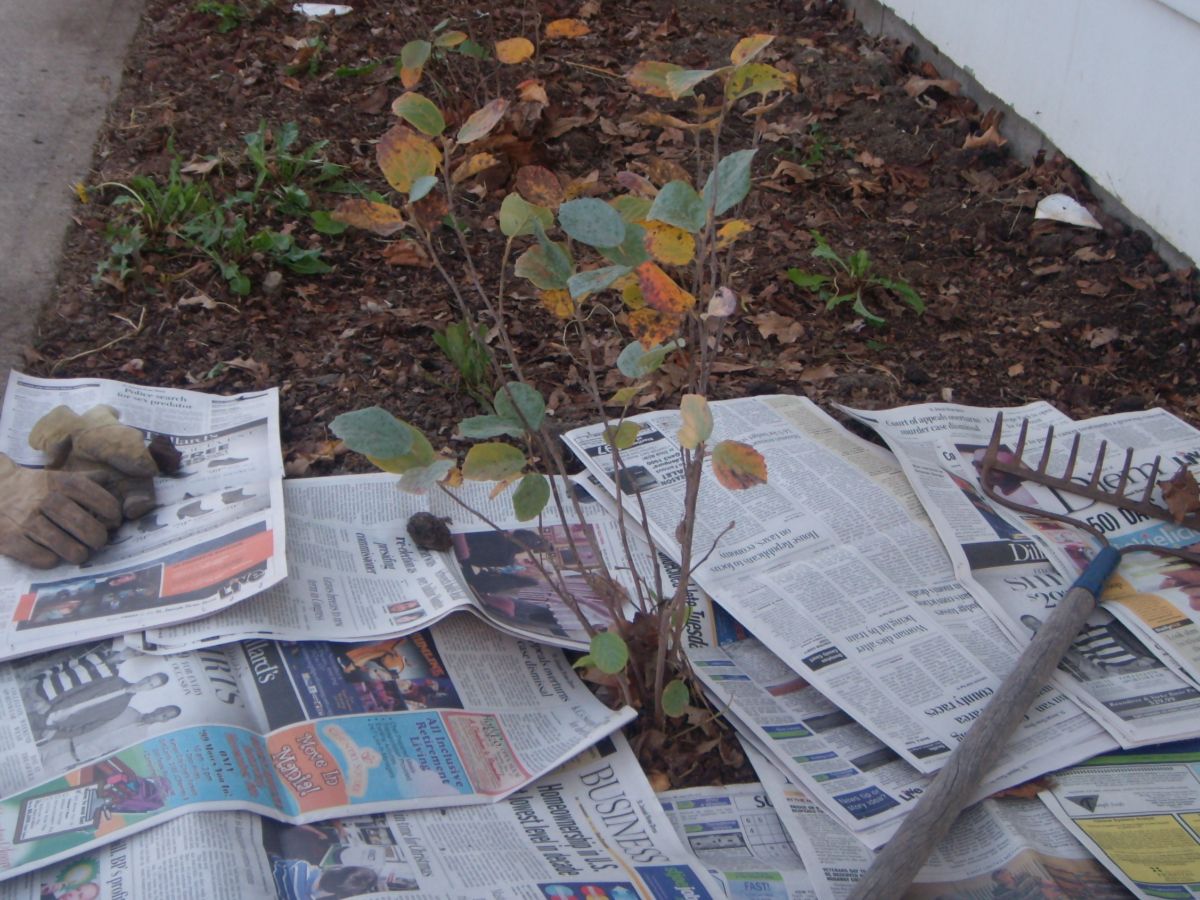
If you have weeds that you’ve been fighting with all year and they just won’t go away, cover them with a newspaper or cardboard mulch.
Basically, you stomp down the weeds, lay some sheets of cardboard over them, then cover everything with mulch. No more weeds. You don't even have to pull up the weeds to do this. I love it.
Planting Bare Root and Container Roses

Fall is a great time to plant roses. Though the selection is limited, roses are generally on sale this time of year. Also, planting roses in late fall allows them to get established before next summer rolls around. Their roots will be growing in the ground, safe from winter’s cold.
Bare root roses are available from November to March. These can be planted any time when the ground is not frozen.
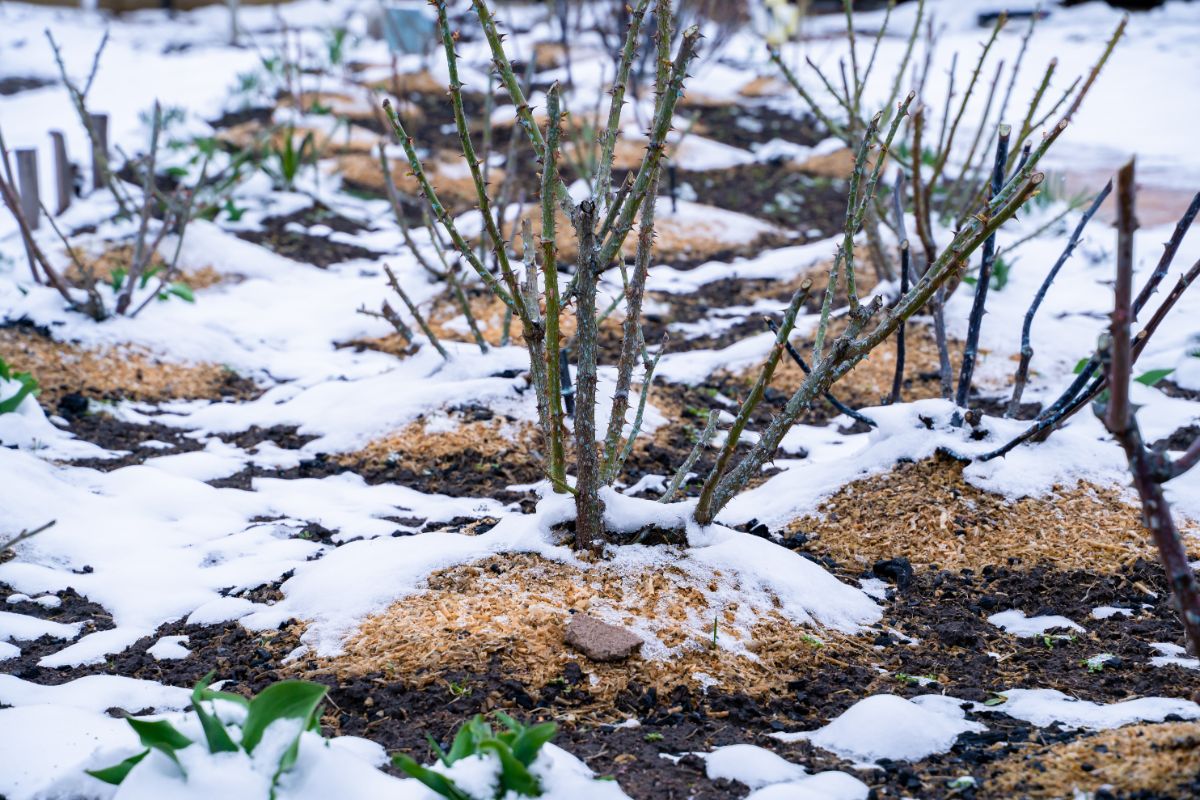
Whether they’re bare-root or container roses, lay a thick layer of mulch around them (and over the middle of the bare-root roses). When the ground freezes, cover them up with another layer of mulch to help them survive the winter and keep them from drying out.
When spring hits, these fall-planted roses will pick right up and start growing. Then you won’t have to dig in all that spring mud and slush.
Get Rid of Puny Roses
Dig up the roses that have not been doing very well and get rid of them, especially if you’ve been spending a lot of time and effort trying to make a bush happy with no results. Sometimes a rose refuses to prosper. Better to spend that time and energy on a rose that will “bloom where it’s planted.”
Pruning and Snipping
In most cases, avoid cutting back your roses in the fall. That’s because your rose has worked hard all summer to save up energy in the form of carbohydrates to store in its canes. So when you're cutting the rose back in fall, you're essentially robbing them of the food they need to survive the winter.
(There will be some cases where a rose will need to be cut back … more on that later.)
However, if the rose has damaged or crossed stems, or dead branches, cut them off.
If you live in a windy area, tall roses will need to be cut back to keep them from rocking in the wind because their swaying can loosen the roots in the soil and damage them. Tie the canes together as well.
Clean Up Blackspot and Other Diseases

Snip diseased foliage off your roses. Rake up leaves around your roses and get them out of the garden. This will lower the recurrence of diseases like blackspot, powdery mildew, and rose rust next spring because diseases and insect pests can overwinter on these leaves.
An ounce of prevention is worth a pound of cure (now “a ton of cure” when adjusted for inflation).
Have a Soil Test Done on Your Garden
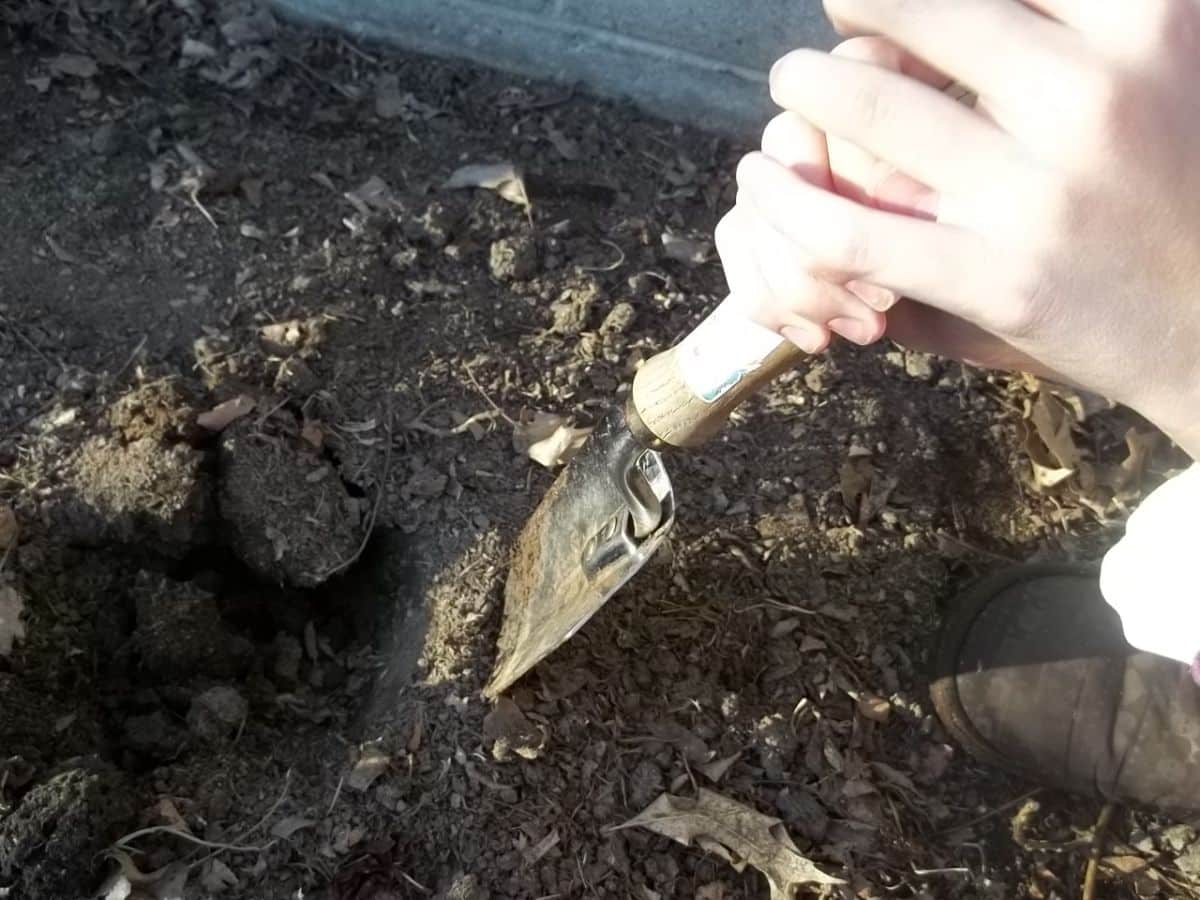
A soil test is a useful way to improve your garden. It’s not like you can look at the soil and say, “Whoa, gotta do something about that low potassium level.”
If you live in the United States, your local University Extension services will test your soil for a small fee.
Contact your local University Extension service (housed at your state university), get a box/bag from them, and follow their instructions to the letter for best results.
About six weeks after you send them your soil sample, you’ll get the results. This will tell you what minerals are in your soil and how much organic matter your soil has, along with suggestions about how to improve your soil.
Amend your soil over the winter according to the directions in your soil report, adding lime (to lower pH) or sulfur (to raise pH) and compost (to add organic matter to your soil).
Late fall is great for soil testing. In spring, lots of farmers will be sending in soil samples, and it takes longer to get results back. It’s better to skip all that.
Preparing a New Rose Bed for Next Year?
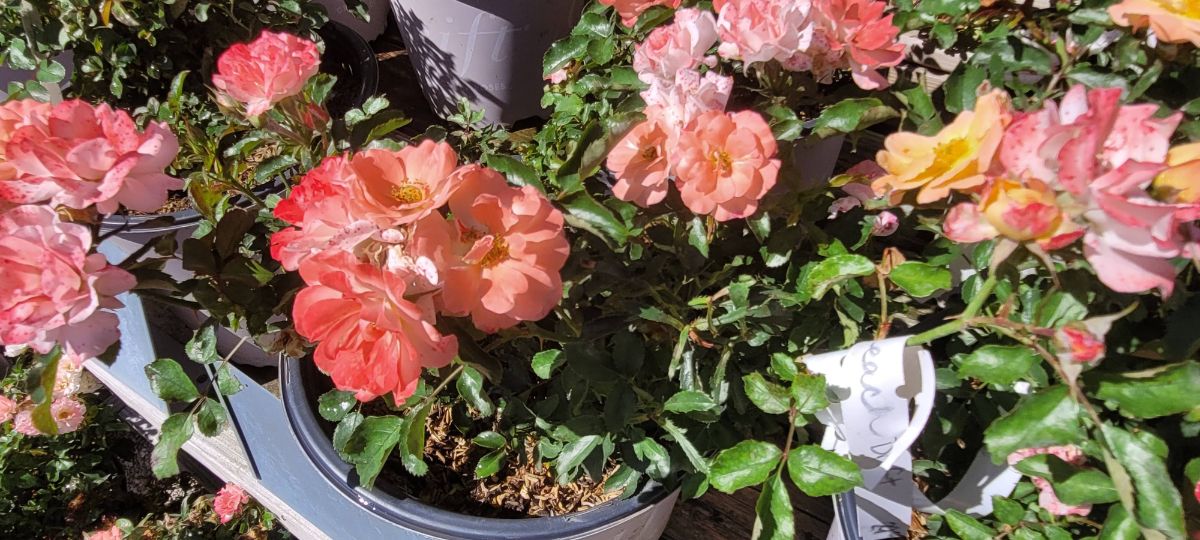
If you want to set up your new rose bed to be ready to go next spring, here’s a way to quickly prepare the soil.
Load up some manure from the local stables, as well as compost, leaves, grass clippings, and other organic materials. Spread them out on the place where you plan to have your garden bed next year, then till everything into the soil.
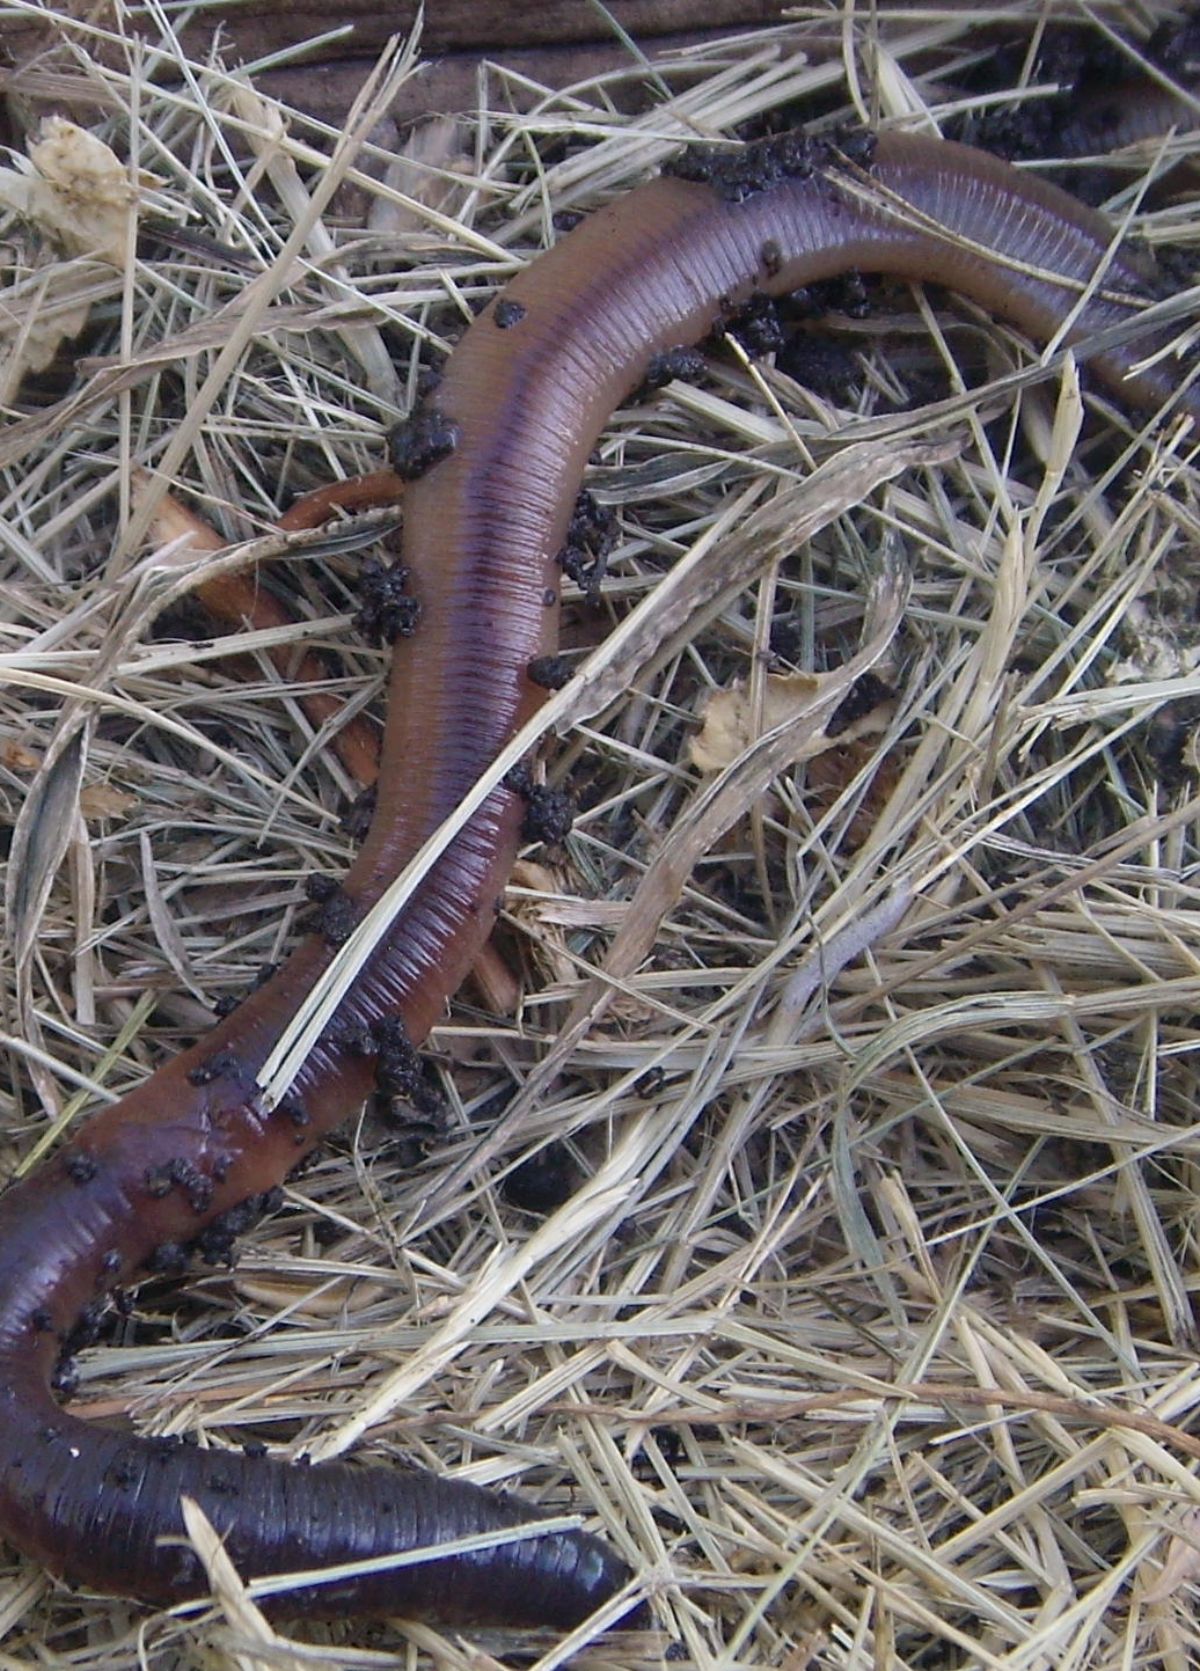
Don't worry about making the tilling area beautiful. Just focus on getting everything incorporated into the ground, even if it’s messy. Then cover it with the last layer of mulch and let it sit. The manure and other compostable materials will break down over the winter. In spring, when you peek under the mulch, you’ll see a lot of busy worms in the good black dirt you’ve made for your roses.
Mulch and Mulch Prep
If you do only a few things off this list, then cover your roses with a nice pile of mulch after the ground freezes. The roses will be all right.
Before the first frost, start collecting mulch for your roses. Grass clippings, wood chips, pine needles, and fallen leaves are all good mulches to cover the roses once the ground is frozen. Run the yard waste over with your lawn mower to chop it up.
Don’t completely cover your rosebushes until the ground is frozen. However, you can still spread the mulch to protect the bud union or the base of the rose as you're waiting for the freeze.
Get Your Mulch Ready Ahead of Time
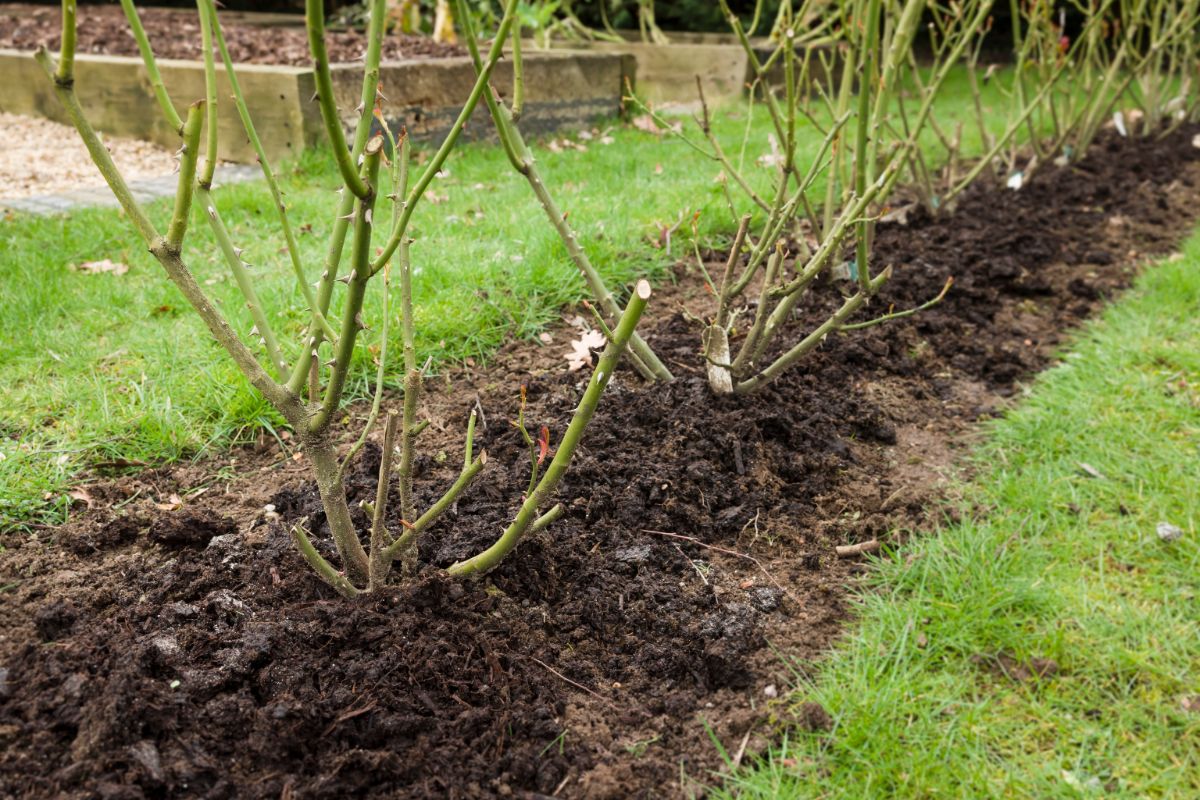
Don't rely on what happened last year, as far as hard freezes go. It will give you an idea of when, but with the climate getting more variable and unpredictable, everything is likely to be off from the norm. Have your mulch ready to cover up your roses when the freeze starts coming in, but wait to see when you need it.
What I've done is just pile up the mulch in the garden bed as I gather it. Then when it’s time to cover the roses, I can just push the mulch over the rose and save a lot of time and trouble.
Instead of throwing a bunch of mulch on all in one day, this method spreads out the work over a period of days or even weeks. It’s so much easier on the back and joints.
Piling mulch everywhere also gives the rest of the garden lots of mulch. In spring, the soil underneath is richer and filled with busy worms, and the roses love that.
Putting a rose garden to bed is simpler when you have only a few rose bushes. However, if you have a lot of rose bushes, it's a really good idea to have things ready ahead of time.
Potted Roses
If you have roses in pots, it's a good idea to bring them in before the first hard freeze. You can throw a light blanket over them for early frosts, but when the first bad freeze shows up in the forecast, haul the pot(s) into the garage or someplace where temperatures stay above 32 degrees.
Potted roses will need to be watered every other day. Hardy potted roses can stay outside in temperate areas in the south where the winters are milder – that is, if barely below freezing is the lowest you get.
What to Do After the First Hard Freeze
Tuck Your Roses in for a Long Winter’s Nap
Now it’s time to start covering the roses. Roses that need winter protection include hybrid teas, miniature, floribunda, multifloras, some climbing roses, and any newly planted roses.
Many shrub roses won’t need as much winter protection, though you should mulch the roots well.
But first, wait until you’ve had several consecutive days of 20-degree weather.
Hybrid tea roses can be pruned back to knee height, and other roses can also be pruned back. Or, if you prefer, trim them only a little, just enough to cut canes back a little. I prefer not cutting roses back but get rid of skinny canes, broken canes, and canes that cross each other; let everything else go.
However, old-fashioned roses that bloom once a year shouldn’t be pruned at this time – they have their blossoms for next spring all ready to go, deep in their buds. If you cut them back now, you’ll cut off their spring flowers. The same goes for climbing roses.
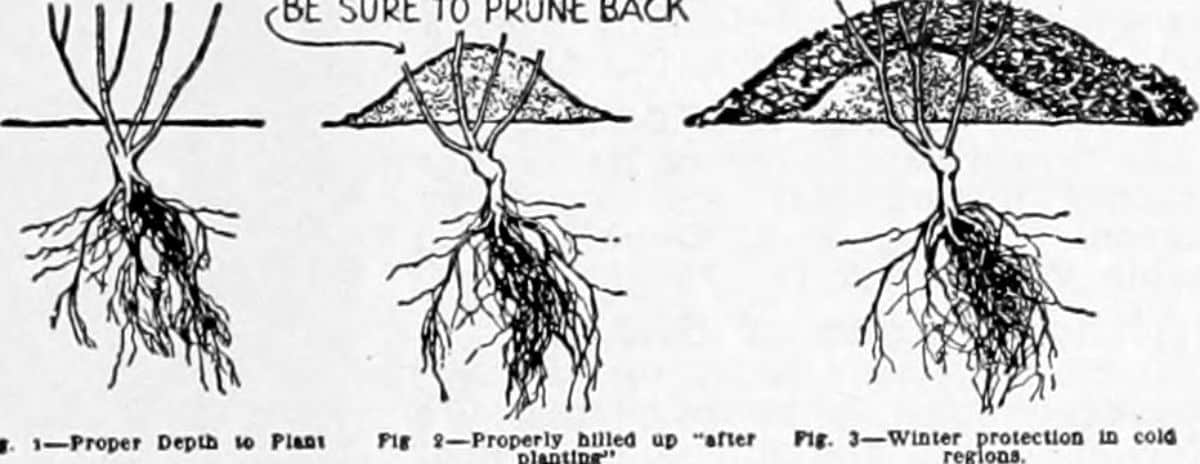
Once the roses are all pruned, then march out there with your Styrofoam cones or peat moss, wood chips, or compost and soil. Pile about 12 to 18 inches of the mulch of your choice over the base of the rose. You can also cage the roses with chicken wire and fill the cages with shredded leaves. Styrofoam cones, once they’re placed over the rose, should be weighed down by a rock or a brick or some other weight.
Rodents and Mulch

Mice and rodents will sometimes make a home in the mulch around your rose bush and to eat the nice soft bark on your rose canes.
If mice are a problem in your rose garden, you can bury presents for them deep in the mulch. In the form of … let’s call them “snacks.” Get them from the box with the skull and crossbones.
Take Extreme Measures for Tender Roses in Extreme Conditions
If you’re growing a bunch of hybrid teas way up north, you have a few options open to you.
The most popular method is the Minnesota Tip, which is where you water the rose very well for several days, prune them lightly, and wrap the canes together with twine – then carefully tip the rose over into a trench you’ve dug next to it and cover it with straw and soil.
Some cover their roses with styrofoam cones. To me, this is a hair-raising experience because of the awful screech that the styrofoam makes as it’s being pushed down over the canes. But they work pretty well.
Some build boxes around the roses to protect them from harsh winters.
I don’t have this level of dedication, but I salute those who do.
…Or Take Less Extreme Measures for Tender Roses in Extreme Conditions
Personally, I’ve always been aghast about the Minnesota Tip. If I attempted a maneuver like that, my roses would break in half immediately.
Not to mention that I couldn’t bury a rose in cold blood while it still had leaves on it and was still blooming!
One Minnesota rosarian always kept his rose garden covered with three inches of mulch. He would wait until after his roses stopped blooming, cut them down to 12-18 inches, and cover them with a pile of good compost. Then, after the ground froze, he’d put a large leaf bag, half-filled with leaves, over the roses and opened the bottom (now the top) of the bag so it wouldn’t heat up on sunny days.
This sounds like a huge improvement!
Dormant Sprays for Overwintering Diseases
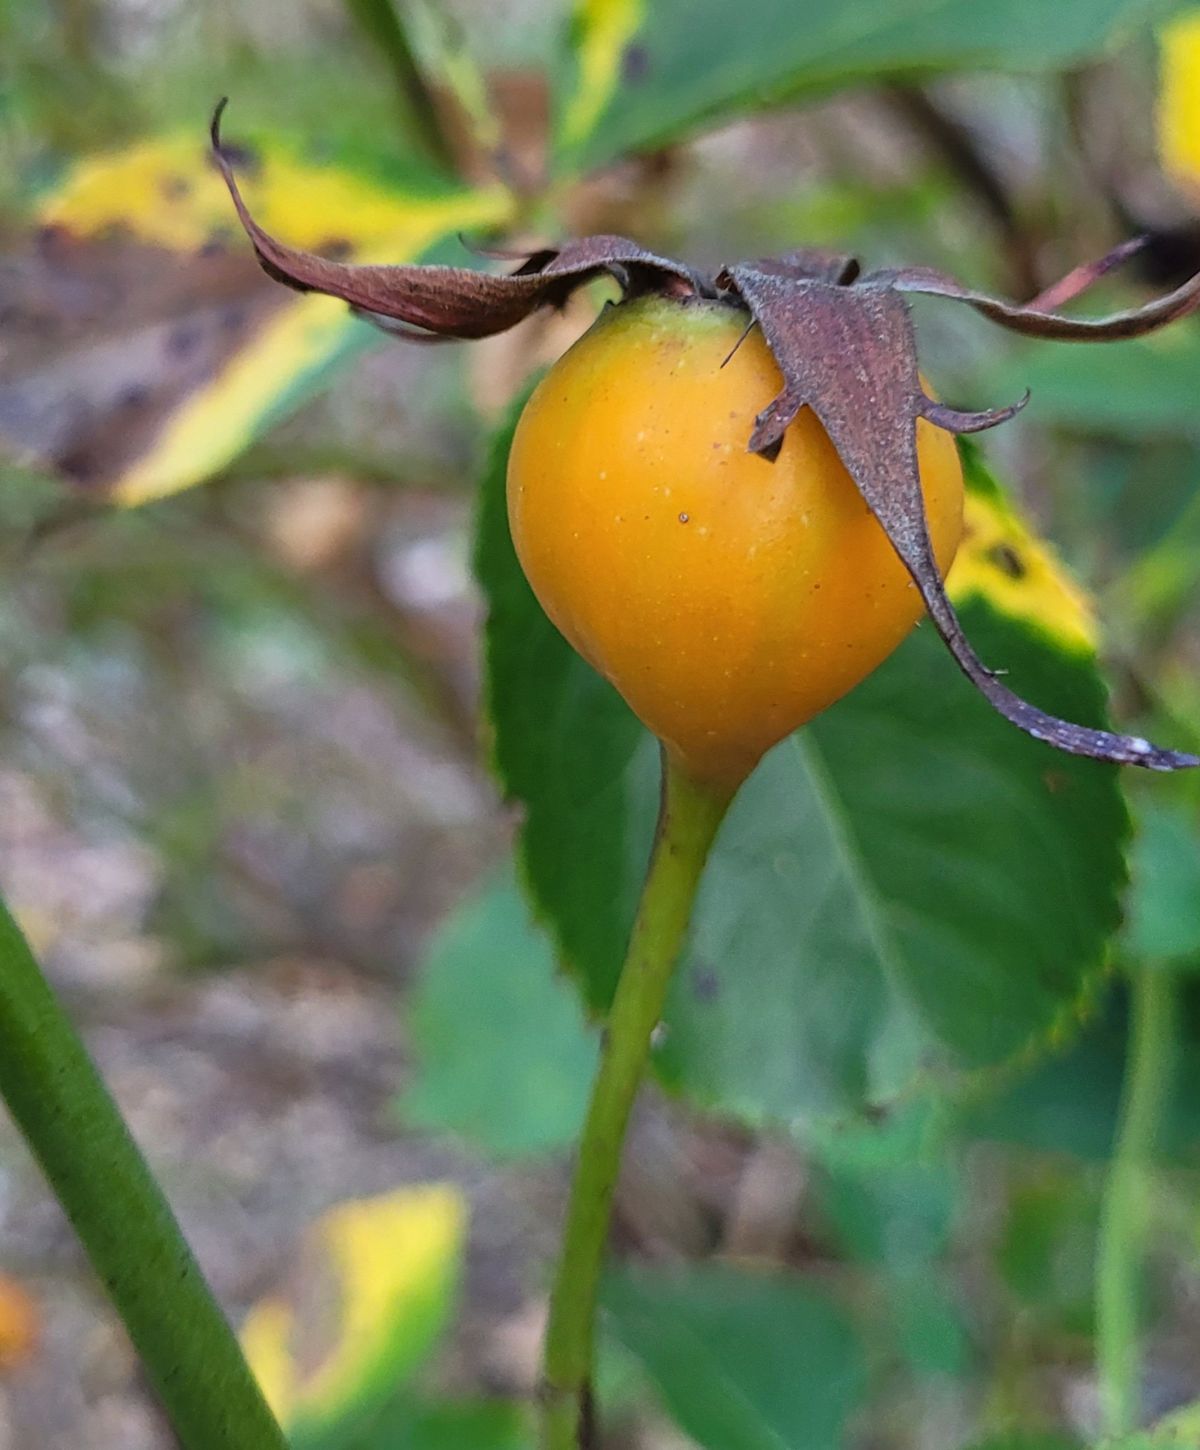
Once the rose stops growing and putting out new growth, spray roses with copper fungicide to keep blackspot and other diseases from overwintering on the canes and leaves. Apply copper fungicide twice, and spray it 14 days apart.
Clean Up Your Spraying Equipment
Wash out the sprayer. Take off your hoses and nozzles and wash them out. Clean up all the nozzle bits. Find all the filters in your sprayer and clean them. There’s usually a filter directly underneath the tank, one at the top of the hose, and one in the nozzle, and there might be a fourth hiding someplace.
Then reassemble your sprayer and put it in a place where it will not freeze over the winter.
That’s the rose checklist for fall! I hope this helps you get your roses ready for winter.





Leave a Reply