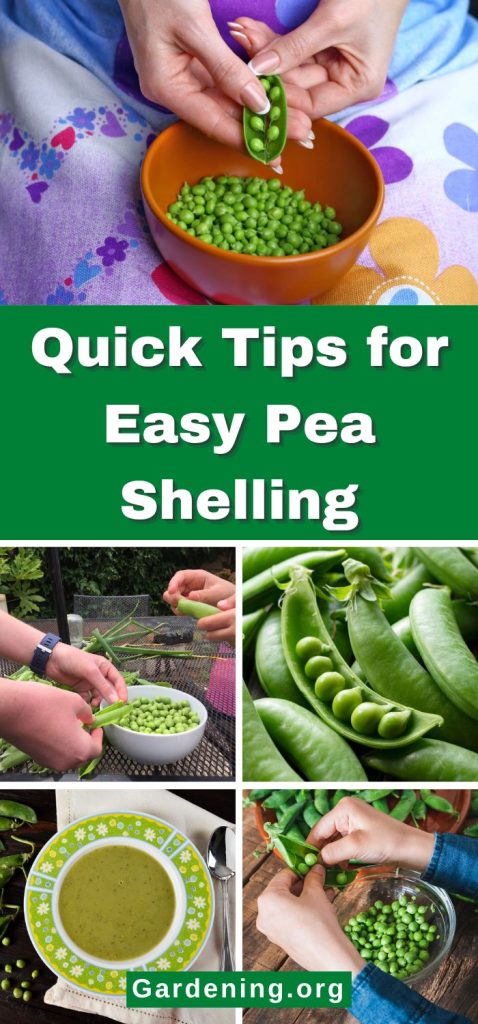
When pea plants are ready to harvest, they can be incredibly productive! But if you’ve managed to grow a large crop of peas, shelling them all can be a lot of work, and it can get messy too.
While you can pry pea pods apart with your fingers, this can take a while to do, and you can end up with a lot of pea pulp under your fingernails. For tidier and more efficient pea processing, check out our simple pea shelling tips below and shell baskets full of fresh peas in no time at all!
Jump to:
Know when to harvest peas
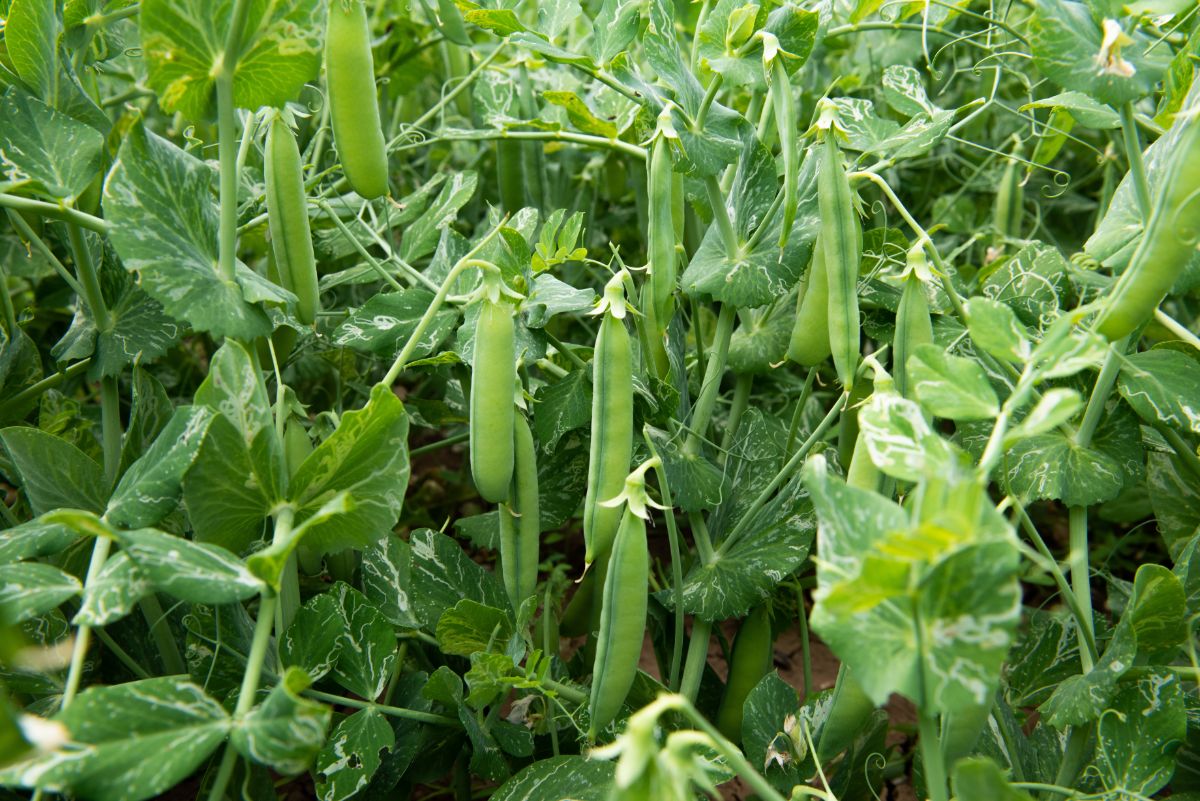
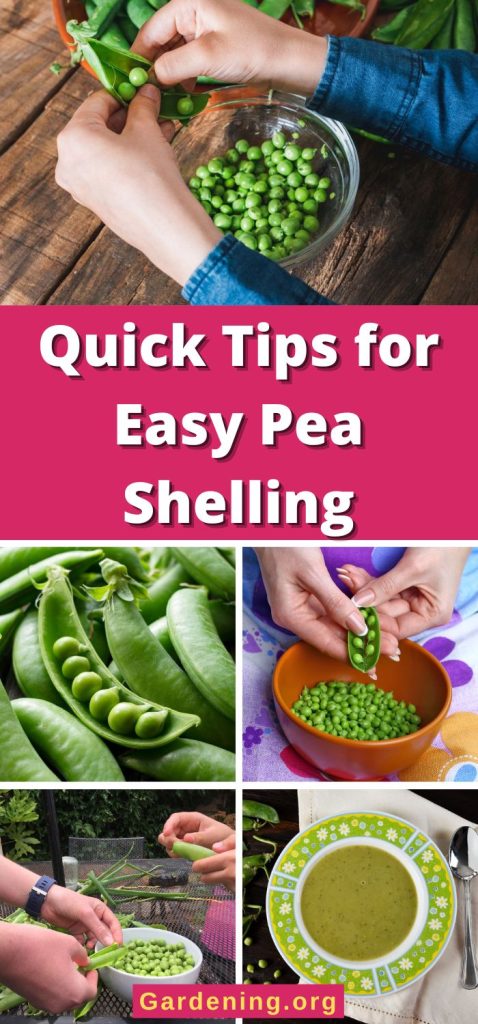
If you want to harvest the tastiest homegrown peas around, it’s important to know when to harvest your crop.
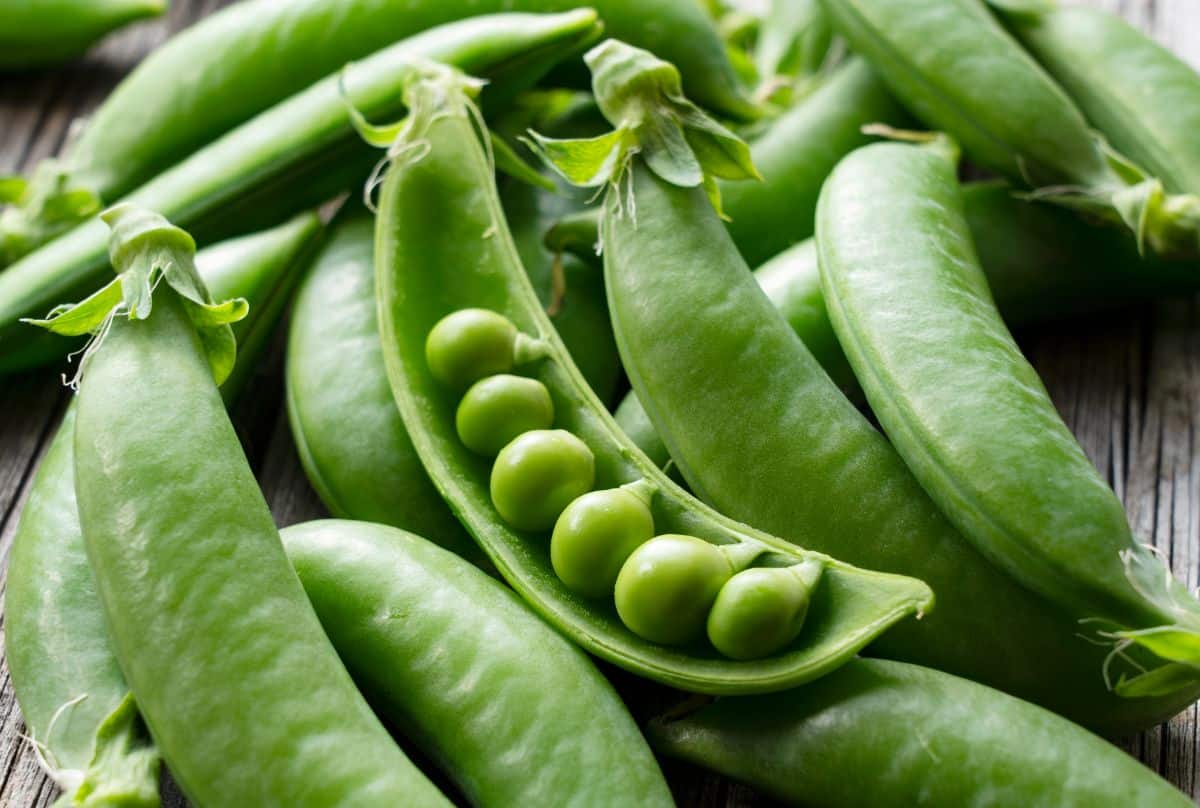
Shelling peas are usually harvested about 60 to 70 days after planting. Pods should be a bright green color, and they should look plump and filled out. Overly ripe peas may develop a waxy coating to their pods, and their pods may look lumpy or discolored, which is a clear sign they’ve been on the plant too long.
Picking peas when they are perfectly ripe will give you the best flavor. When peas are too old, they will lose a lot of their sweetness, and their pods will become fibrous.
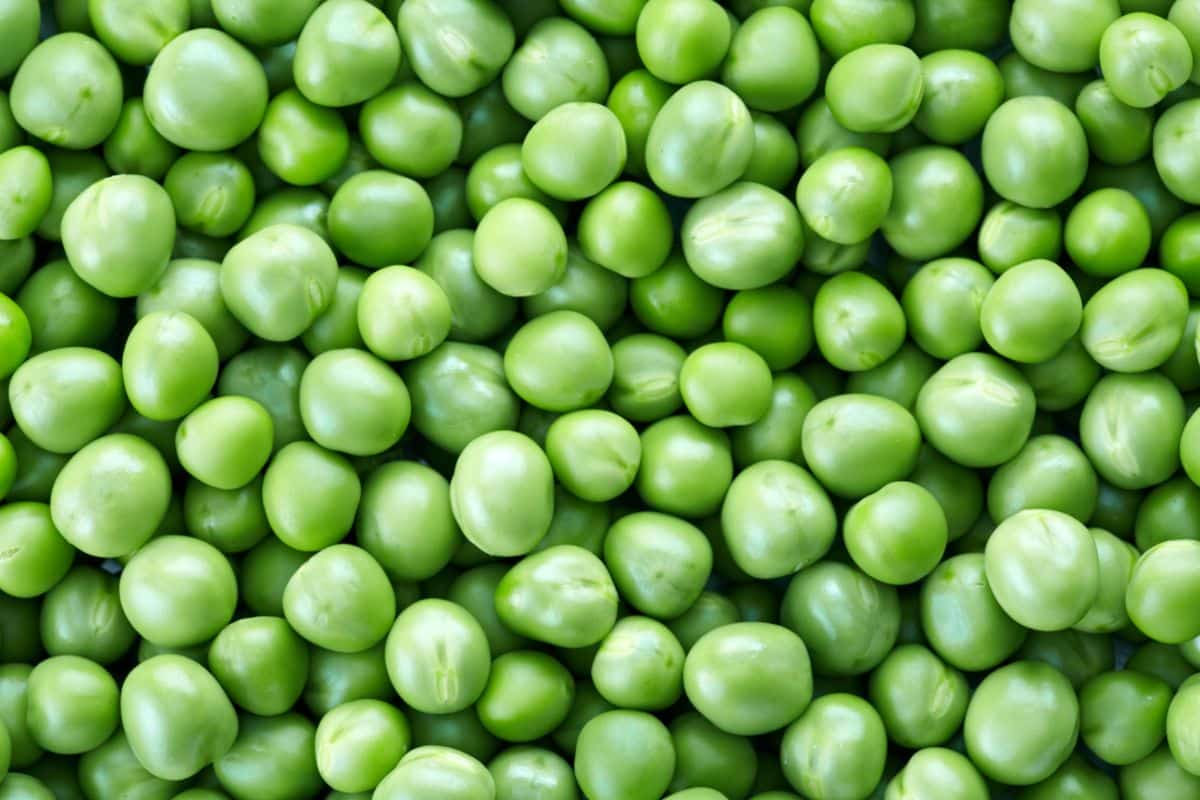
After harvesting, fresh peas should be shelled right away to preserve their texture and flavor. Then, prep your peas in your favorite recipes or preserve your peas with canning or freezing.
How to shell peas by hand
Peas can be shelled by hand, but depending on the size of your harvest, it can take a while. So if you’re planning on shelling a lot of peas at once, make yourself comfy on your favorite chair before you begin!
What you’ll need:
- Fresh shelling peas
- 2 large bowls
- Large colander
Step 1: Wash your peas.
To get started with hand-shelling peas, gather up your peas in a big colander and give them a good rinse. That way, once your peas are shelled, you won’t need to worry about any dirt from the pods lingering in your bowl of fresh peas.
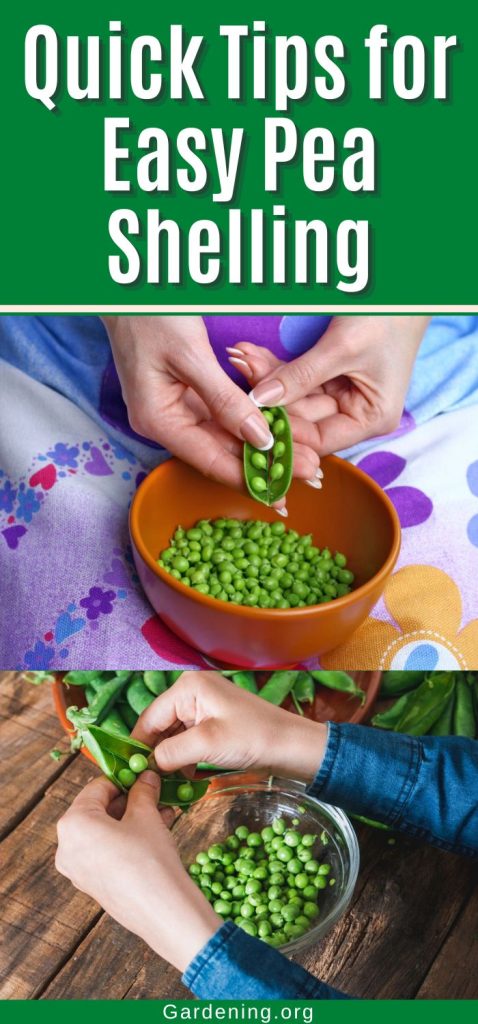
Step 2: Unzip your pods.
Next, pick up one pea pod and hold it in your fingers so that the ends are pointed up. Gently snap off one of the tips of the peapod and pull the string that runs along the top length of the pod. This string should pull out easily.
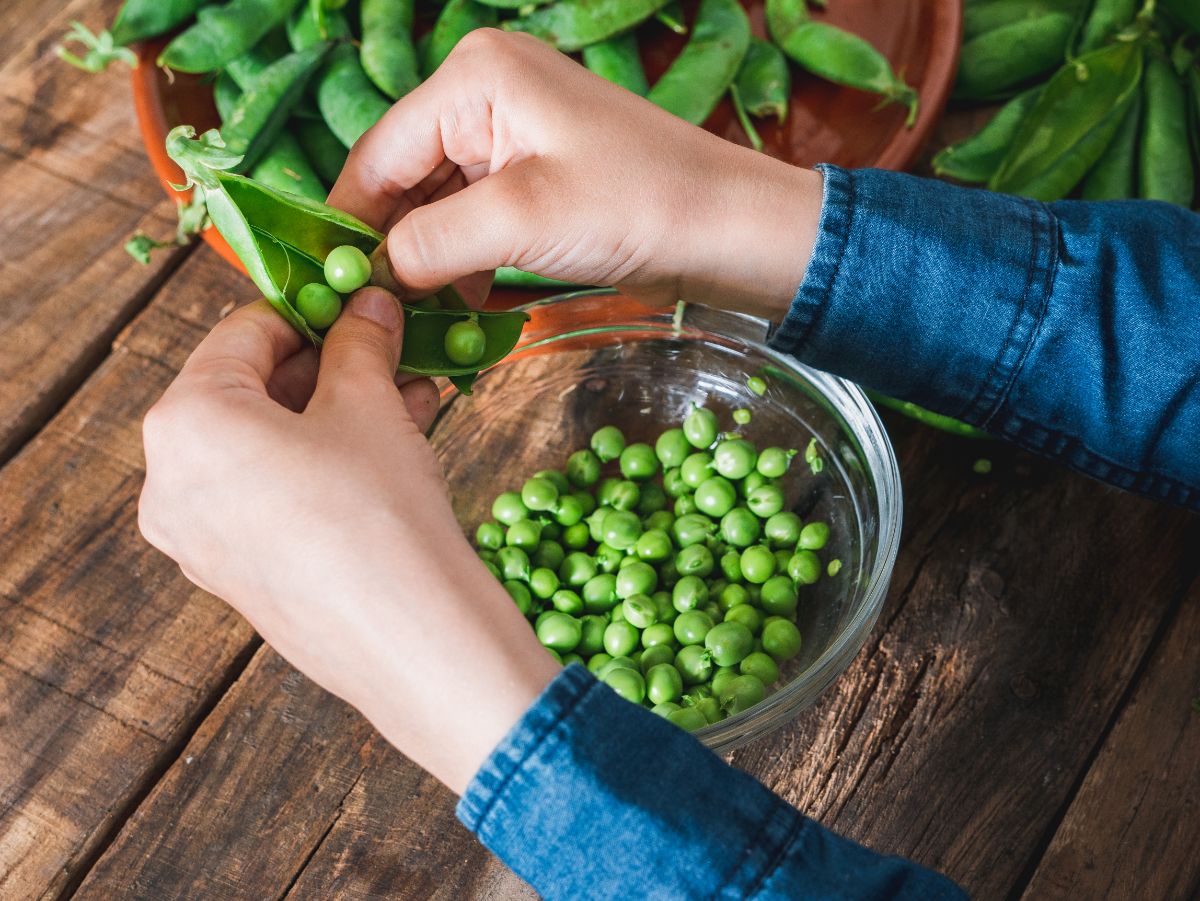
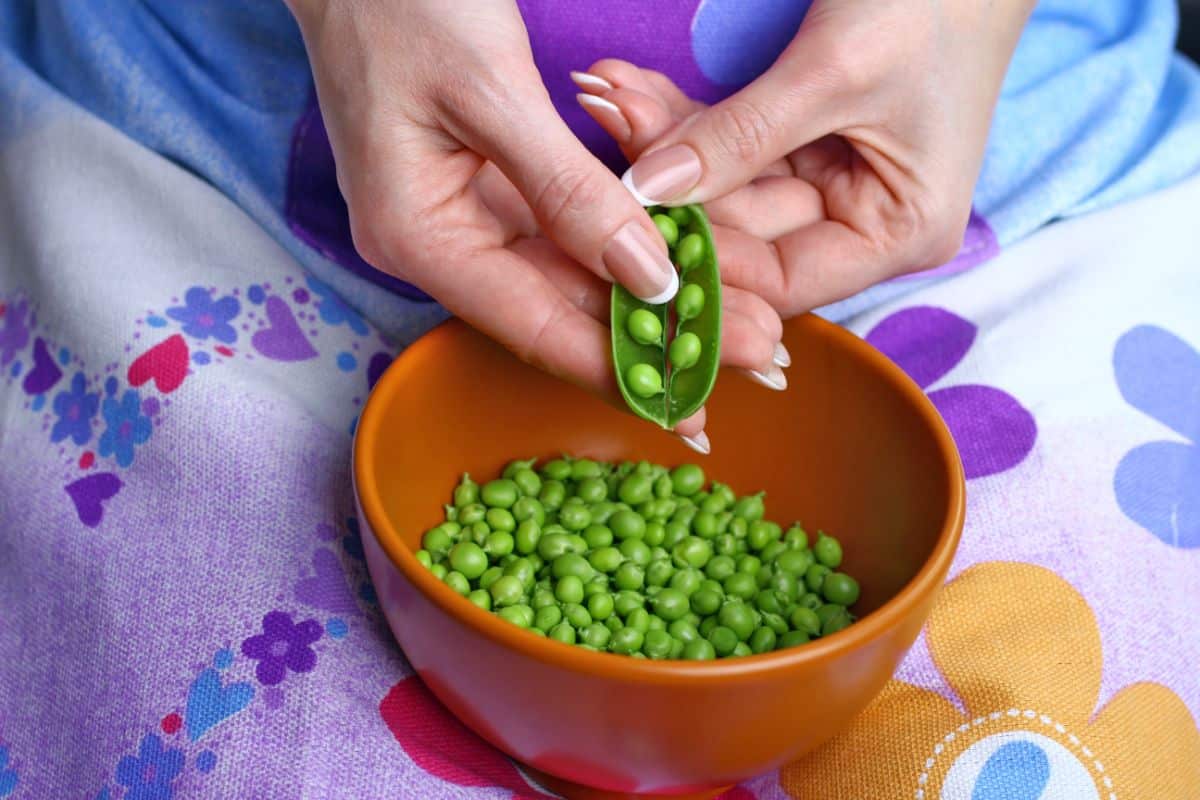
Step 3: Open the pods.
Once the pod string has been removed, gently press your fingers against the center of the pod. With just a little pressure, the pod should give way and open up to reveal the peas inside.
Step 4: Pop out your peas!
After opening up the pod, just slide your finger along the interior of the pod and pop out any peas you find inside. Drop your fresh peas into one of your large bowls and then gather up the spent pods in the other bowl. Empty pods can be cooked into a tasty vegetable broth, or they can be added to your compost pile as a nitrogen source.
Now all you need to do is repeat this process until all your peas are shelled!
Using an electric pea sheller
Although peas are quite easy to shell by hand, if you have a very large harvest of peas, you may want to invest in an electric pea sheller. These simple machines can make short work of a large quantity of peas, and they also work on many different beans, including soybeans. Electric pea shellers can be particularly useful if you plan on canning large volumes of peas or you grow peas to sell at farmer’s markets.
Different pea shellers may work differently, so you’ll want to consult the instruction manual for your specific model. However, with most pea shellers, all you need to do is feed pea and bean pods into the chute, and the machine will pop out freshly shelled peas and their empty pods faster than you can blink!
What to do with leftover pea pods
Once you’ve shelled fresh peas, they are ready to be used in your favorite recipes. But what should you do with all of those leftover pods?
Many people just toss old pea pods in the trash, but these veggies scraps are much too valuable to go to waste. Instead, try out the following suggestions for repurposing pea pods.
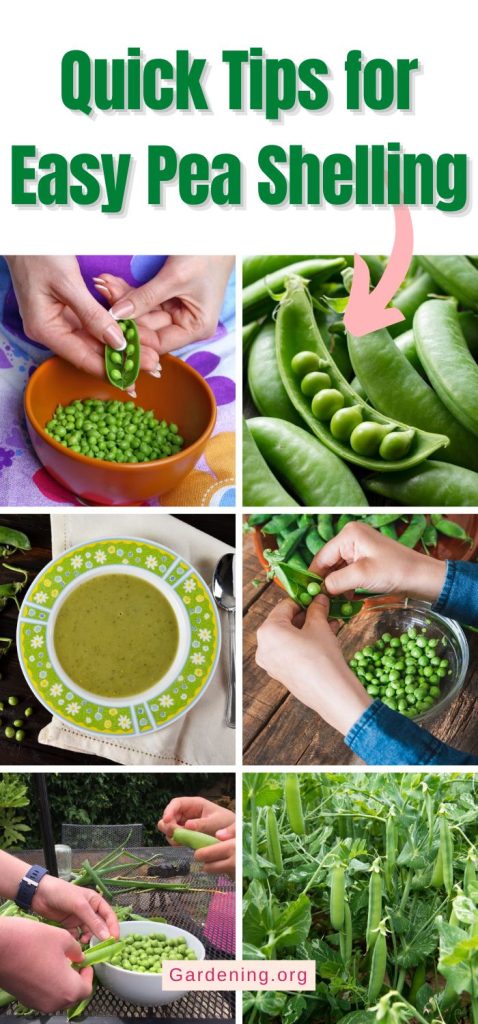
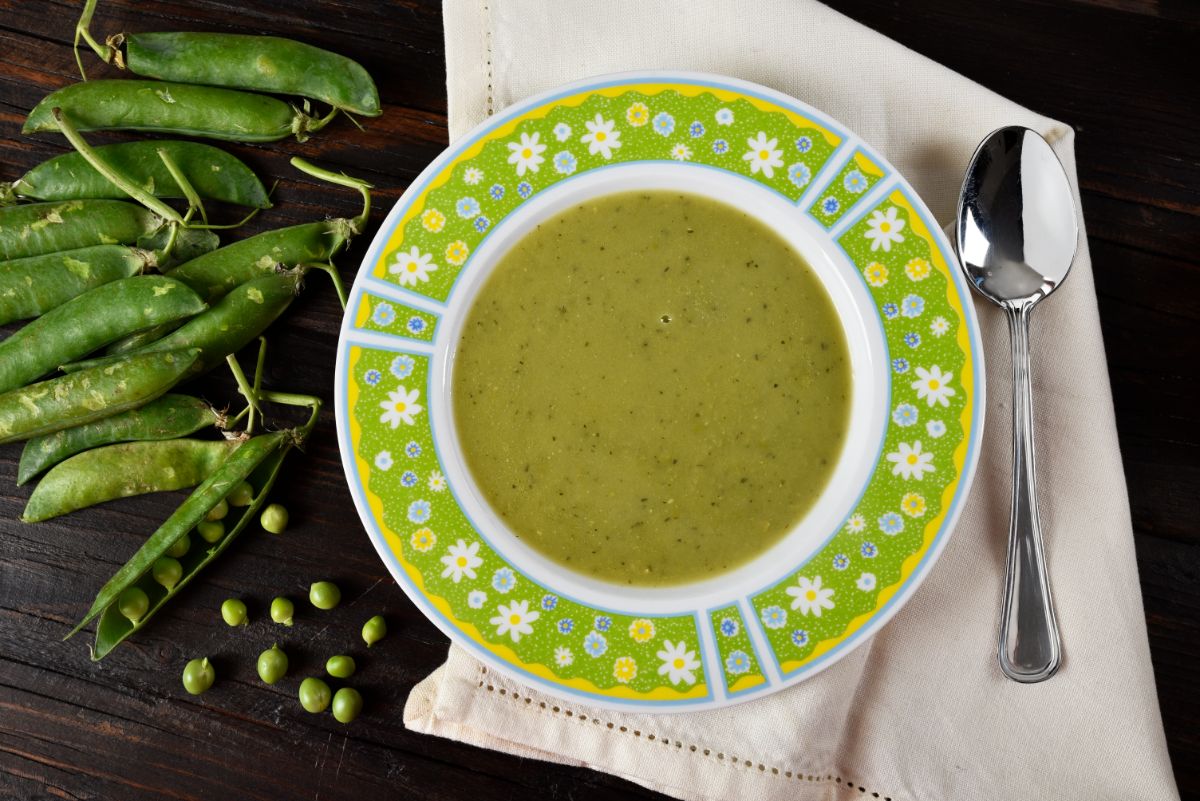
- Make pea pod soup.
Pea pod soup may be your favorite new recipe for spring. Made with leftover peapods, fresh mint, and chicken stock, pea pod soup is a creative use of flavorful pods, and it will wow you with its bright green color!
- Make stock.
If you’ve made vegetable stock before, you know this kitchen staple can be brewed from many different vegetable scraps… and that includes pea pods! Once you make your homemade stock, you can use it right away as a base for other soups and stews, or you can it for longer-term storage.
- Make peapod puree.
Leftover peapods can also be blended into a simple puree which can then be used in other recipes. Peapod puree is a flavorful additive in pasta, sauces, cocktails, and smoothies, and its bright color makes it a very attractive garnish too.
- Compost them.
Even if you don’t want to cook with peapods, you can still get more use out of these valuable scraps. Like other vegetable leftovers, peapods contain a lot of nitrogen, and when mixed into compost piles, they will break down into rich compost that can be used in future vegetable garden beds!
Frequently asked questions

Yes, picking young pea pods often will encourage your plants to produce more peas. However, if you allow pods to fully mature and dry on the plant, they may exhaust the plant much quicker, and you’ll only get a single harvest of peas.
Peas are cool-season crops, and they don’t grow well in hot weather. For this reason, peas should be directly sown in your garden in early spring as soon as the soil is workable. For an autumn harvest, plant peas about 2 months before frost is expected.
Peas take about 60 days to reach maturity when they’re grown from seeds. So, if you plant peas in your garden in March, you should have fresh peas ready for harvesting in May. If peas are planted in August, you’ll be able to pick an autumn harvest of peas in October.
One pea plant will produce about ¼ of a pound of peas per week. If you want to grow a lot of peas for canning, you’ll need to plant several rows of pea plants.
As opposed to snap peas, shelling peas are intended to be shelled prior to eating. While shelling pea pods are technically edible, they are often tough and fibrous. But, if you want to grow a classic pea, shelling peas are the plant to keep.
Providing your pea plants with optimal growing conditions will boost harvest yields. That means making sure your peas are getting enough water and sunlight throughout the day. You can also harvest more peas if you pick peas often, as this will encourage your plants to produce more pods.
Summary
Peas are fast-growing and productive plants that can be very satisfying to grow. But shelling peas can be a pain if you have a lot of peas to process. The good news is that you can easily learn how to master the art of pea shelling by hand, and once you do, you’ll be able to gather your harvest so much faster!
If you’d like to learn more about how to preserve edible crops from your garden, check out our guide on preserving green tomatoes or discover the best cold storage tricks to keep root veggies fresh for longer.
Leave a Reply