Raised bed gardens are an attractive and convenient solution for any garden with poor or rocky soil. Whether you’ve struggled with clay-heavy soil, sandy earth, or other issues, building a raised bed garden may solve all of your gardening woes.
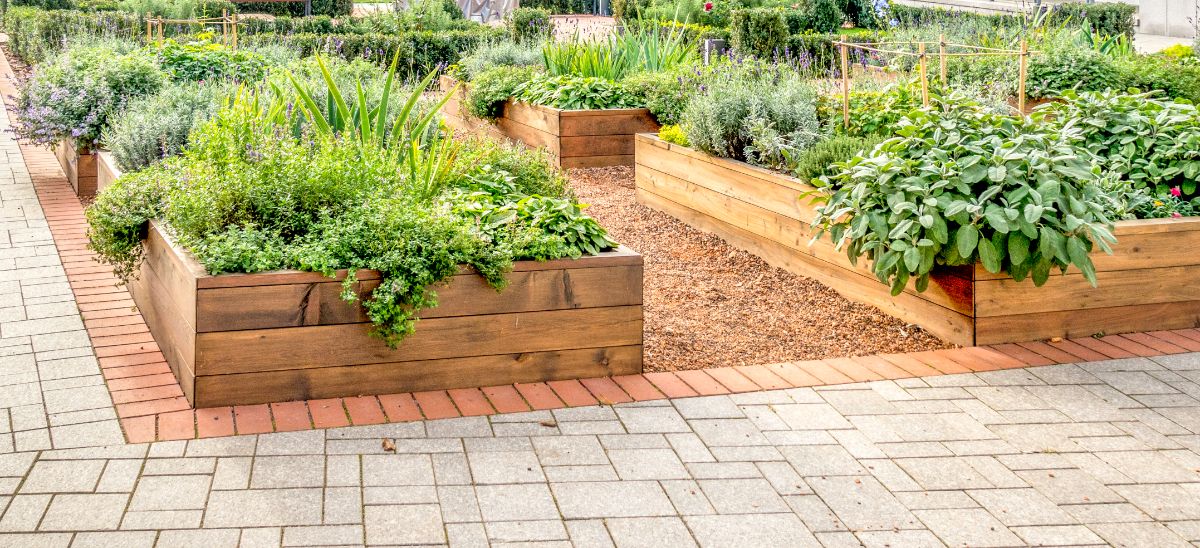
While raised beds may have a higher initial startup cost than conventional inground gardens, there are lots of reasons why you may want to grow a raised bed garden. In this guide, we’ll explore the perks of raised bed gardening and teach you how to set up your first bed!
Once you build a raised bed garden, don’t be surprised if you want to build another one. These gardens are just so easy to make… and they’re stunning too!
Jump to:
Why build a raised bed garden?
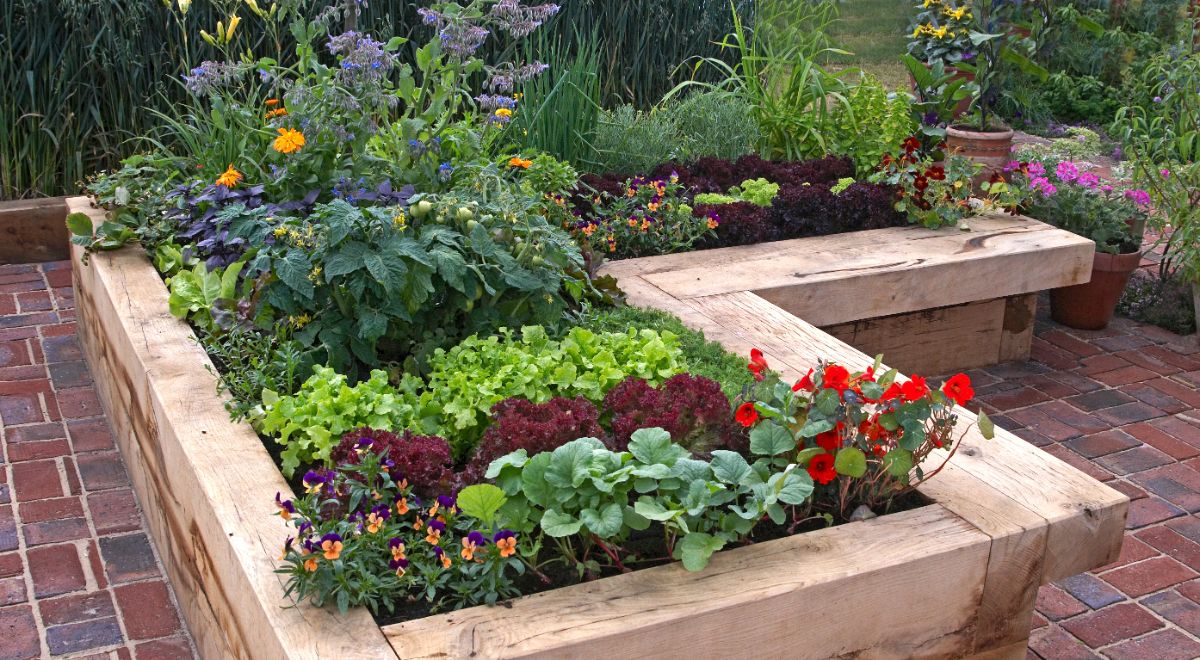
Raised bed gardens will allow you to grow lots of vegetables or flowers even if you have poor garden soil. But there are other reasons why you may want to build a raised bed. Some of the top reasons to try out raised bed gardening include:
- They solve soil issues. Clay, sandy or rocky soil can make it difficult to grow healthy plants. One of the most common reasons people keep raised bed gardens is that they allow you to grow plants in gardens with extremely poor soil quality.
- They drain better. Raised beds are usually filled with new soil, which will drain well as it hasn’t been compacted over time. Additionally, the soil in raised beds won’t get as soggy since these beds are built above the existing ground.
- Plant roots won’t be compacted. Rocky or dense soil can inhibit root growth and cause deformed carrots, beets, and other root vegetables. Since raised beds contain many inches of new soil, plant roots can grow straight and develop to their full size.
- They can help with pest issues. Floating row covers for pest protection can be easier to install over raised beds. Additionally, if you add hardware cloth to the base of your raised beds, you can keep out pests like voles.
- You can plant earlier. Because raised beds are elevated, the soil they contain warms up quicker in spring. This means you’ll be able to plant seeds even earlier!
- They reduce weeds. Raised bed soil that’s purchased from a reliable supplier should be relatively weed-free. You can reduce weeds even further by adding a barrier at the base of your raised beds before pouring in your new soil.
- They are easier on your back. Raised beds can be built to any height, which can reduce back strain as you won’t need to bend over as far!
- They’re attractive! Raised bed frames can be built out of many different, food-safe materials, and they can even be made to match your home’s décor.
How to set up a raised bed garden
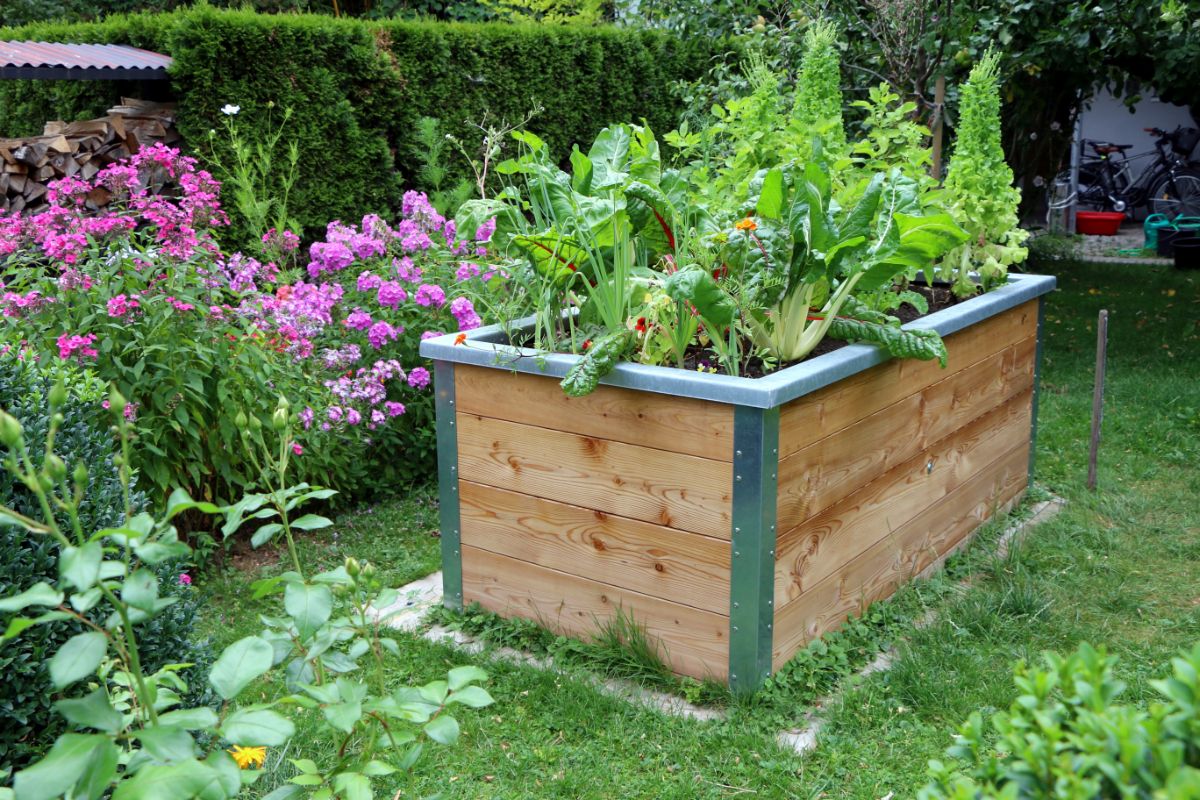
While you can make more elaborate setups, below, you’ll find everything you need to create a basic raised bed garden. Depending on how many plants you’d like to grow, you can make one large, raised bed, or you can build several small, raised beds, which will make weeding easier. For even more convenience, the square-foot gardening technique can be incorporated into raised beds, and it will allow you to grow even more plants in a limited space.
1. Choose a good location
Where you locate your raised bed garden will depend largely on the types of plants you’d like to grow. Some flowers prefer to grow in shadier locations; however, most vegetables require full sun to grow properly. So, if you want to grow a raised bed vegetable garden, choose a location in your yard that receives at least 6 hours of bright light daily.
To determine how much sun a particular spot will receive, monitor that location throughout the day. If possible, it’s even better to watch how much sunlight that section of your yard receives from spring to fall. That way, you’ll know for certain that your plants will get all of the light they need throughout the entire growing season.
2. Make sure the ground is level

While it’s important to know how much sun your garden will receive, it’s also critical that you select a garden location that is relatively level. After all, it is difficult to build a raised bed garden on a sloping hillside. Additionally, beds built on uneven ground may not drain uniformly, and they may develop soggy sections of soil.
The location you choose doesn’t need to be perfectly level, but do your best to smooth out very high or low spots with a shovel.
3. Build your frame
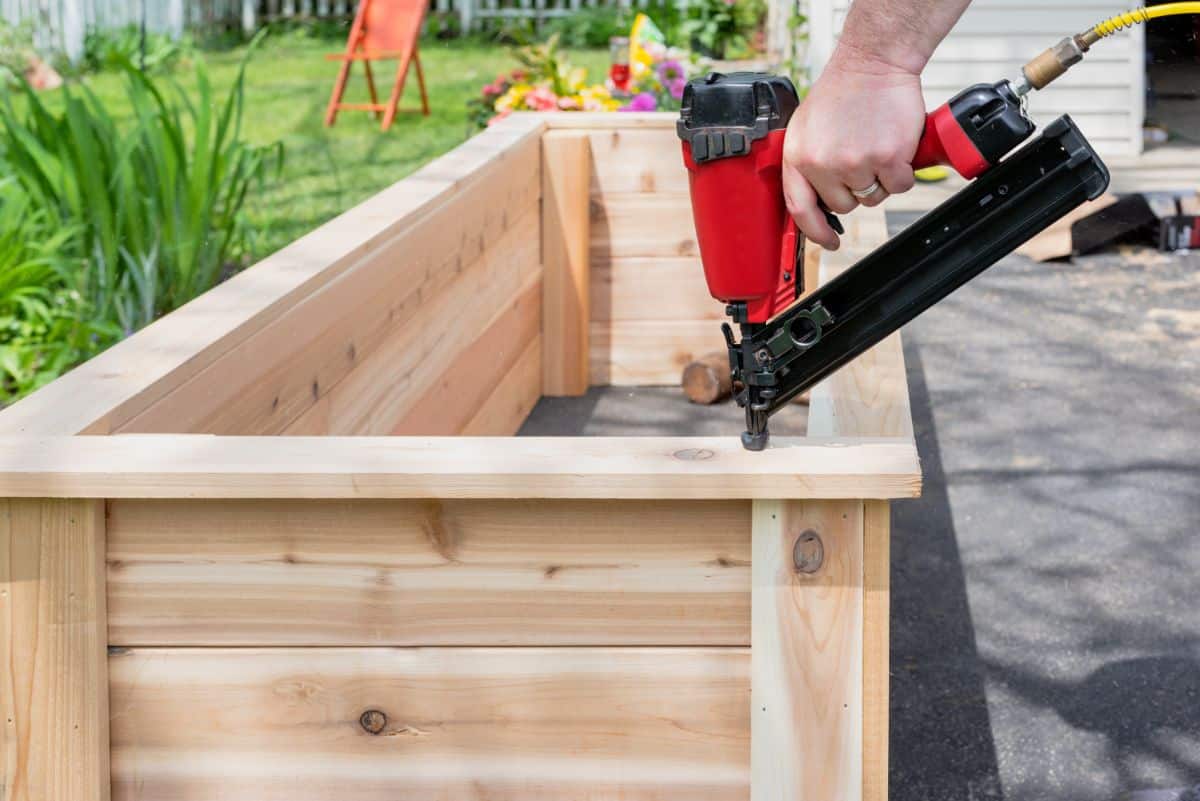
Depending on how handy you are, you can either build your own raised bed frame or purchase a premade frame online or from your local plant nursery. Premade frames are usually formed from either galvanized steel or wood, and they are super simple to install. Just place them in your garden, and you’re good to go!
If you’d prefer to build your own raised bed, you’ll need to purchase:
- Untreated wood boards.
You can use scrap lumber if you know it hasn’t been treated or painted with anything you wouldn’t want around your food crops. If you’d prefer to purchase new wood boards, a pine ledger board is an expensive option that will last quite well outside. For an even sturdier frame, select cedar boards, which are naturally weather resistant.
- Exterior grade screws.
Lengths may vary, depending on the width of the boards you choose.
- Brackets.
- Electric drill.
- Electric saw.
You can often have lumberyards cut your boards for you, or you can do the work at home with an electric saw. How long you’ll need to cut your boards will depend on the size of the garden you’d like to make. While the length of your garden can vary, we recommend making garden beds that are no wider than 4’, as this width is easy to reach across when weeding or performing other garden maintenance tasks.
After cutting your wood boards to size, secure the boards together with your brackets and screws to form the frame of your raised bed garden. While frames are usually rectangular in shape, you can get creative and try out other frame shapes too! Beds are usually at least 12” deep, but you can make them deeper and more ergonomic by building up higher walls.
Once you’ve put your frame together, position it where you would like your garden to be. While you don’t need to remove any existing grass beneath your new raised bed, it can help to cut the grass very close to the ground. This will reduce weed seeds and also make it easier to install a weed barrier cloth liner if you’d like to use one.
4. Add a liner or barrier
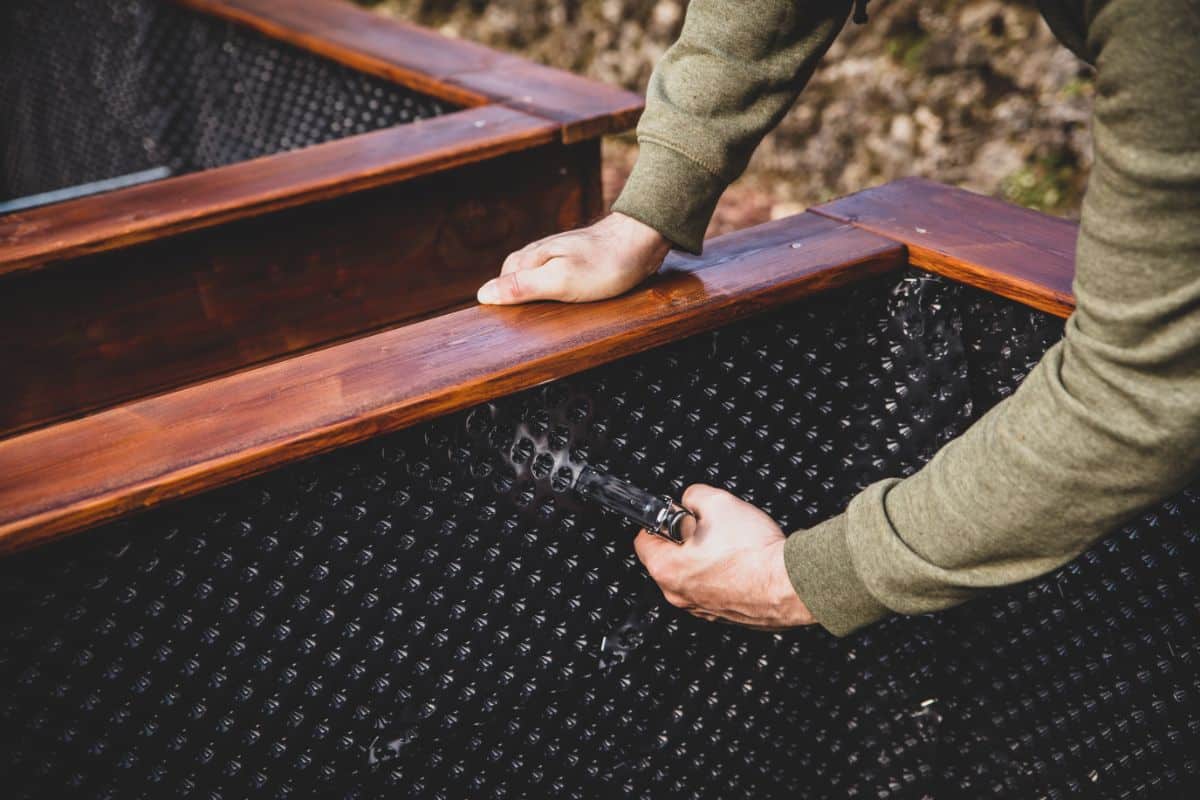
If you’re building your raised bed on top of the soil, you may not need to add a liner; however, liners can provide some benefits. Raised beds built on top of patios or other concrete surfaces should usually be lined, as the liner will help keep soil in your garden bed and limit mess.
Raised beds are generally less likely to develop weeds than inground gardens as long as you add enough soil to smother out grass and weeds. However, if you’re worried about weeds, adding a liner across the base of your garden bed can reduce the likelihood that weeds will develop. Liners can be attached to your raised bed frame with staples or secured into the soil with larger landscape staples.
Although weed barrier fabrics are a common liner choice, if you’d prefer to use a biodegradable product, you can also simply place a few sheets of moistened newspaper or cardboard at the bottom of your raised beds for weed control. Newspaper and cardboard will smother any grass beneath your beds and then decompose back into the soil, leaving no waste behind!

If you happen to have pests like voles in your yard, you may want to install a pest barrier at the base of your raised bed too. These barriers can be used with liners or on their own. For voles, a good choice is hardware cloth, which is a sturdy product that can be anchored to the base of your raised bed with nails or screws.
5. Pour in your soil
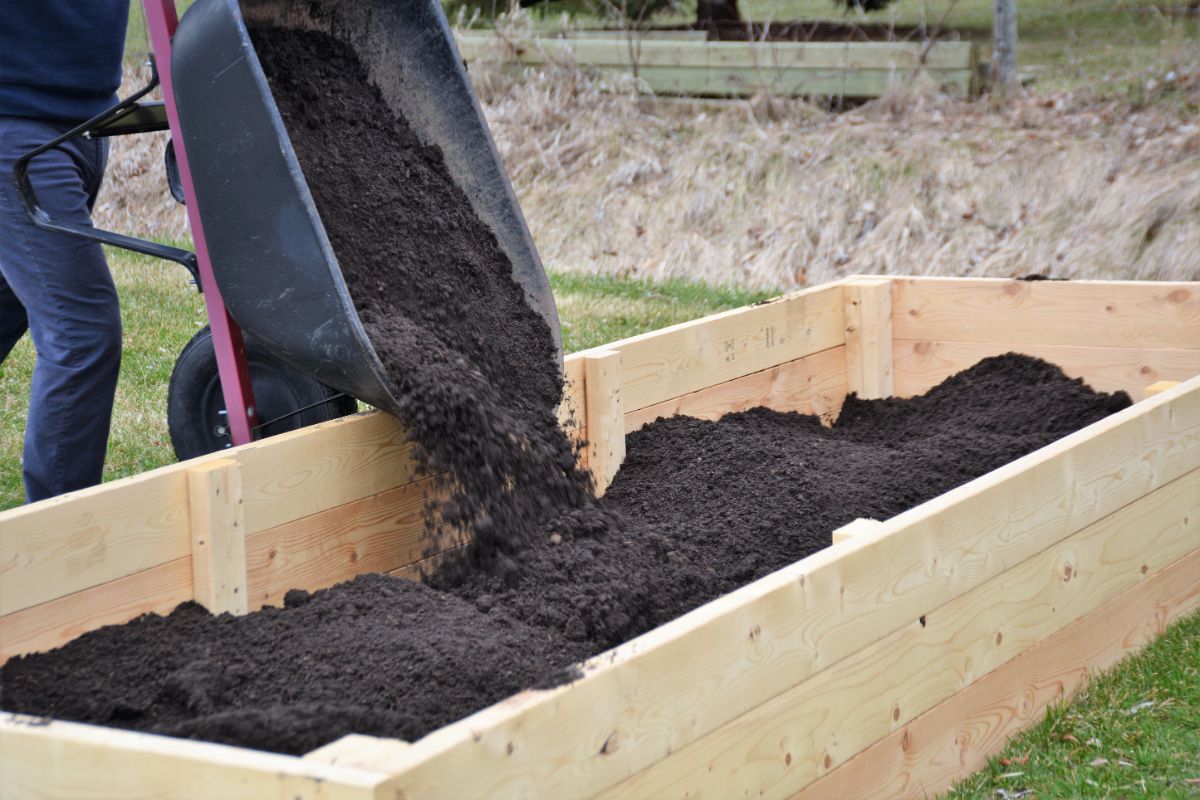
After installing your raised bed and (optional) liner, it’s time for the most important step: adding your soil! But though it may be tempting just to shovel in soil from your backyard, this is not the best idea. Standard garden soil is quite compact, and it won’t drain properly inside of a raised bed.
Instead of garden soil, fill up your bed with soil that’s intended for raised bed gardening. You can purchase this type of soil from most garden centers, or you can order it online in bags. For larger gardens, you can also place an order at your local landscaping company and have some raised bed gardening mix delivered to your door by the square yard.
If you’d prefer to make your own raised bed gardening mix, you can create a DIY blend by mixing equal parts compost, vermiculite, and coconut coir. The compost will provide plenty of nutrients to your plants, while the vermiculite and coconut coir will ensure your soil drains properly.
For an even more sustainable option, you can also make your own raised bed mix by blending together 30% compost, 20% other organic matter (like chopped autumn leaves), and 50% topsoil.
When adding soil to your raised bed frame, be careful not to compact the soil too much by walking on it. Spread the soil across the ground evenly and fill your beds all the way to the top, leaving just 1” of space between the soil line and the top of your raised bed.
6. Start planting
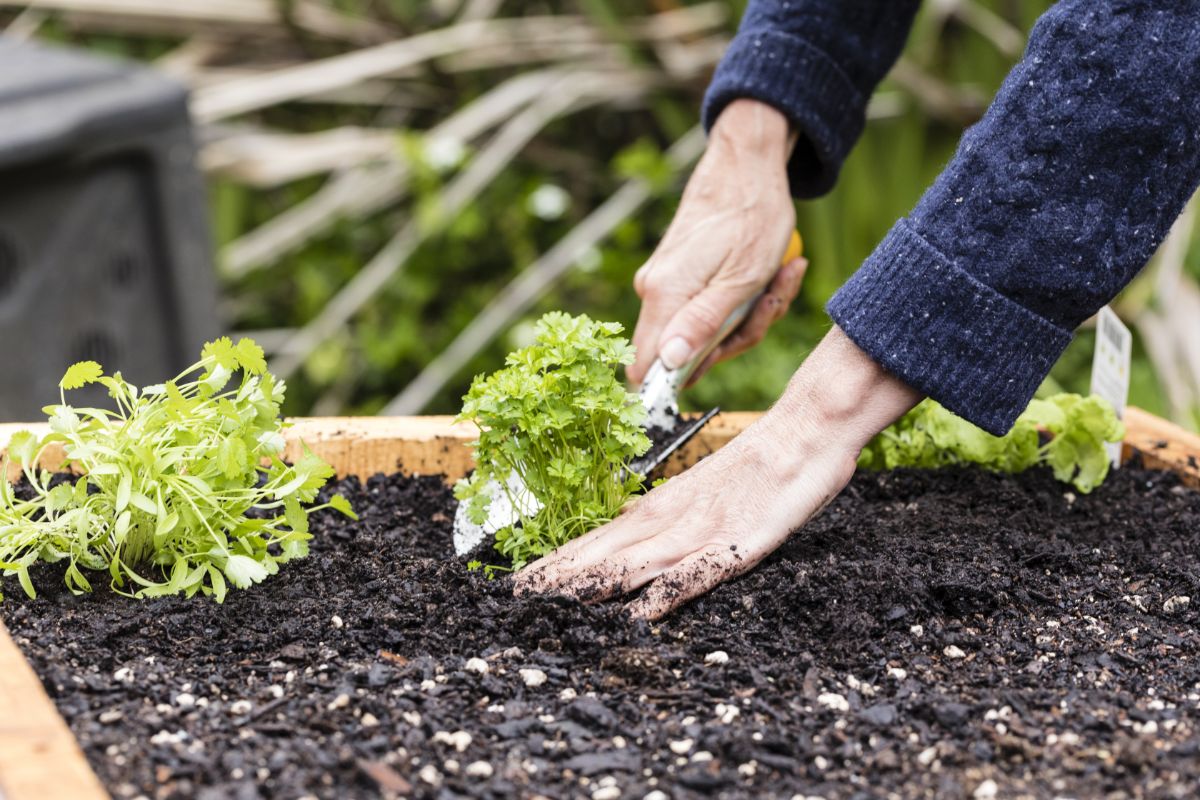
Now that your raised bed is full of rich, dark soil, the real fun can begin. It’s time to start planting!
Depending on your goals for your garden, you can grow vegetables, fruit, flowers, or herbs in a raised bed. Try out the square foot gardening technique to maximize your garden space and consider succession planting fast-growing crops to provide your kitchen with even more fresh veggies.
Raised beds require the same standard care as any inground garden. They will need to be watered regularly and inspected from time to time for signs of plant distress, pests, or disease. They should also be weeded often.
As with other garden types, you can take a lot of the work out of maintaining a raised bed by installing an automated drip line system. These systems work with a timer that waters your plants for you, and the driplines can be easily anchored to your raised bed frame with plastic strapping and a few nails. You can also add a thick, 2 to 3” layer of organic mulch across your new soil to prevent weeds too!
What plants grow best in a raised bed garden?
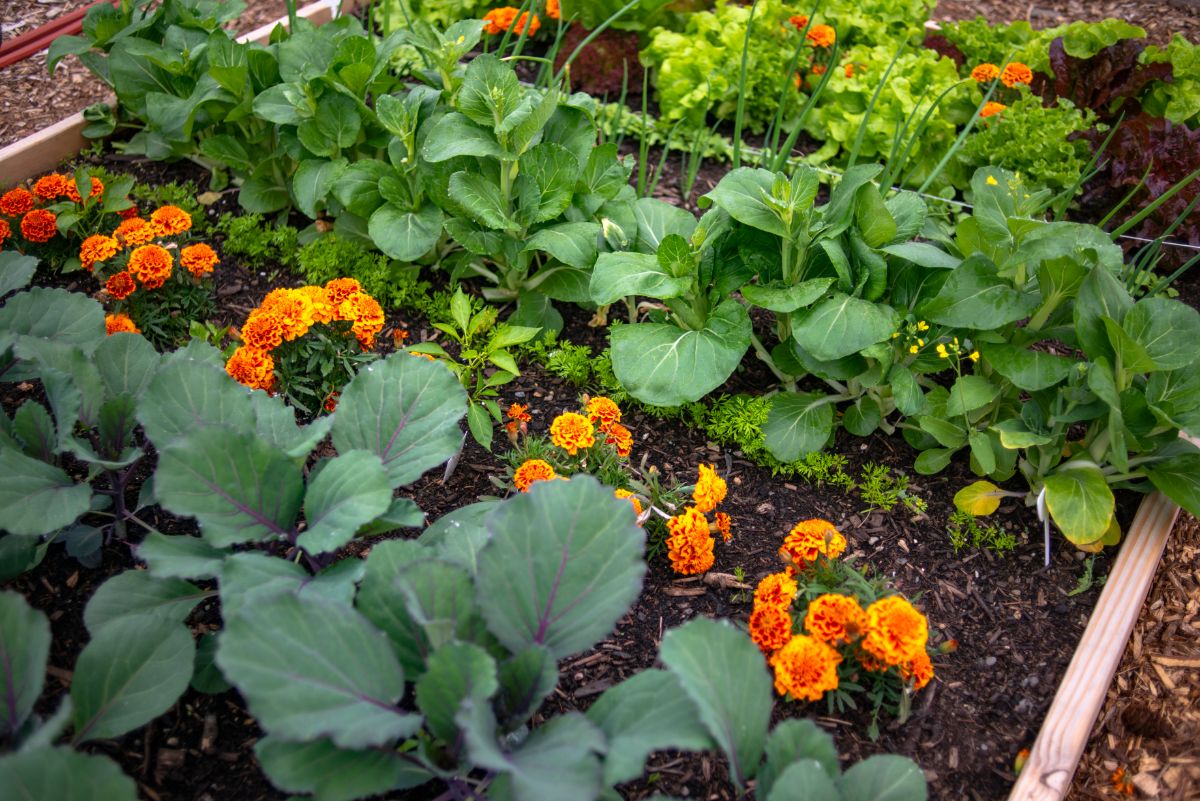
Most flowers, herbs, and vegetables can be grown in a raised bed. Smaller fruit plants, like strawberries, are also great choices for raised bed gardening; however, very large plants, like fruit trees, are usually too big to keep in raised beds.
Some of the most popular edible plants that can be grown in raised bed gardens include:
- Tomatoes
- Peppers
- Carrots
- Beets
- Squash
- Corn
- Melons
- Pumpkins
- Lettuce
- Leafy greens
- Herbs
- Strawberries
- Rhubarb
Frequently asked questions
You don’t necessarily need to put anything at the bottom of a raised bed, and you definitely don’t want to add any material that will impede the drainage ability of your soil. Adding a weed barrier fabric or several sheets of newspaper can reduce weeds, but they aren’t strictly necessary. If you have a lot of burrowing pests in your yard, you may want to attach hardware cloth to the base of your beds to protect your root vegetables.
Raised beds should be at least 12” deep, which will provide enough soil space for most root vegetables to grow properly. To ease back strain, you may want to build raised bed walls even higher, as this will limit how much you’ll need to bend over when tending your plants.
Be sure to level the ground before installing a raised bed. While soil doesn’t need to be completely level, smoothing out high and low spots will prevent water from pooling in any one section of your garden. It’s also a good idea to trim any existing grass low to the ground before installing a raised bed, but you usually won’t need to remove grass.
No, it is a common myth that adding rocks to the base of raised beds (or garden pots) will improve drainage. In truth, using rocks in this manner can actually create a false water table in the base of your raised bed and prevent the beds from draining properly.
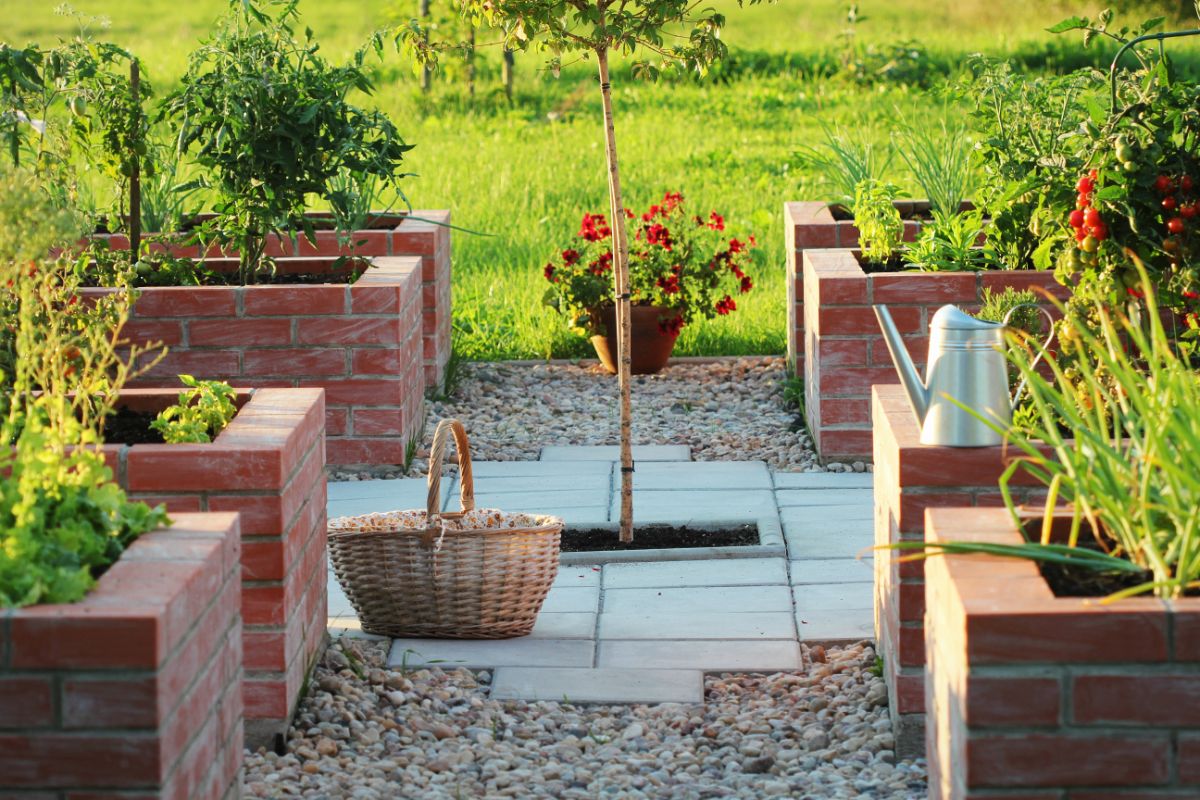
Raised beds can be built with a number of different salvaged materials, provided that those materials are safe to use around food crops. Pine ledger board and cinderblocks are two other budget-friendly options that are easy to find at most garden or home improvement centers.
Yes, garden soil is usually a lot more dense than raised bed soil, and it may not drain properly when used in a raised bed. For this reason, always use soil that’s intended for raised bed gardening, or try out our DIY recipes to create your own soil blend.
Summary
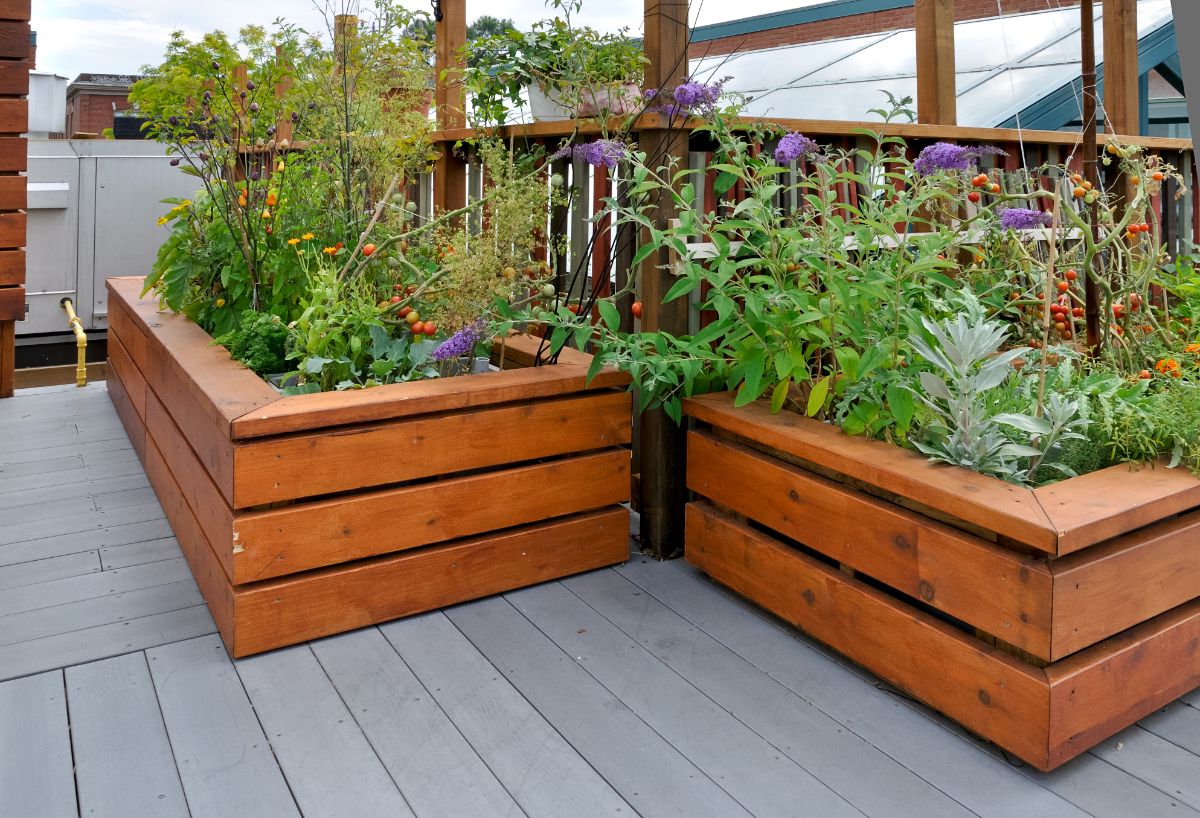
There are so many reasons why raised beds are becoming more and more popular. They are attractive and can add elegance and style to any outdoor space. They are also a useful way to overcome rocky soil, and they’ll allow you to grow lots of vegetables, fruit, and flowers in nutrient-poor soil too.
Raised beds can be very simple in design, or they can be elaborately made with attached fencing and gates to keep out deer and other pests. However you decide to style your own raised bed, you’ll be impressed with how much use you’ll get out of this simple garden setup!
While there are so many benefits to keeping raised beds, if you’re still on the fence about raised beds, check out our article on the perks of raised bed gardening vs. inground gardening. This simple guide will help you decide which garden type is the best choice for you!


Paul
I started raised bed gardening a couple of years ago when age and ill health made me surrender my allotment. So on a small grassed area I built two 2m x .4m beds 16” high. The frame was 8” X 4” railway sleepers 2.4 m long. Hence the overall sizes.
I covered the whole grass area with weed suppressant fabric, the lawn was pretty level so the was minimal digging to level.
I then lined the interior with DPC. A thick plastic material used by builders to form a damp proof course on housing. At 24” wide it covered the entire side of the box with a little fold at the bottom to hold it all in place I nailed a 2”x 1” around the top, 1, to hold the plastic tight to the frame. 2, to prevent slugs hiding between to layers of the box. The 2x1 is sacrificial as it is in contact with my soul so I don’t think it will last many years, but it’s easy replaces.
To my surprise it took over 4 tons of bought in soil to fill both boxes. A mix of well rotted manure ( 1 ton), and graded soils ( 3ton). Over the past two years all growbags from my small greenhouse have also been added to enrich the soils.
Because of the make up of soils, watering is minimal because I let the rain do that job.
The rough sawn timbers of the frames have been a great way to keep slugs and snails at bay. I have now made netting cages to protect my crops from birds and butterflies.
Lolo
Hello, this is a recipe for disaster. Just did the exact same thing 2 years ago and the untreated wood is covered with mushrooms and is completely rotten. I have to rebuild all of them. I'll use PT k&d that I will paint and add layers of non permeable landscape fabric. Let's hope this will last 10 years this time.
Mary Ward
Thank you for your feedback. People certainly have different experiences. The type of wood often plays a role. I've personally had untreated wood last for many years, while painted wood can sometimes hold too much moisture and enhance rot. Best of luck to you.