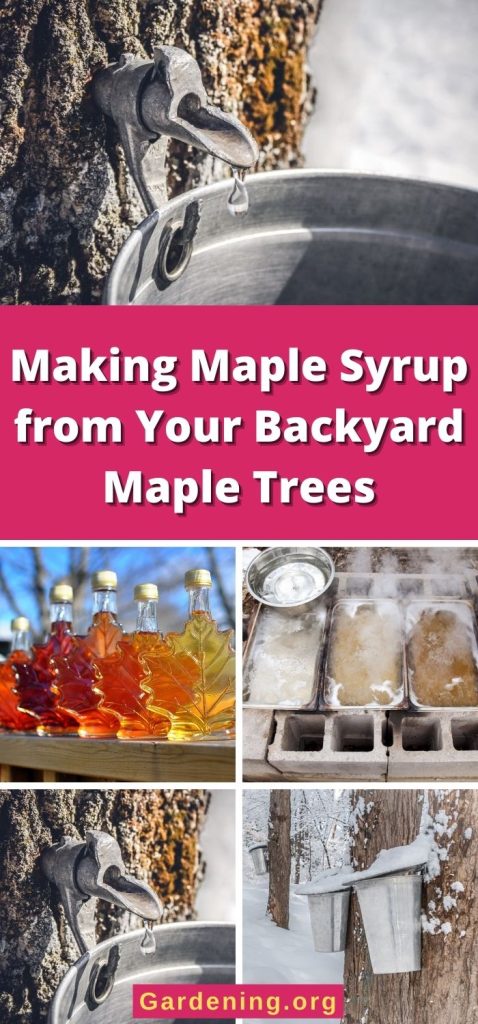
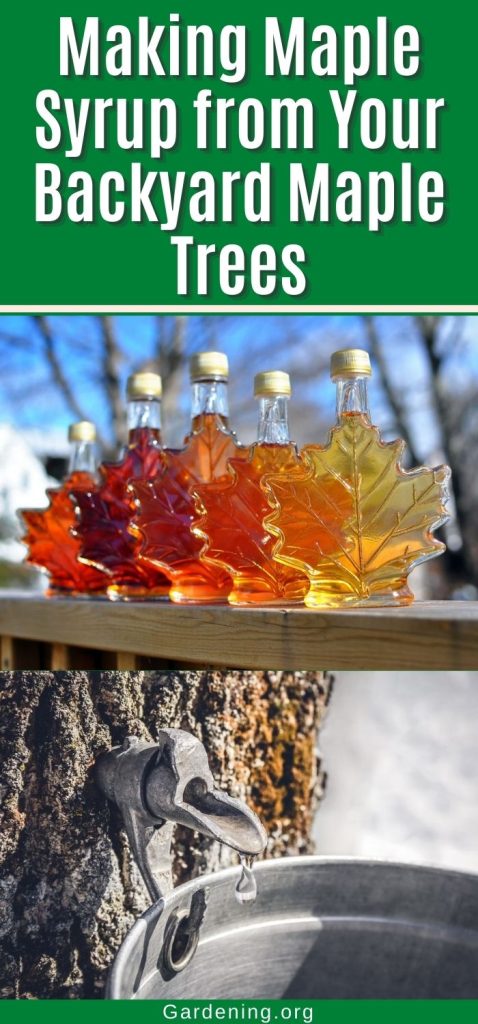
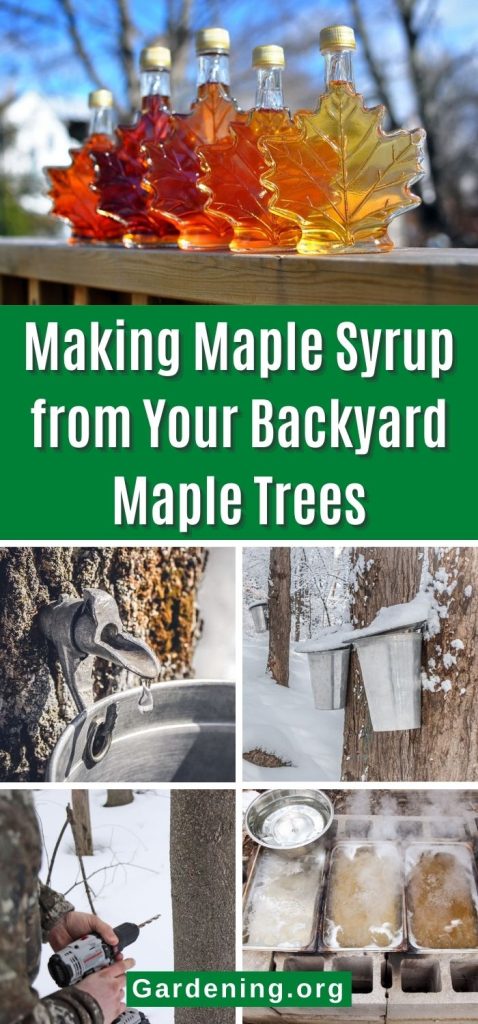
There’s nothing like slicing into a steaming hot pancake drenched in maple syrup to warm you up on a cool winter morning. But have you ever thought about making your own maple syrup?
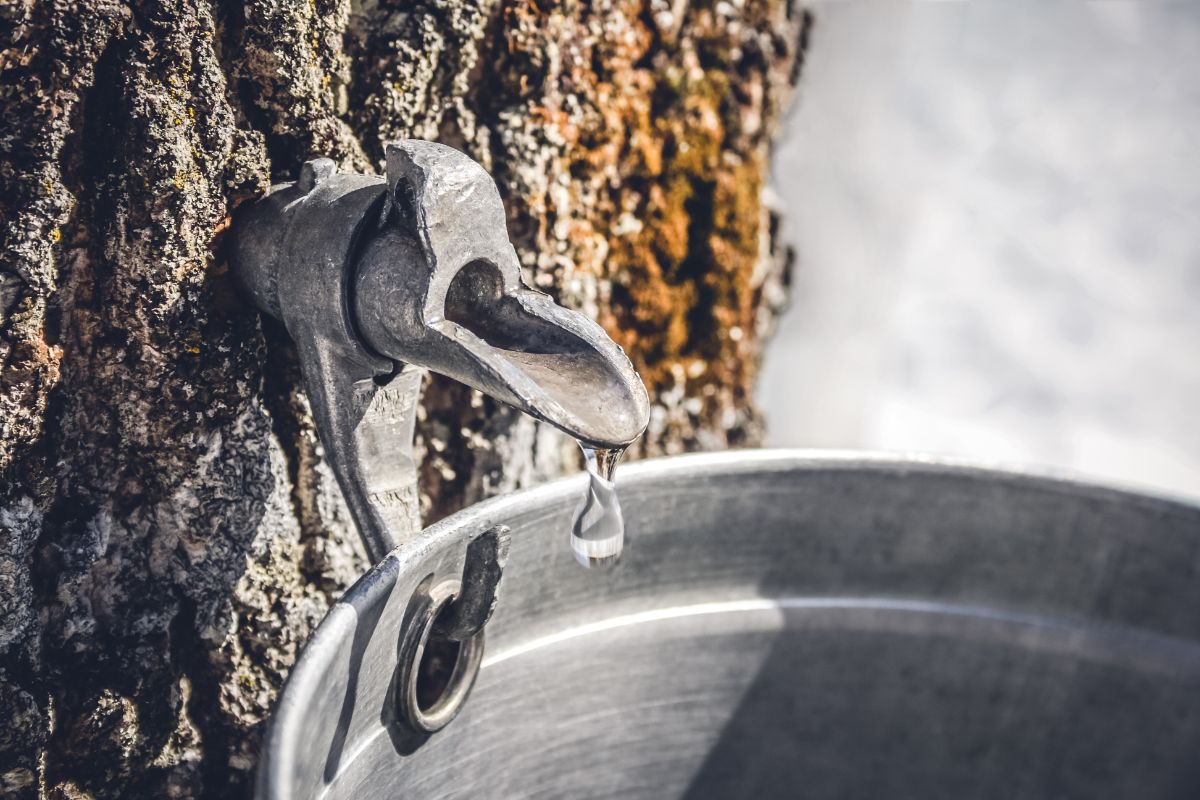
Trees start producing sap in early spring to support their bud development and growth. Warm days and cold nights cause sap to begin to flow or “run” up a tree’s trunk. Tapping into a tree’s bark allows us to gather that sap so that we can cook it down to make a sugary syrup.
Tapping maple trees and then processing that sap into syrup is not a complicated process, and it’s easy enough to do at home. Even better, you don’t need to own a large, wooded lot to get enough syrup for your family. In fact, you can produce a fair amount of syrup from just a few backyard maple trees.
Curious? Well, if you’re ready to learn the art of maple sugaring, this is the guide for you!
Jump to:
Finding the right maple tree
If you’re lucky, you may have a large property with some maple trees on it. Or you may have a friend who is gracious enough to allow you to tap their trees. But even if you don’t live on a wooded lot, you can still tap a maple tree or two in your backyard!
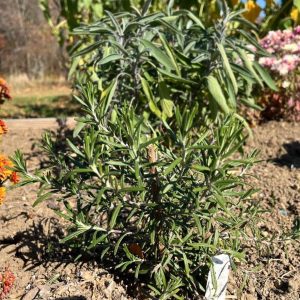
Any maple tree can be tapped for syrup, including red maples, silver maples, and black maples. However, sugar maples are the most commonly used maple variety for sugaring as their sap has the highest sugar content (2.5%). The higher the sugar content sap has, the easier and quicker it will be to process.
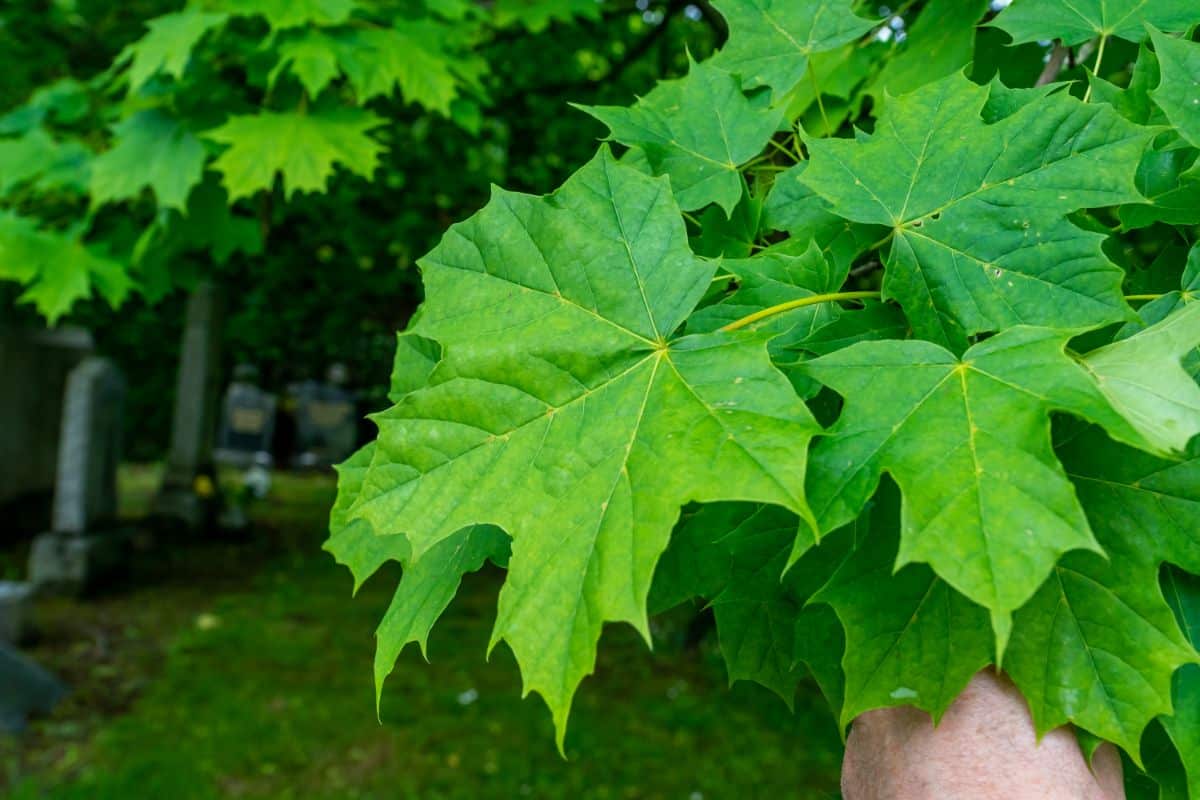
The easiest way to select trees for tapping is to inspect the trees in your area during summer or fall and mark them with a bit of ribbon or paint so you can recognize them in winter. Maple trees have characteristic, jagged, and lobed leaves that are famously emblazoned on the Canadian flag! Once trees lose their leaves in autumn, it may be more difficult to determine if a tree is a maple or not, although it is still possible.
Tree identification guides can help you identify maple trees, even if they don’t have leaves, by just inspecting a tree’s bark.
Once you’ve located your maple trees, crack out some measuring tape. Maple trees should only be tapped if they are at least 10” in diameter. Tapping smaller trees will stress out your trees and may even kill them.
Larger trees can handle more than one tap. As a guide:
- Trees trunks between 10 and 17” in diameter can support 1 tap
- Trees trunks between 18 and 24” in diameter can support 2 taps
- Larger maple trees can hold up to 3 taps
To determine how many trees you’ll need to tap, keep in mind that:
- A single sugar maple tree can produce about 16 to 20 gallons of sap per year.
- It takes about 40 gallons of sap to create 1 gallon of syrup.
That means that if you would like to produce a gallon of syrup, you’ll want to tap at least 2 to 3 maple trees.
When to tap your trees
The sap starts running in spring to jumpstart a tree’s growth and help buds develop. This process is triggered by fluctuating temperatures. Specifically, the sap starts to run when daytime temperatures are above freezing, but nighttime temperatures are below freezing.
In the Northern Hemisphere, maple sugaring usually begins in mid-February and runs through March.
How to tap trees for sap
In early spring, dust off your boots and head outdoors. It’s time to tap some trees to make homemade maple syrup.
What you’ll need:
- An electric drill
- Tree tapping spiles with hooks
- Sap buckets with lids
- Rubber mallet
- A food-grade plastic bucket
- Duct tape
OR
The steps:
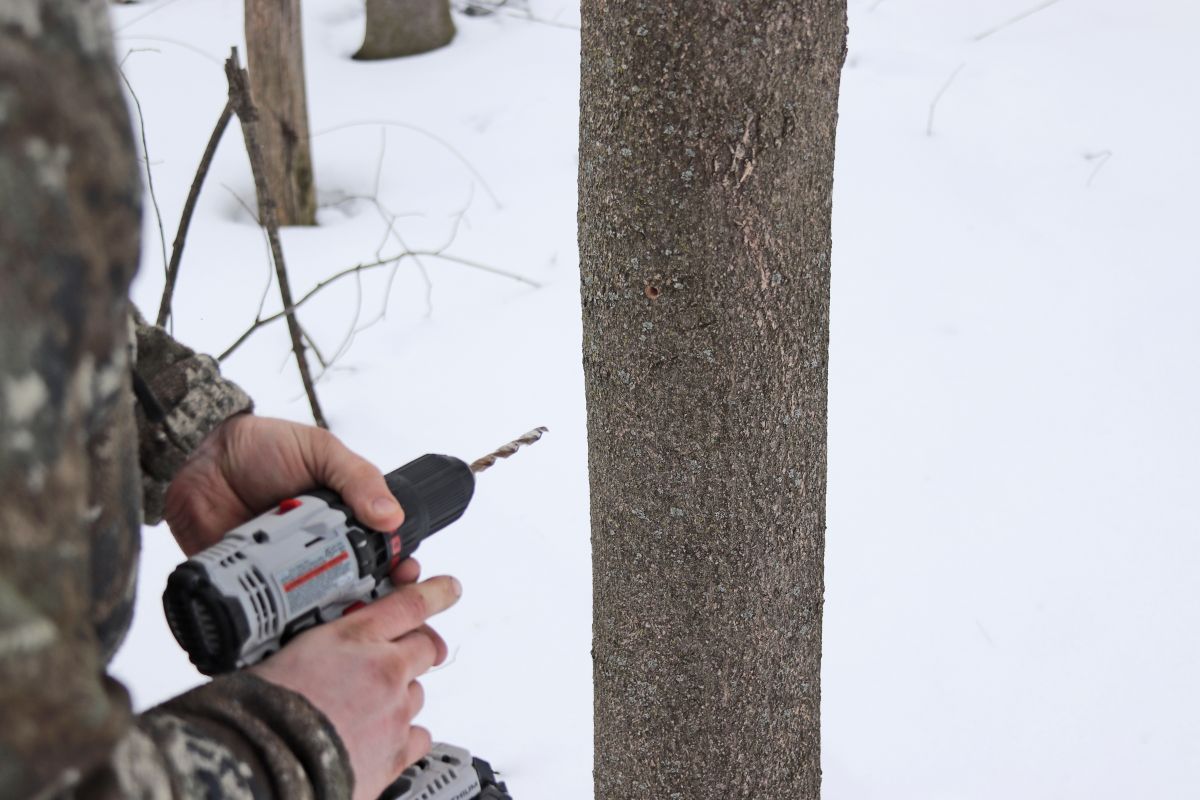
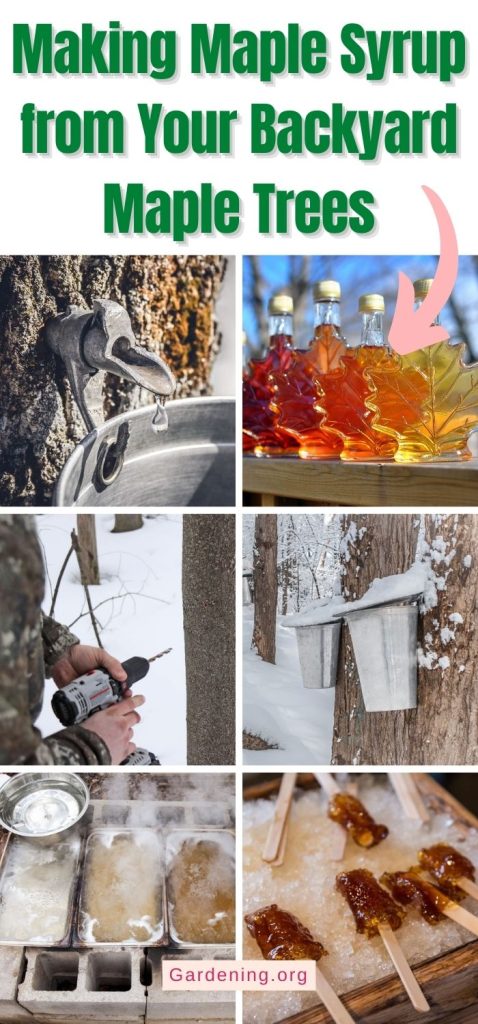
- To get started, measure 2” on your drill bit and mark it off with a bit of duct tape. This will serve as a guide as you drill your trees and will prevent you from drilling deeper than 2”.
- Mark a spot on the tree you’d like to drill, about 3 to 4’ above the ground.
- Drill your hole 1 ½ to 2” deep, slightly angling the drill bit upwards as you go. Which drill bit you use will be determined by the size of your spile.
- Brush away any dirt, sawdust, and debris from the hole you drilled, and position your spile in front of the hole. Then gently pound your spile into the hole using your rubber mallet.
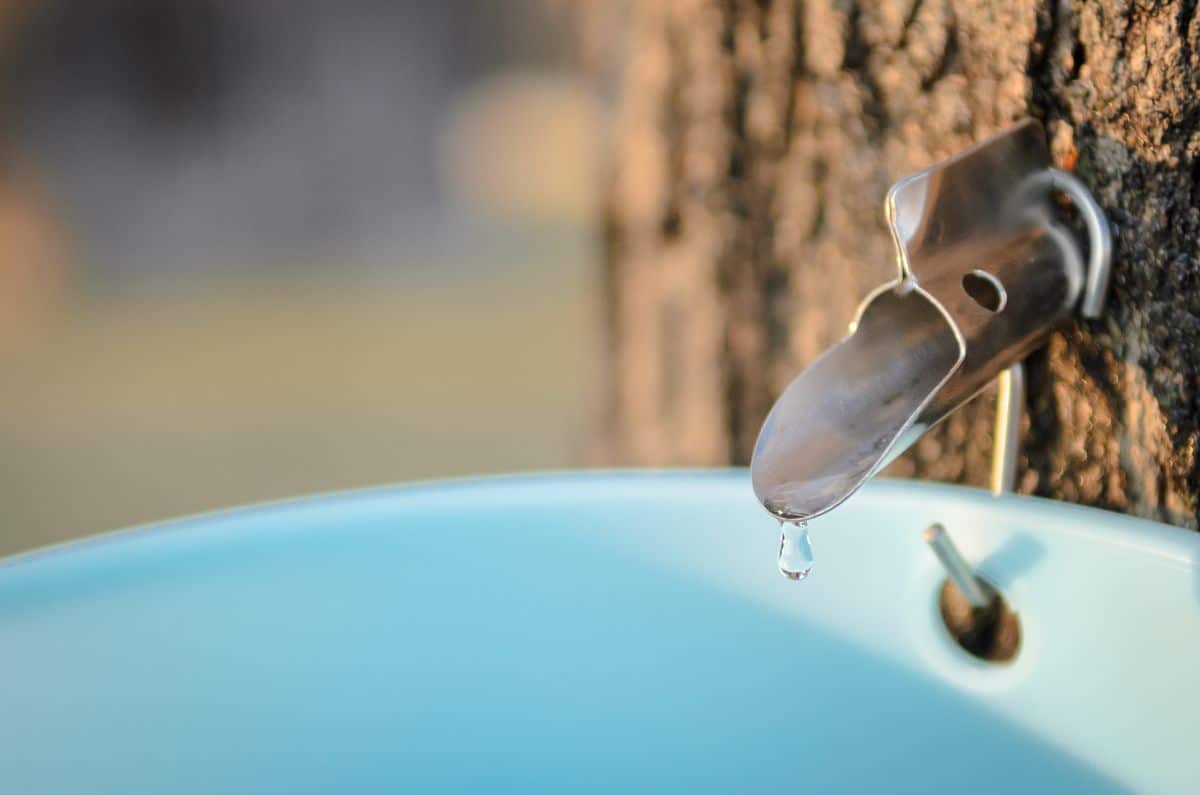
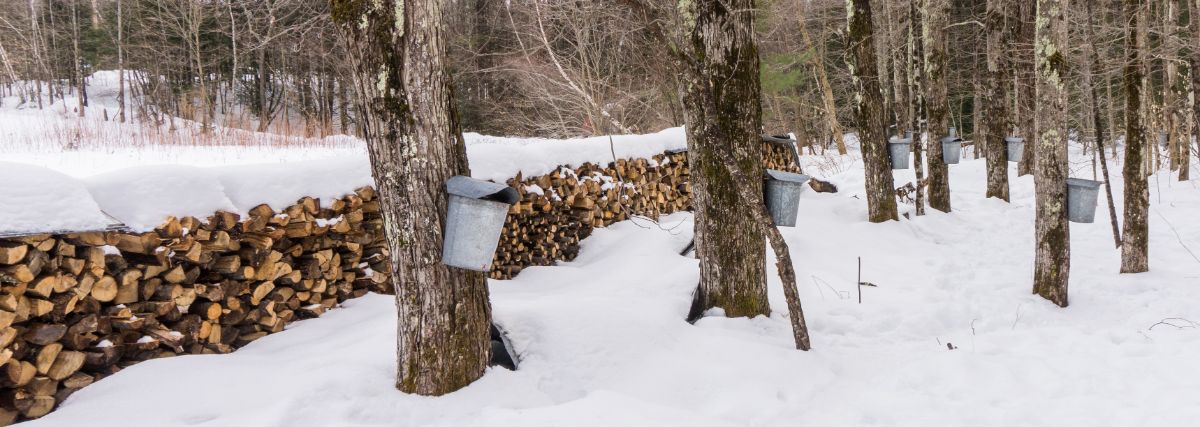
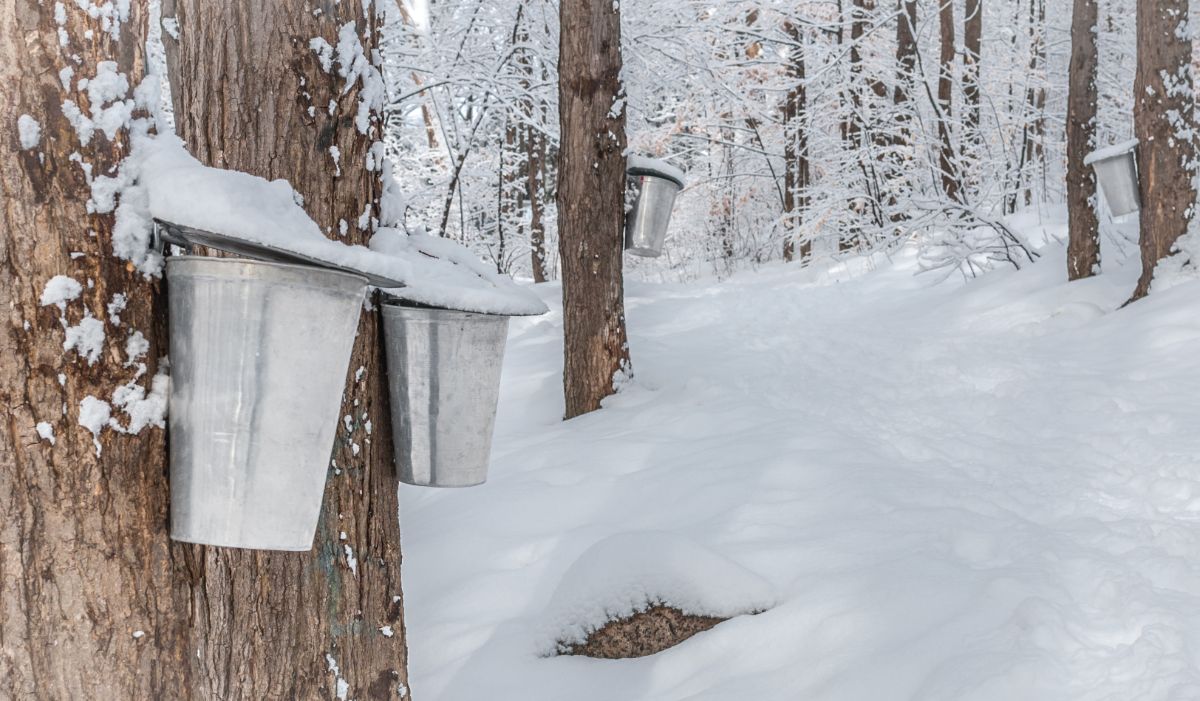
- Slip the hook into your spile and then hang your sap bucket from the hook.Be sure to cover your bucket with a lid or a bit of aluminum foil to keep bugs and debris out of your sap.
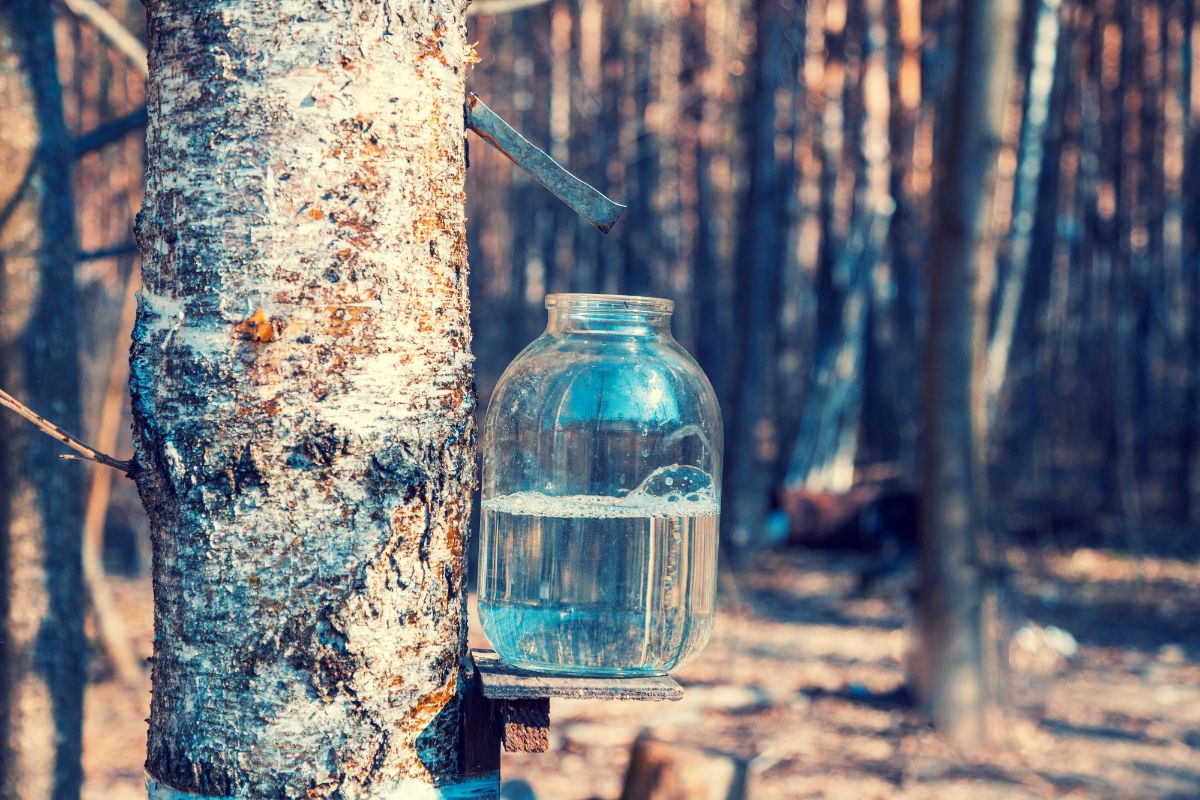
- Check your sap bucket every day or two.
As sap accumulates, pour it into a food-grade, 5-gallon bucket with a lid for safekeeping. Keep your bucket of sap cool by leaving it outdoors or in a garage until you’re ready to process it.
Fresh sap should be kept cool and be processed within 7 days after harvesting to ensure it doesn’t go rancid.
How to process sap into syrup
Once you’ve harvested your sap, it still needs to be cooked to turn it into syrup.
If you taste fresh maple sap, you’ll notice that it doesn’t taste like much, and it has the consistency of water. That’s because fresh sap has a high water content, which needs to be boiled off to create a thick and sweet syrup.
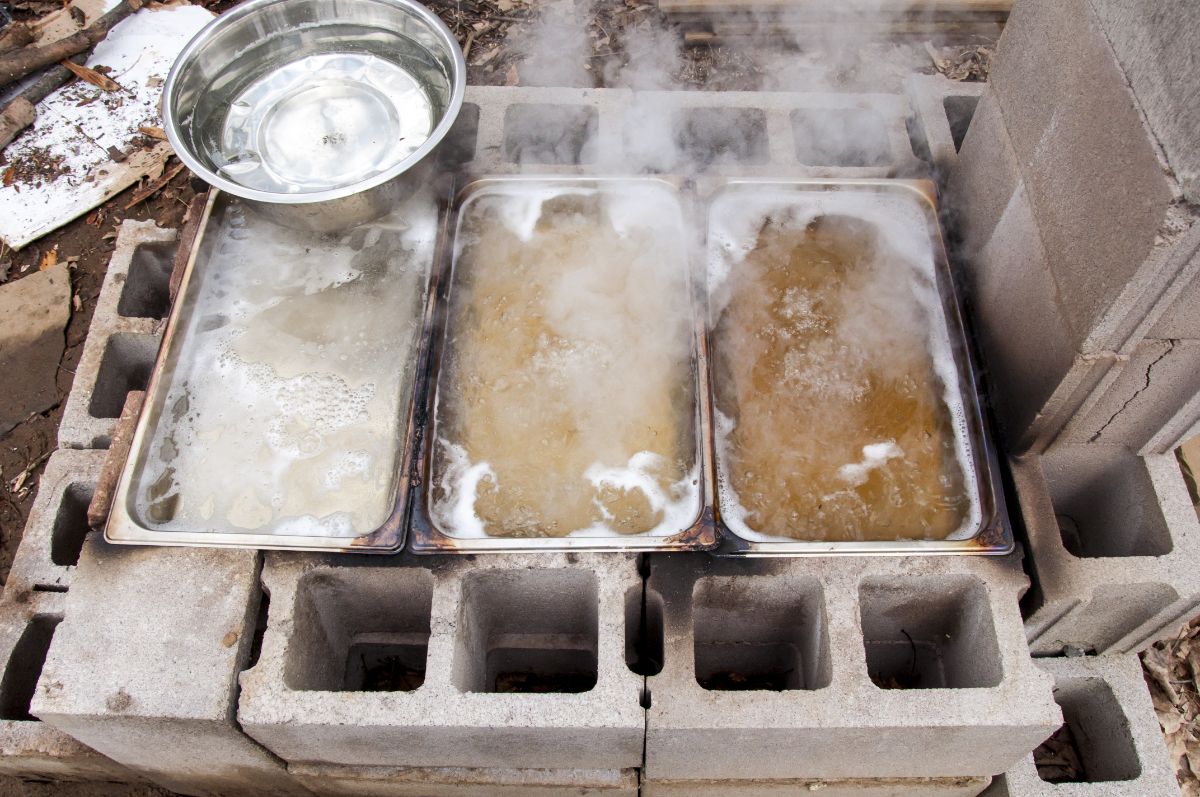
Large-scale maple syrup producers usually process their sap outdoors or in sugar shacks with large evaporators. Since you’ll be working with a much smaller quantity of sap, this scale is certainly not necessary.
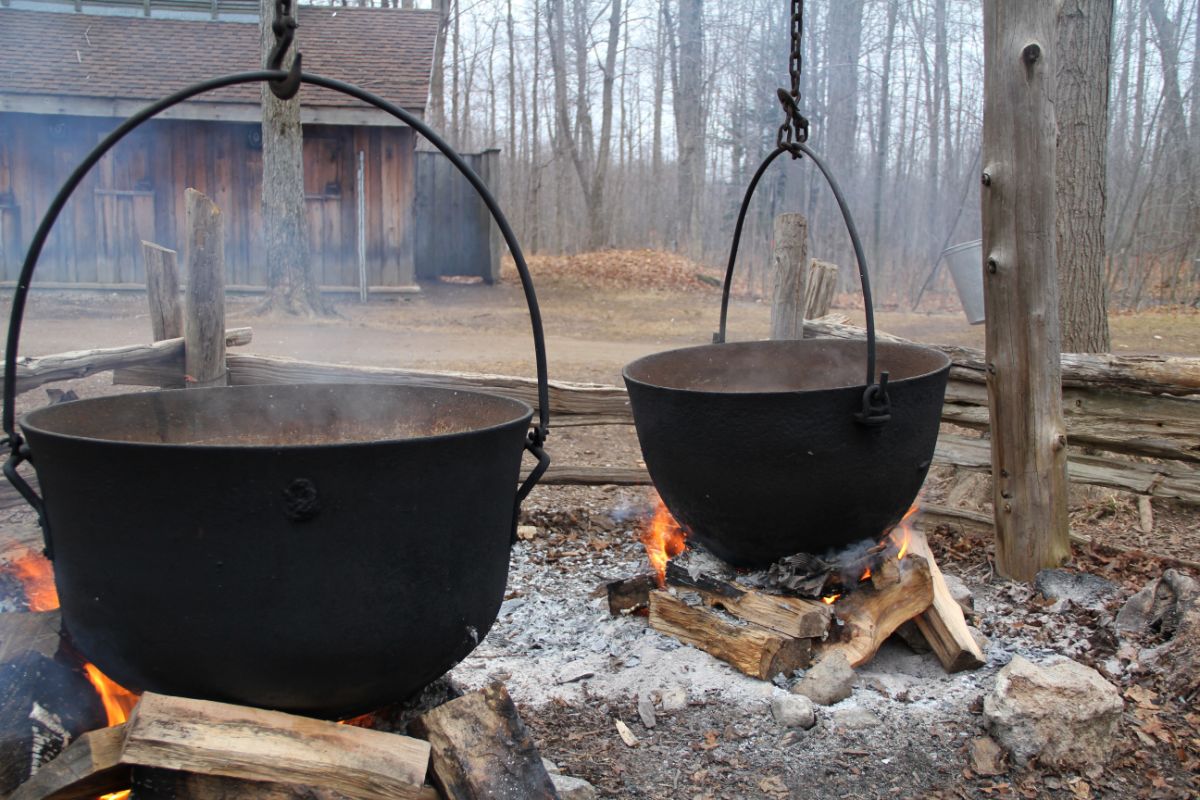
You can boil your sap right on your kitchen stove; however, it will release a lot of humidity into your home, which you may not want. For this reason, many backyard maple sugar makers often process their maple sap outdoors on a homemade evaporator or in a cast iron pot hung over an open fire. Which setup you use is completely up to you!
What you’ll need:
- Source of heat, such as an outdoor fire or your stovetop
- A large cooking container, such as a cast iron pot with a handle, a 12-quart stock pot, or a steam table pan
- Wooden spoon
- Candy thermometer
- Cheesecloth or fine mesh strainer
- Glass jar with lid
The process:
- Turn your stove on HIGH or get your fire going. If you’re using an open fire outdoors, be sure you have plenty of wood ready to feed your fire with. You’ll want your fire to stay hot for several hours!
- Pour your sap into your pot. Make sure your pot is large enough to contain all of your sap and still allow for plenty of space at the top so that your sap won’t boil over.
- Allow your sap to boil for several hours until most of the water has evaporated. Do not cover your pot with a lid.
How long this process will take will depend on how hot your stove or fire is and the size of your pot. Wider pots will allow more steam to evaporate more quickly, while narrow pots will take longer. This is why building a homemade evaporator with steam table pans may be the most efficient way to reduce your sap down.
On average, 2 gallons of sap processed indoors on a stove will take around 3 hours to reduce. That said, it’s important to monitor your sap closely and never leave it unattended. Once most of the water has evaporated, the syrup can burn very quickly.
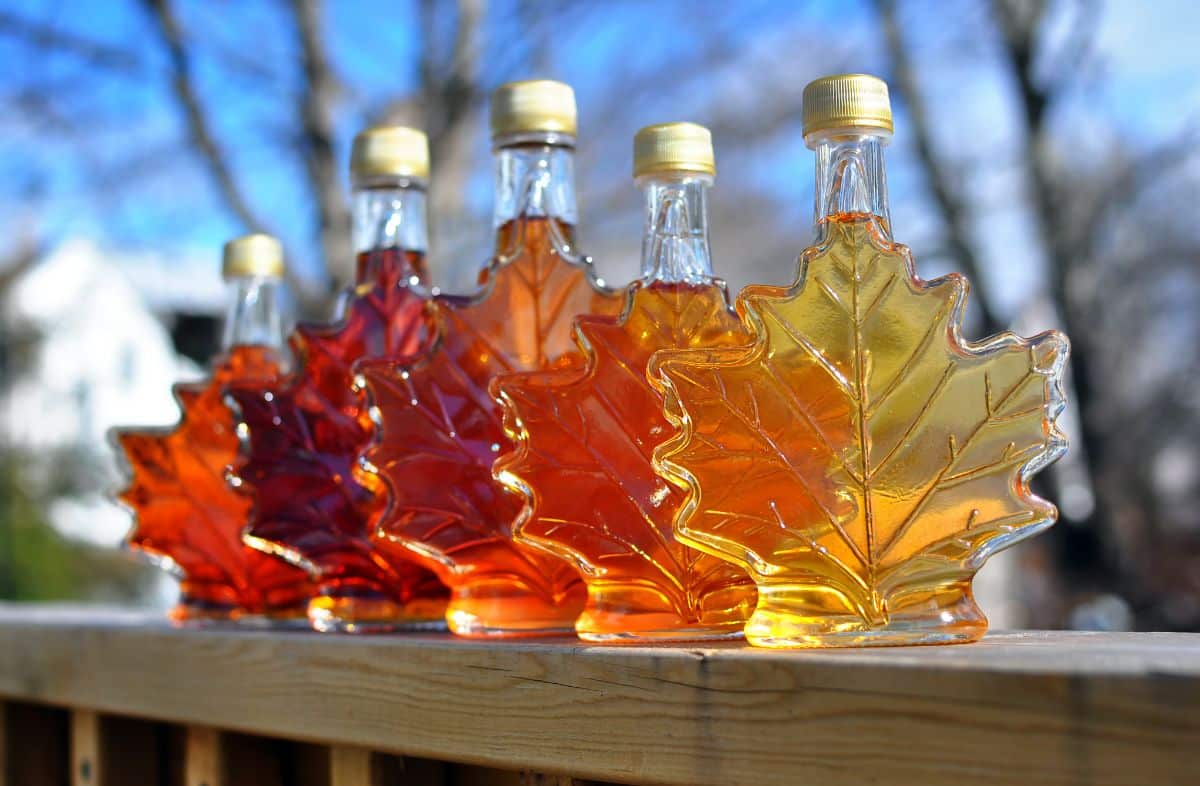
- Your syrup is almost ready when it begins to deepen in color, and it tastes a bit like syrup.
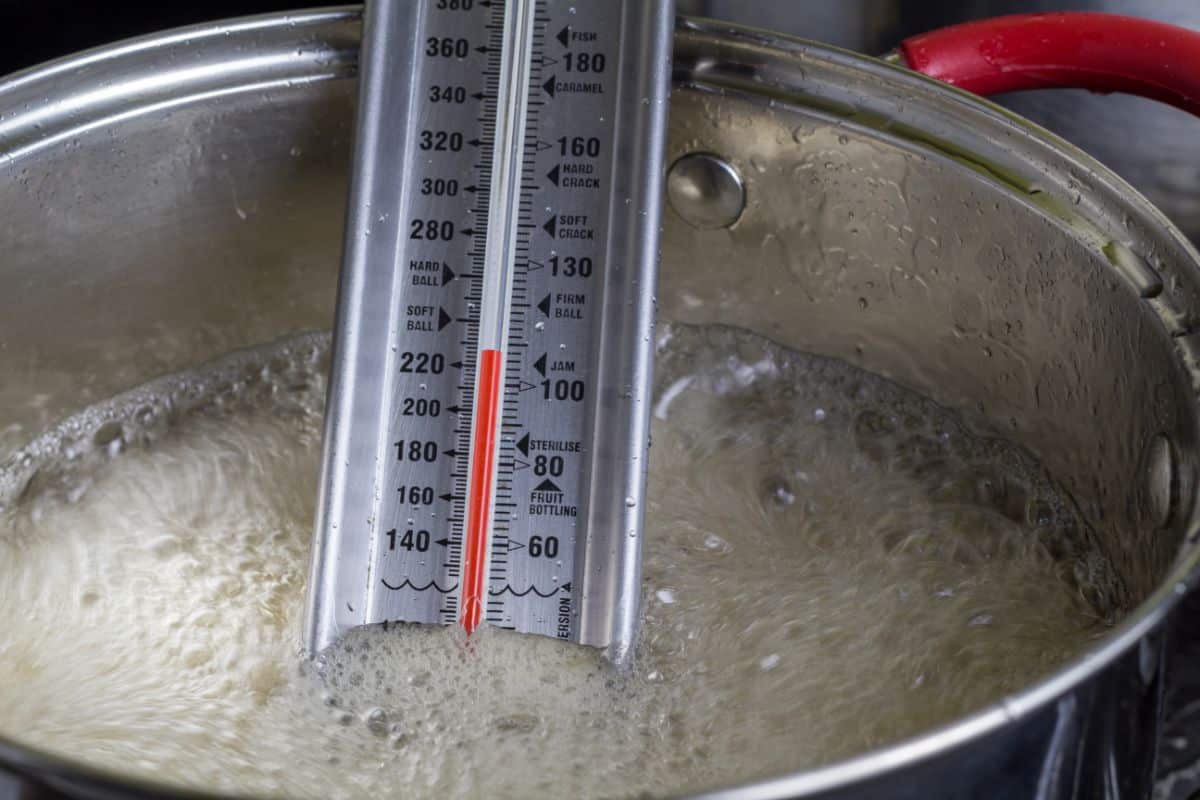
Due to the sugar content, the syrup has a higher boiling point than water does. You’ll know your syrup is finished when it is 7°F hotter than boiling water. If the water boils at 212°F, finished syrup would be done when it measures 219°F with a candy thermometer.
Keep in mind that the boiling point of water can vary based on elevation. You can determine your precise boiling point here.
Even if you boiled your syrup outdoors, you may want to finish cooking your syrup inside during the last few minutes of this process. This will allow you to monitor your syrup more closely with a thermometer and adjust your stove’s temperature as needed.
- Allow your syrup to cool, and then pour it through a fine mesh strainer or cheesecloth to remove any impurities.
- Pour your syrup into a glass jar and seal it with a lid and then place it in your refrigerator overnight. Once cooled, your homemade syrup will thicken slightly.
Pure maple syrup will last for about 1 year in a refrigerator.
To extend the shelf life of your maple syrup even longer, you can try pressure canning your syrup.
Frequently asked questions
Yes, you can! Maple syrup can be made from any type of maple tree, including red maples and silver maples. Sugar maples are most commonly used for syrup as their sap contains a higher percentage of sugar, so it doesn’t need to be processed as long.
Yes! While not all trees produce edible sap, some other trees with edible sap for syrup-making include walnut, birch, beech, boxelder, and hickories.
Yes. Sap from different trees has different sugar contents and flavor profiles. So, if you want to get adventurous, you can try harvesting sap from less commonly used trees, like birches and hickories.
Yes, tree sap contains minerals and nutrients that trees need for a number of different processes, including bud development and growth. That’s why it’s important to not overharvest sap from a single tree and only tap trees that are at least 10” in diameter.
Fresh sap has a very high percentage of water, which dilutes its sugar content a lot. Before processing, maple sap is very mildly flavored and may not taste like much. It also has a watery, rather than syrupy, consistency.
You can. However, many foragers choose to at least briefly cook fresh sap in order to make sure it does not contain any harmful bacteria. Maple water contains vitamins and minerals, and it is easier to produce than syrup.
Summary

A small family can easily gather their year’s supply of maple syrup from just a few backyard maple trees. This fresh syrup is tasty and fun to make, and it’s usually better for you than storebought syrup.
Much of the maple syrup you’ll find at your local store isn’t actually from maple trees at all. This imitation syrup is made from corn syrup and maple flavoring and contains a lot of preservatives. Making your own syrup at home will guarantee that your family is feasting on the very best syrup possible!
If you love foraging and want to learn more about wild eating, check out our guide on how to make flour from acorns.

Leave a Reply