Adding a planter full of colorful flowers or interesting foliage plants to your backyard patio or front porch is an easy way to add beauty to your home and boost your curb appeal. However, store-bought planters can be quite pricey, and many are flimsily made out of materials that won’t last.
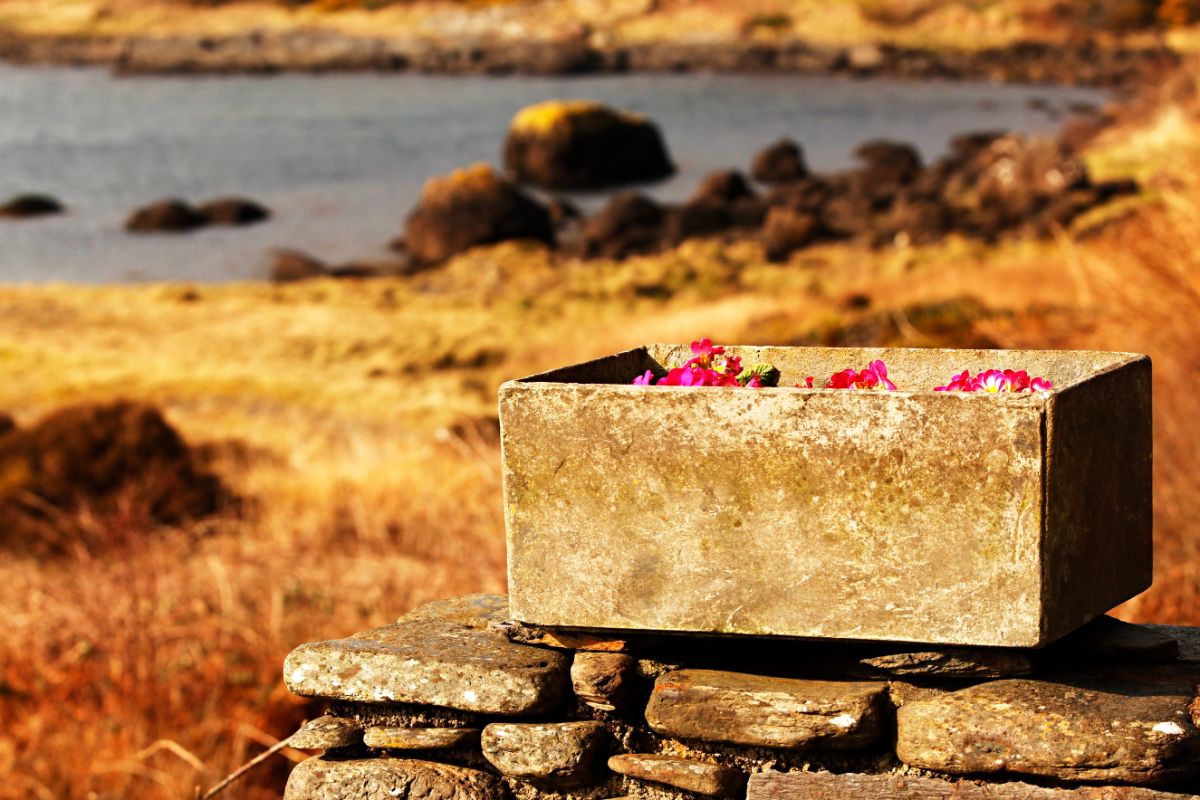
If you have a particular backyard color scheme or specific aesthetic you’re going for, it can be even harder to find a good, quality planter to coordinate with your home. And if you want a series of matching planters, it’s even harder!
The good news is that you can easily make your own DIY stone planter with just a few simple materials. And if you opt for upcycled pieces, you can make your own planter (or a bunch of them) very inexpensively too.
This guide will teach you how to create your own stone planter that’s just perfect for ornamentals and other accent plants. And while these planters are great for outdoors, they can be used for potted indoor plants too.
If you’re ready to get started, read on!
What you’ll need
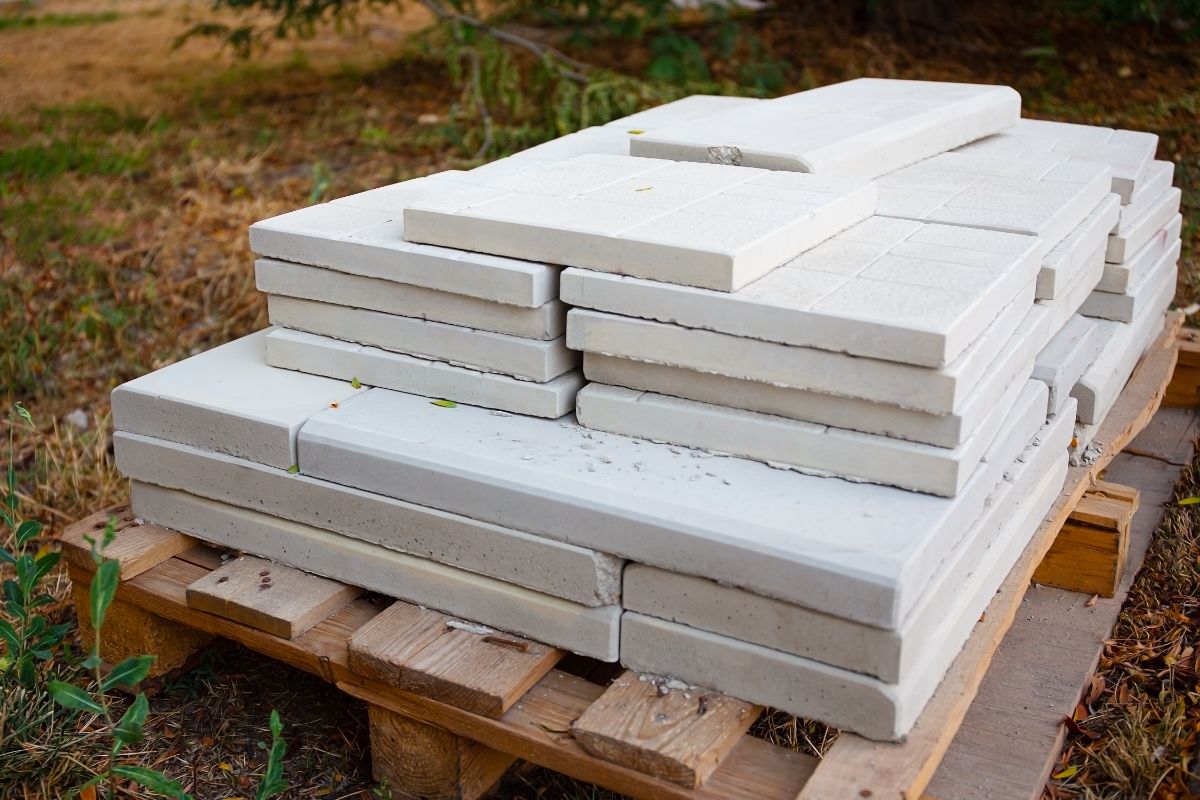
- 4 to 5 square stone pieces of equal size. Often the best choice is stone tiles, as these will be easy to find and uniformly shaped. Some good options include marble or granite tiles. You can also use ceramic tiles, but they won’t be as weather-resistant outdoors and may crack in winter.
- Landscape adhesive suitable for use with stone
- Caulk (choose a color that coordinates with your stone pieces)
- Packing tape
- Carpenter square
- Electric drill and masonry bits (optional)
- Felt floor protectors (optional)
How to make your own DIY stone planter
- To get started, take your first stone piece and add glue to the edge of one side. Using your carpenter square for guidance, line up the edge of a second stone piece against your glued edge to form a 90-degree angle. Press the edges firmly together and then secure the outer corner with tape to keep everything in place.
- Add another line of glue on the edge of your second stone piece and attach your third stone tile as you attached the previous piece. Repeat this procedure to create a box shape by gluing all four side pieces of your stone planter together. Be sure to check your angles as you go with your carpenter square to make sure everything lines up nicely.
- Allow the adhesive to set.
- Now you’ll need to decide if you’d like your planter to have a bottom. You don’t need to add a bottom, and you can just place your planter on the bare soil; however, if you want to move your planter indoors or you plan on moving it around, you’ll want to add a base.
If you choose to add a bottom to your planter, simply adhere the fifth tile piece to your side pieces with another line of glue. Allow your glue to set before proceeding.
For better results, consider drilling drainage holes into your base piece before gluing it on, as this will ensure your planter drains properly and will help to prevent common issues, like root rot.
To drill through stone pieces, be sure to use a masonry bit with your electric drill and wear safety glasses for protection. You can choose to drill a single center drainage hole or add a few smaller holes over the base of your planter.
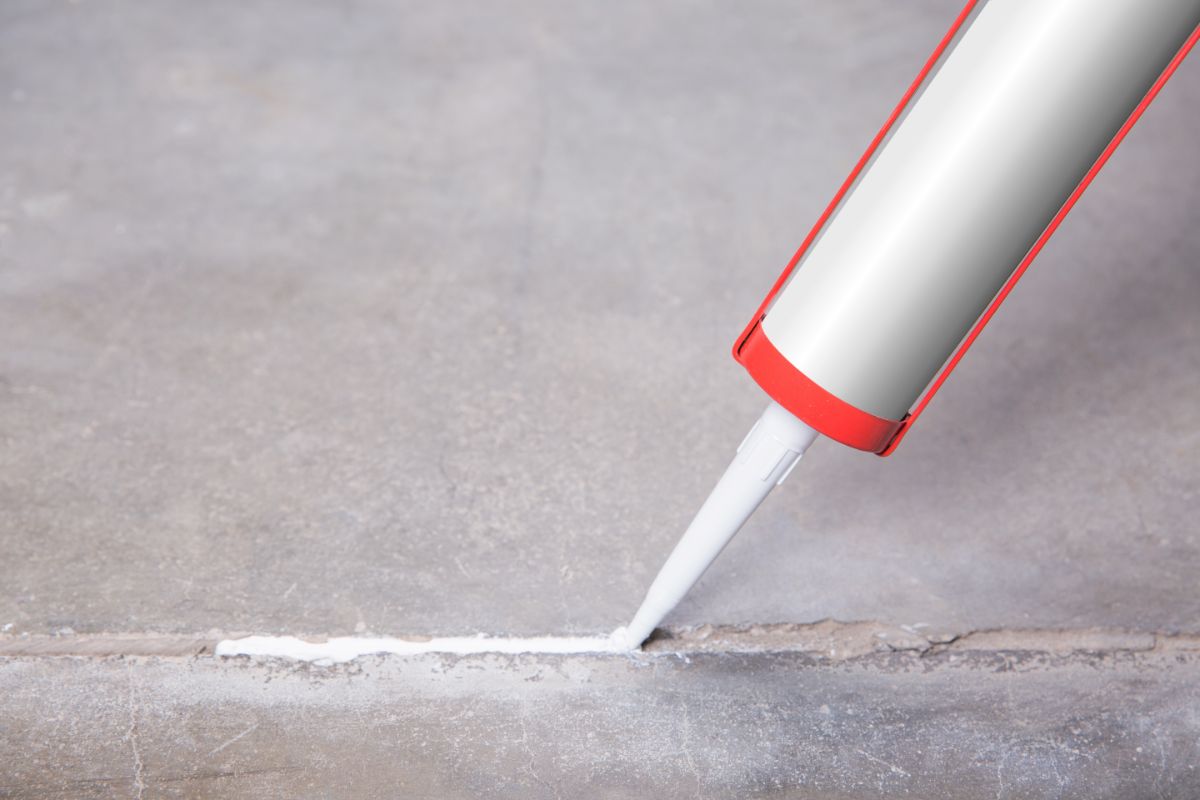
- Once the glue is dry, flip your planter right side up and then apply a thick line of caulk to the inner edges of your planter. Applying caulk to the sides and bottom edges will help further secure your planter and keep water from leaking out around the edges too.
- Let the caulk dry for at least 24 hours, and then remove the packing tape.
- Give your planter a little wiggle to make sure everything is secure, and then fill your planter with potting mix. After that, all that’s left to do is add some plants, and you’ve made a gorgeous ornamental planter to perfectly suit your home.
Note: If you intend to use your planter indoors, you may want to add some felt floor protectors to the base to prevent any floor scuffing. It’s also a good idea to place your planter on top of a large saucer or other waterproof material to catch any moisture, especially if you add drainage holes.
Frequently asked questions
Yes. Like terracotta, stone planters are porous, which can promote better airflow and reduce the risk of issues caused by waterlogged conditions, such as root rot.
Since these planters are made of porous stone, they may absorb water and then break when temperatures drop below freezing. To prevent this, move your planter inside your garage or outbuilding in winter or turn it upside down and cover it with a tarp for added protection.
You can! Any large tile, whether stone or ceramic, is a perfect choice for this project. Ceramic tiles will give you more color, while natural stone is best for a more neutral look. Just remember ceramic tiles may break when exposed to winter weather.
That really depends on the materials you use. Make sure you use natural stone and swap out the landscape adhesive and caulk for food-safe alternatives these planters will be appropriate for growing tomatoes, herbs, and any other edibles you want.
Summary
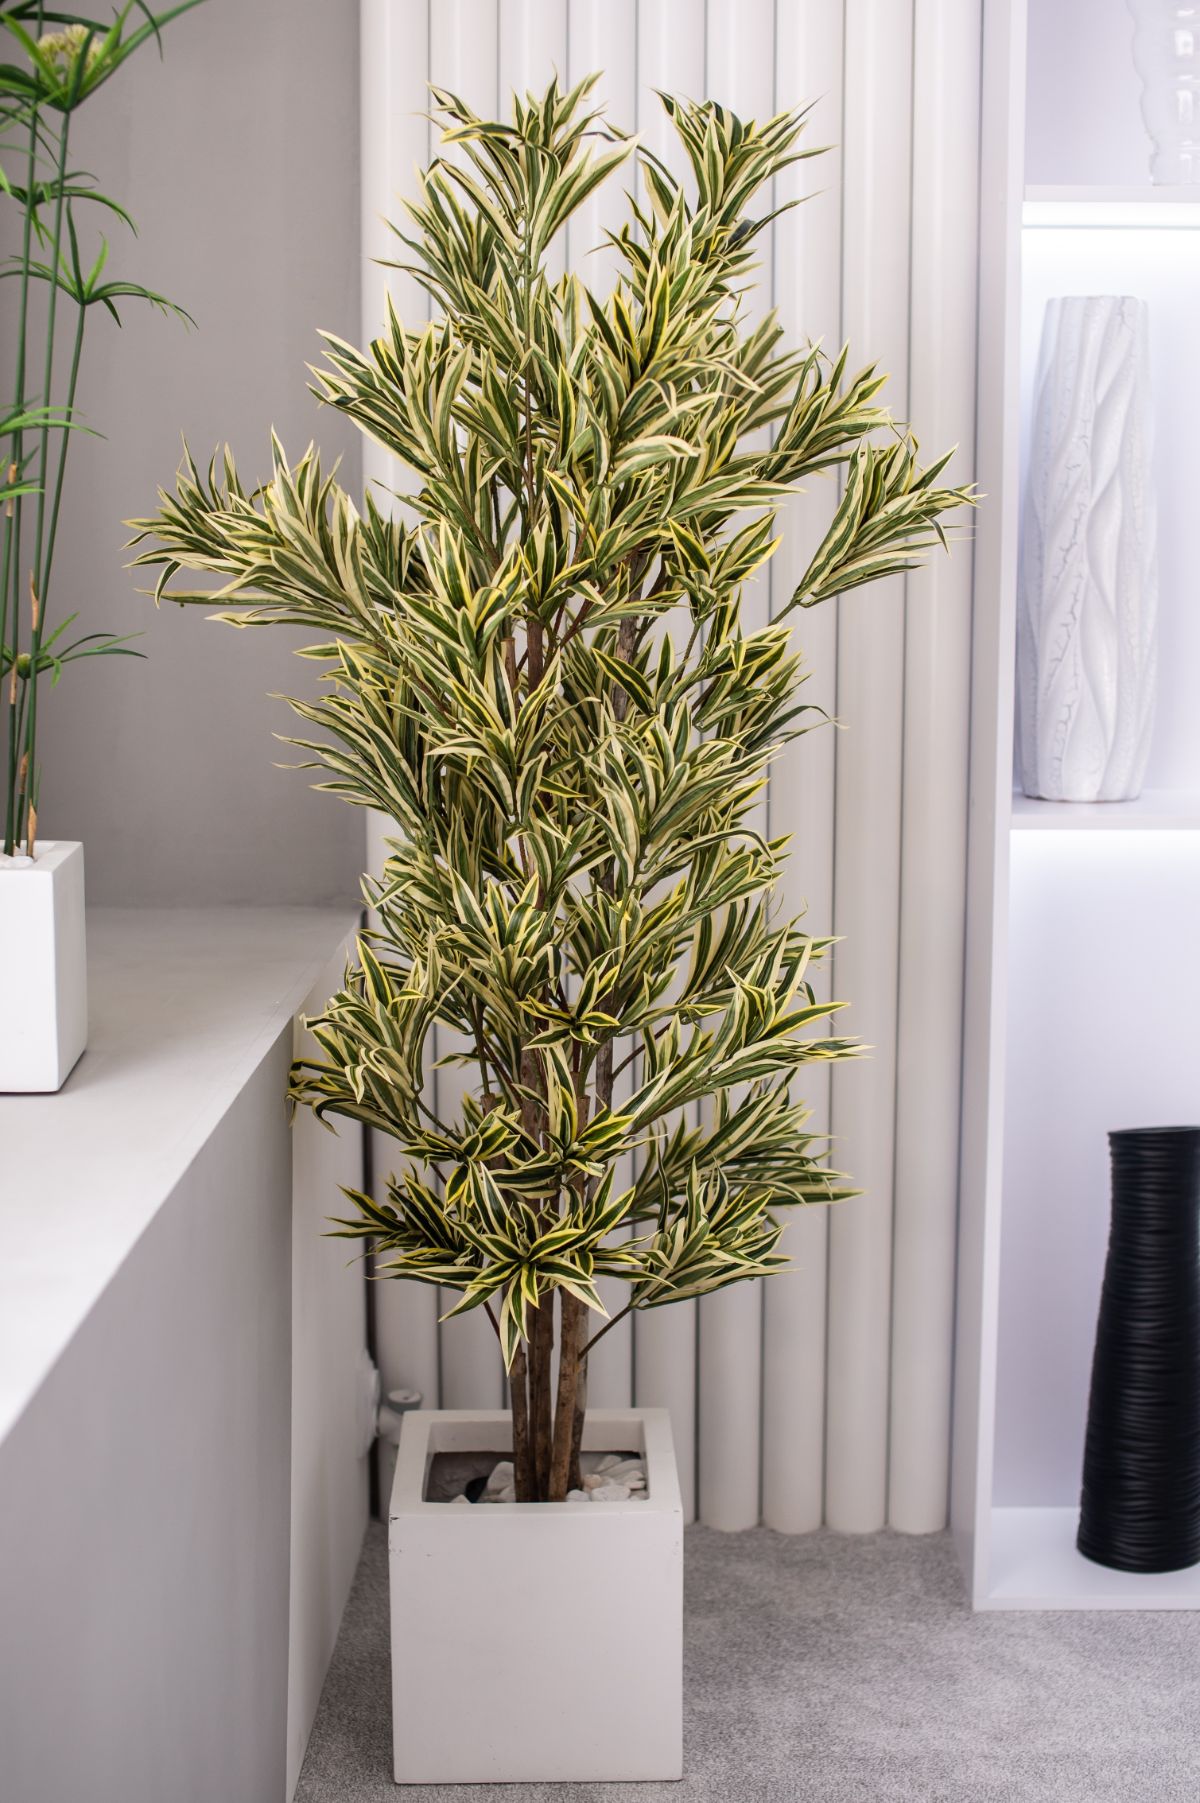
It can be difficult and downright expensive to find outdoor planters that perfectly match your home’s décor. But when you create your own DIY stone planter, you can make a planter out of materials that coordinate with your style. And, by doing it on your own, you’ll save money too!
We hope you enjoyed this guide to creating a homemade stone planter. For more DIY guides, check out our other articles here.


Leave a Reply