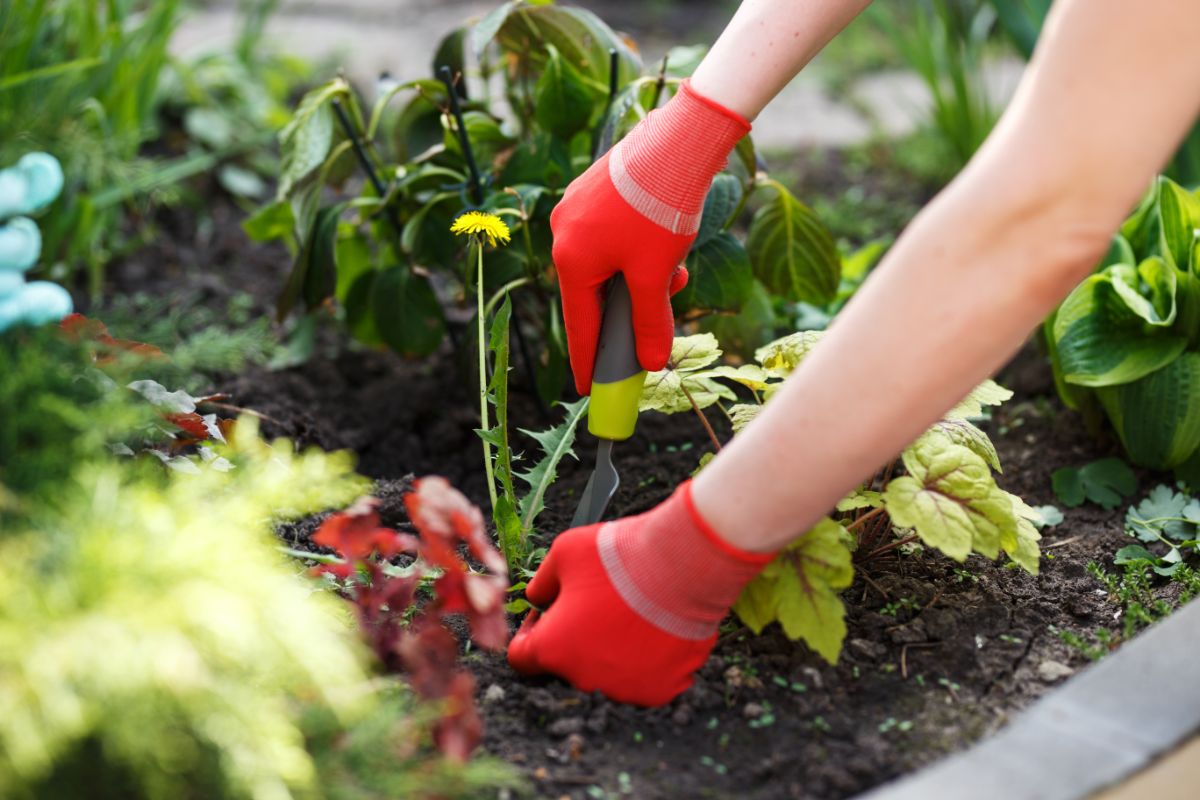
Gardens are peaceful places, known for their ability to soothe and restore us. But if your garden is overrun with weeds or your ornamentals are being drowned out by a thick growth of unwanted berry vines, you may feel anything but soothed. And though hand-weeding works, it can be a pain – quite literally – as you can easily spend hours bent over your garden bed, pulling weeds.
But there is a solution: weedless gardening.
Despite the name, weedless gardening isn’t really “weedless” but rather “low weed gardening” and is a system of methods and techniques that work to dramatically reduce the amount of weeds that will crop up in your garden.
Weedless gardening methods won’t prevent weeds from ever growing, they will ensure that few weeds take hold and, those that do, will be easy to remove. And while it is not a simple fix that can be done once and for all, by regularly preforming the techniques listed below, you’ll find that your garden will naturally become nearly weed-free, without having to resort to toxic herbicides either!
Jump to:
The benefits of weedless gardening techniques
The most clearcut benefit of using weedless gardening techniques is obvious: using these methods regularly will drastically reduce the amount of weeds in your garden. That’s the point after all! But before we really get started, we should say that even the best kept garden that employs every “weedless” gardening technique will never be truly weed-free.
Weeds are a fact of nature and are bound to crop up in any garden from time to time. So, the point of weedless gardening isn’t to eliminate all weeds, but rather to significantly reduce weeds so that weeding can be easily accomplished in just a few minutes per week. That’s a lot better than ripping tons of weeds out daily or having entire beds blanketed by dandelions, right?
While truly weedless gardens are not really possible, the techniques we’ll cover here are guaranteed to create a low-weed garden and will significantly reduce your garden weeds, naturally, organically and quickly. But beyond reducing weeds in your backyard, these techniques will also help to:
· Eliminate the need for toxic herbicides.
Synthetic herbicides are formulated from chemicals that are meant to kill plants; however, certain herbicides can have far-reaching consequences for humans and other animals.
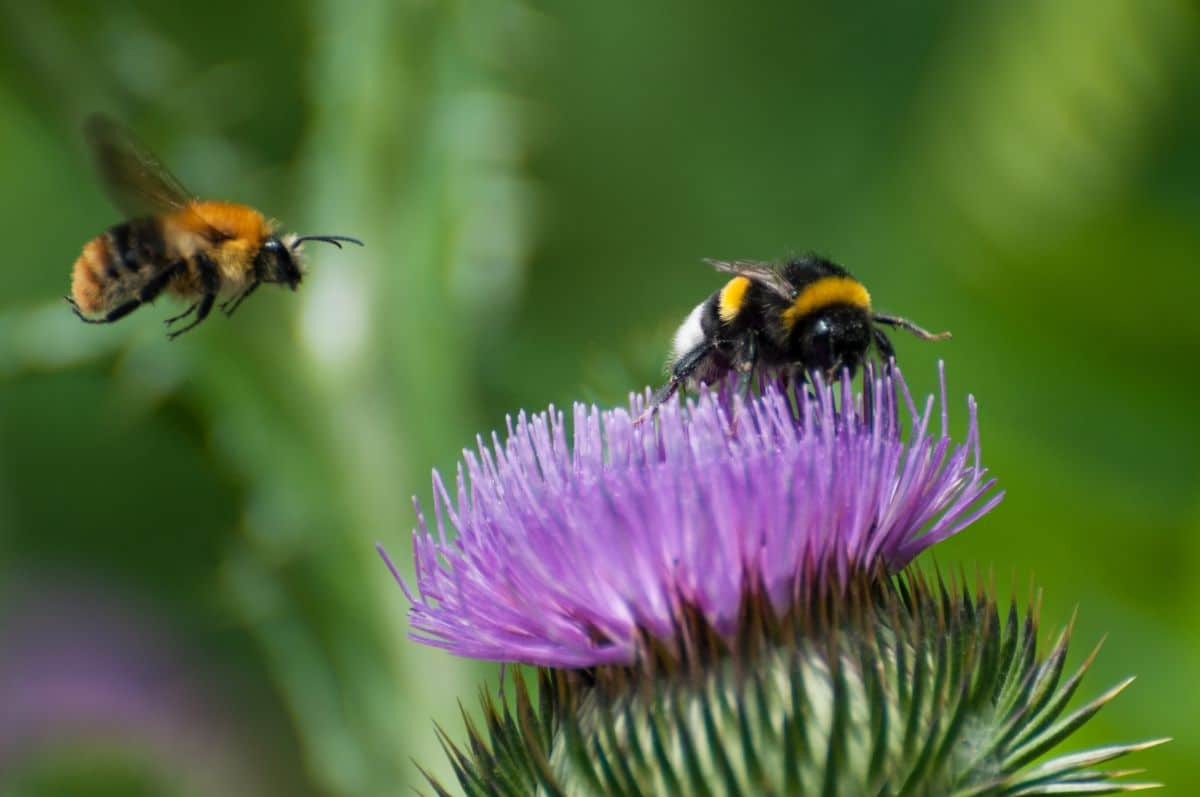
Some herbicides have been linked to serious health problems, ranging from chemical skin burns to reproductive issues to cancer. Beyond that, herbicides can leach into the environment where they can harm wildlife, including aquatic organisms and pollinators.
Weedless gardening techniques naturally and organically reduce weeds without having to resort to using any chemical that might pose a danger to your health or the environment around you.
· Simplify your garden maintenance.
Weeds can be a huge hassle and can take a lot of time and energy to pull. Worse still, weeds tend to take off during the heat of summer and, as any seasoned gardener will tell you, weeding gets a lot less fun when temperatures are soaring!
Using weedless gardening methods will dramatically reduce the amount of weeds in your garden, which translates into less work for you. With the help of these techniques, you’ll be able to perform your weekly weeding maintenance in a matter of minutes, rather than hours.
Additionally, if you have aching muscles or a sore back, these methods will save you from having to bend over your garden beds to pull weeds day after day!
· Reduce garden pests and plant diseases.
An overabundance of weeds creates cramped conditions, and those conditions can be breeding grounds for pests and pathogens.
Certain weeds can draw in unwanted insects and their dense foliage makes an excellent hiding place for troublesome pests, like slugs and leafhoppers. If that wasn’t bad enough, thick clumps of weeds in your garden can reduce airflow, thereby encouraging diseases like powdery and downy mildew to spread.
Ultimately, by keeping unwanted plants to a minimum and promoting a tidier garden space, weedless gardening can reduce the need for pesticides too.
· Improve your soil.
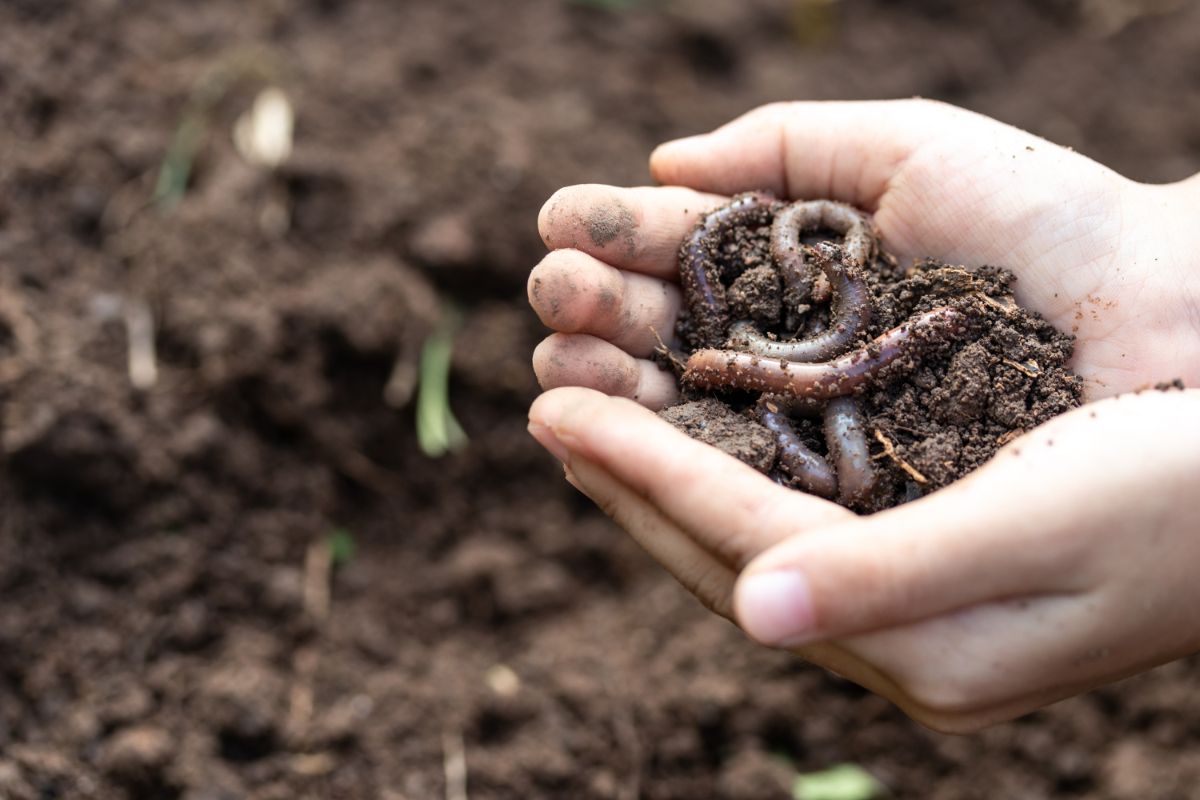
Rather than tilling your soil, weedless gardening promotes top-down soil building methods. Essentially, instead of tilling your soil, you build your soil at the surface by topdressing with layers of compost and mulch.
When practiced over time, this method of soil building is sure to improve your soil, enriching it with the nutrients your plants need and improving soil structure and drainage too!
· Decrease water usage.
Weeds compete with your garden plants for water and nutrients. By reducing weeds, you’ll naturally reduce the amount of water your garden needs. Additionally, if you decide to install a dripline system (one element of weedless gardening), you’ll decrease your garden’s watering demands even more.
· Improve the aesthetics of your space.
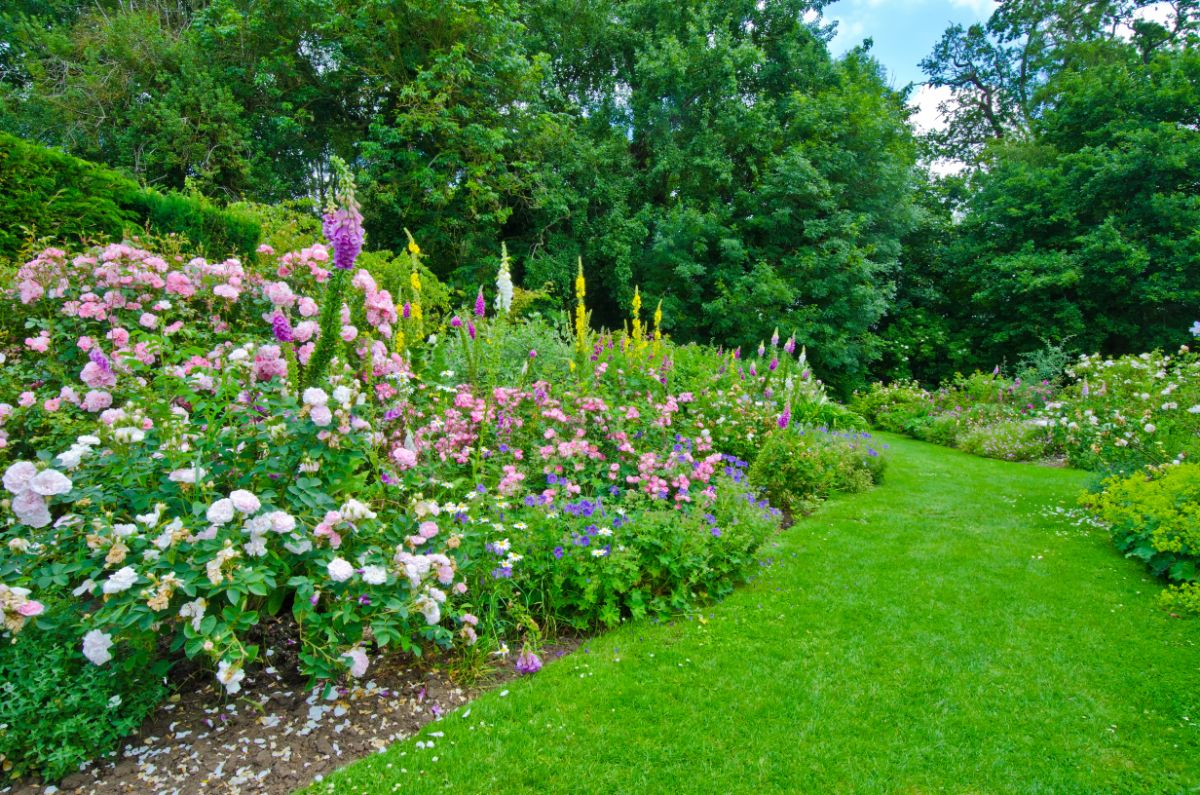
Weedy gardens can be wild places and weeds can quickly overcome ornamental plants. In a matter of weeks, sidewalks and pathways can be consumed by an abundance of weeds too.
By staying on top of weeds with weedless gardening techniques, your garden beds will look tidier, your walkways will remain clean and passable, and your ornamentals will be displayed in all their glory.
· Grow healthier and more productive plants.
By keeping weeds to a bare minimum, your ornamental plants, vegetables and fruit trees will grow healthier and more productively. This is partly due to the lack of competition from weeds for valuable resources, like soil nutrients and water, and partly due to the increased air flow and reduced pest habitats.
Whatever the reason, healthier plants and a maximized harvest are always good things!
The best ways to keep your garden weed-free
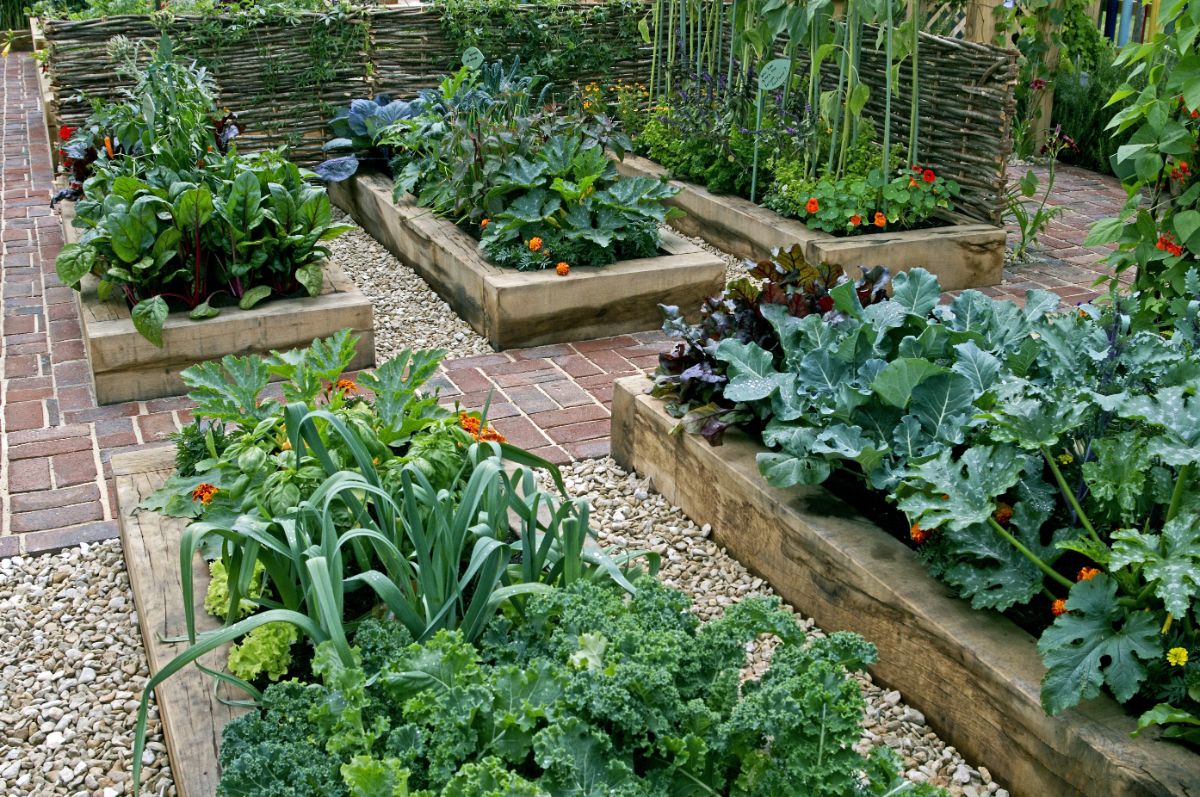
If you find weeding your garden by hand to be a relaxing experience, then, by all means, keep doing it! For the rest of us who don’t relish the task of weeding much, there are plenty of easy methods and techniques to employ in your outdoor space to keep your garden weeds to a bare minimum.
Stop tilling
Once upon a time, many gardeners considered tilling to be a necessary part of annual garden maintenance. Tilling your garden not only helped to loosen soil and remove rocks, but a properly timed tilling could nip weeds in the bud by tilling them under.
However, today, many gardeners choose to practice no-till gardening methods instead. We now understand that tilling can negatively affect soil, breaking up soil structure, promoting erosion and the rapid degradation of nutrients and killing beneficial organisms, like earthworms, too. But if that wasn’t reason enough to go no-till, tilling can also promote weed growth.
Natural soil contains weed seeds; however, only the seeds near the soil’s surface tend to germinate because they have better access to sunlight, air and moisture. But when soil is tilled, or turned over, weed seeds deep in the earth are inadvertently moved towards the top of the soil and, essentially, planted. So, if you’re tilling to destroy weeds, you will likely kill surface weeds but, in the process, you’re planting the next generation of weed seeds that were lying dormant deep in your soil.
Instead of tilling your garden, try mimicking Mother Nature with top-down or no-till gardening methods. This means that, rather than disturbing your existing soil, you’ll simply build on top of your garden beds with compost and mulch.
The basics of no-till gardening
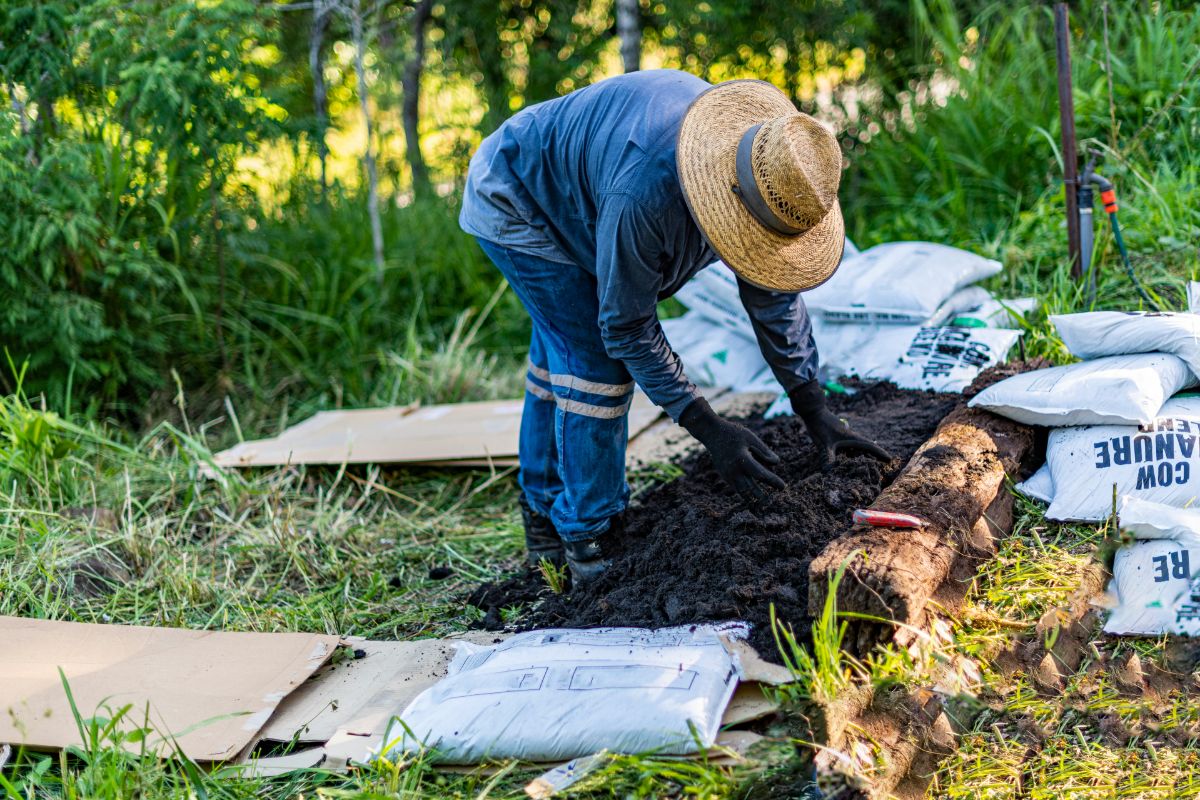
Tilling doesn’t happen in nature. Instead, as old plants die and leaves fall in autumn, they naturally degrade and turn back into soil. This process enriches the surrounding soil and supports plant life. The same ideas can easily be applied to your garden space with no-till gardening.
If you have an existing garden bed, you’re ready to go with no-till gardening; however, if you’re just starting out, you’ll need to get your beds set up.
If you’re creating a new garden space, mark out its dimensions and then either add new garden soil to your area, or till your soil just once to loosen up the earth prior to starting your garden. This can help ensure your soil isn’t too compact or stony for your plants.
Once you have an established garden space, simply layer compost on top of your soil, aiming for 1 to 3” of compost, and mix it well into the top few inches of your garden soil. Thereafter, refresh your soil at least once annually with another layer of compost and a good organic mulch.
The compost and mulch will help to repress weeds and, as they break down, they’ll naturally enrich your garden too!
Is tilling ever recommended?
Generally speaking, tilling should be avoided whenever possible as it will harm earthworms, destroy soil structure and inadvertently sow weed seeds. But, of course, there are a few exceptions:
- Establishing a new garden.
If you’re setting up a new garden, by no means do you need to till your space before planting, but you can. When creating a brand-new garden, you’re starting from scratch with soil that you haven’t already enhanced with compost and mulch. While it can be very disruptive to soil structure to till an existing garden, if you want to till your space, do so before your start building your beds.
Tilling new garden spaces can loosen up compact soil and help you dig out large rocks and boulders making for easier planting. It can also help you delineate your garden space and borders.
However, even for new gardens, you can avoid tilling altogether and simply begin building your garden using the top-down soil building method. Just add a layer of newspaper or cardboard for weed suppression over your garden space and then cover it with layers of garden soil, compost and mulch and you’re ready to start planting -- no tilling required!
- Very compact, rocky or clay-heavy soil.
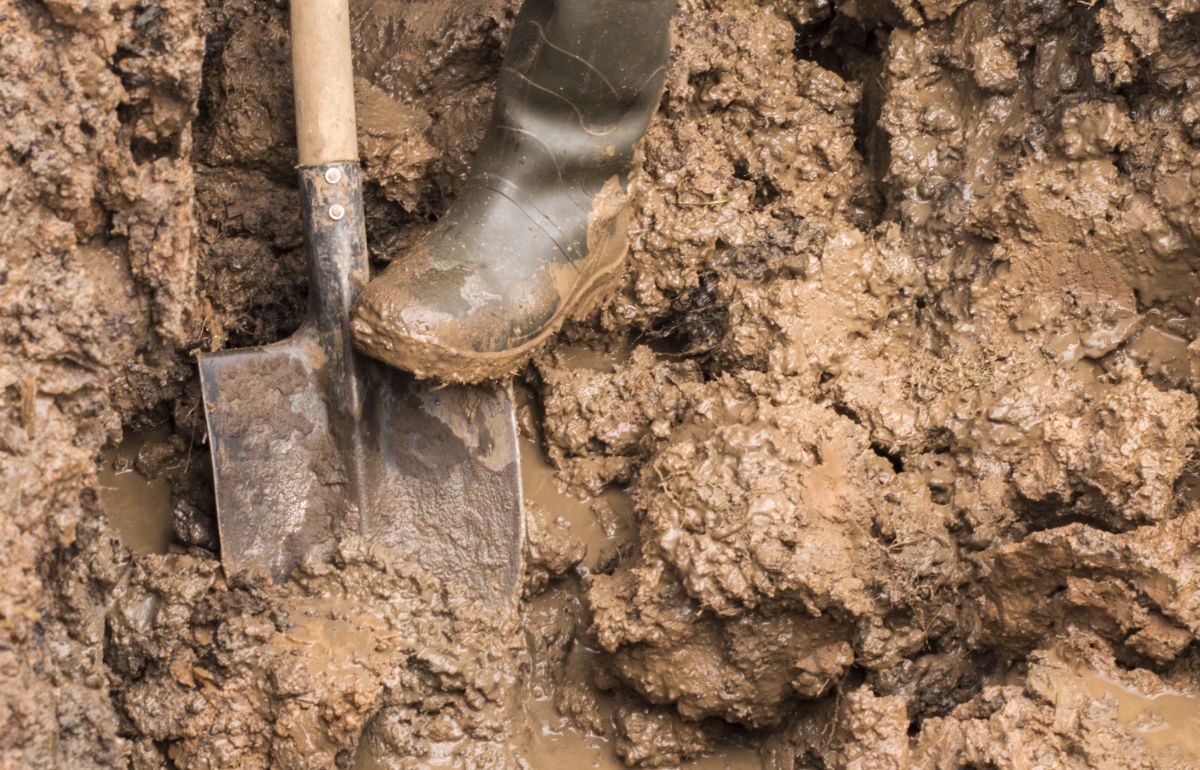
As mentioned above, you can build on top of existing soil using the no-till method; however, if you have very rocky or clay-heavy soil, you might not want to.
Clay-heavy soil can create issues with moisture retention and drainage, while rocky soil is difficult to dig in and may cause roots to become stunted or deformed. For this reason, you may want to consider tilling your space prior to building a new garden if you are dealing with lots of clay or rocks in your backyard.
- Certain garden pests.
Generally speaking, you’ll want to avoid tilling an established garden whenever possible for both weed suppression and to maintain your soil structure. But if you’re overrun with certain garden pests, sometimes the best solution is tilling.
Grubs, squash bugs and squash vine borers all spend at least part of their life cycles underground. If your garden experienced significant pest issues in previous years due to soil-dwelling insects, a well-timed tilling can be the answer. That said, there are no-till alternatives to this as well, such as soil solarization or an application of beneficial insects or nematodes.
Weed gently
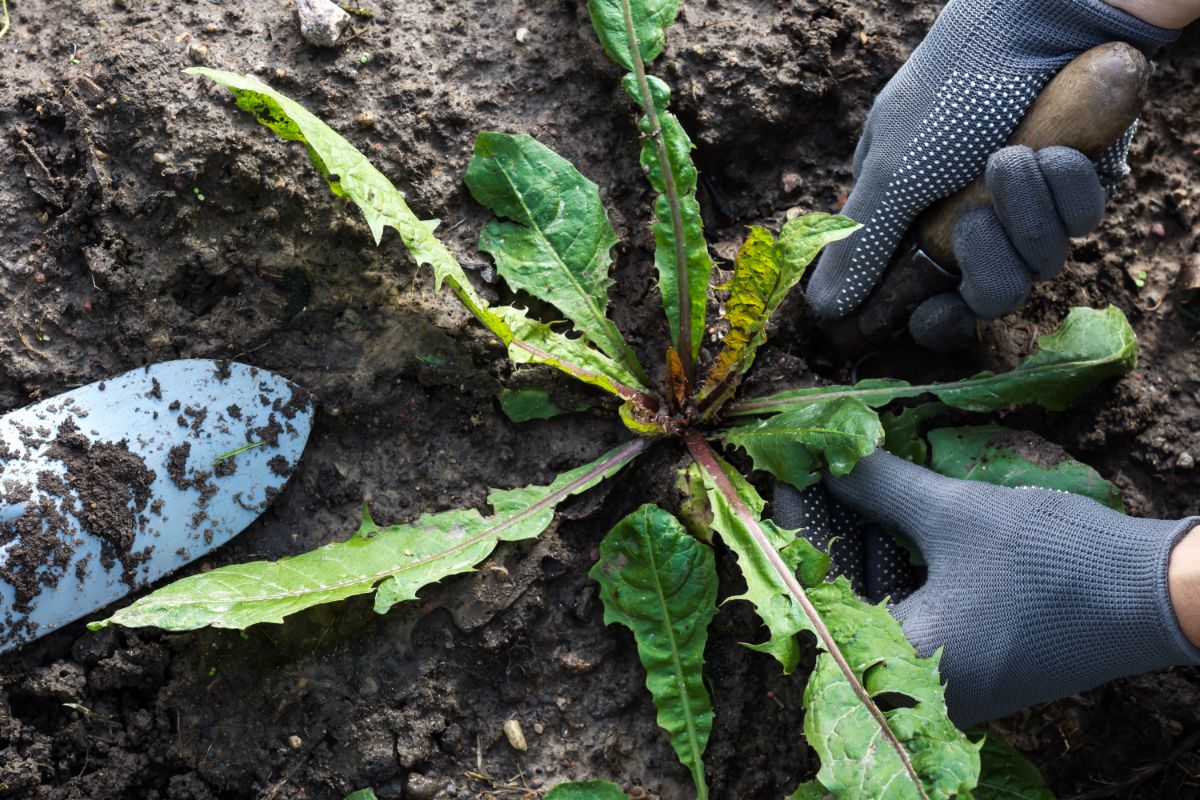
Just as tilling can accidentally sow buried weed seeds, vigorous weeding can too. In fact, anything you do in your soil, from digging with your hand shovel, to pulling up dandelion roots to hoeing, can inadvertently bring buried seeds up to the soil’s surface where they will germinate.
For this reason, whenever you’re working in your garden, try to avoid disturbing your soil as much as possible and weed gently if you can.
While weedless gardening will help reduce weeds, you will still need to weed from time to time and, if you’re just converting your garden to a “weedless garden," you’re going to need to do a bit of weeding to start. It can help to use certain garden tools to extract weeds to minimize how much you disturb the surrounding soil.
Weeding forks are great options for plants, like dandelions, with long tap roots. Using a slender fork shape to pry plants out of the soil, the innovative shape of this tool means you won’t need to dig large holes with your shovel to pull up long tap roots.
Hori hori is another useful garden tool that can make weeding a breeze. A variety of Japanese gardening knife, hori horis are long, slender blades that have a sharp side and a serrated side which are both used for severing root systems below the soil line, making for easy extraction.
Don’t compact your soil
Over the course of the year, as you walk across your garden space, move wheelbarrows around, drive your tractor about and other activities, you will cause your soil to become compacted. While tilling can help loosen garden soil, tilling is best avoided in weedless gardening. So, what’s the alternative?
Not walking on your soil of course! While it seems like a simple solution, in practice it can be hard to implement, especially when you’re performing regular garden maintenance, such as watering your plants and checking for pests. But there is a solution.
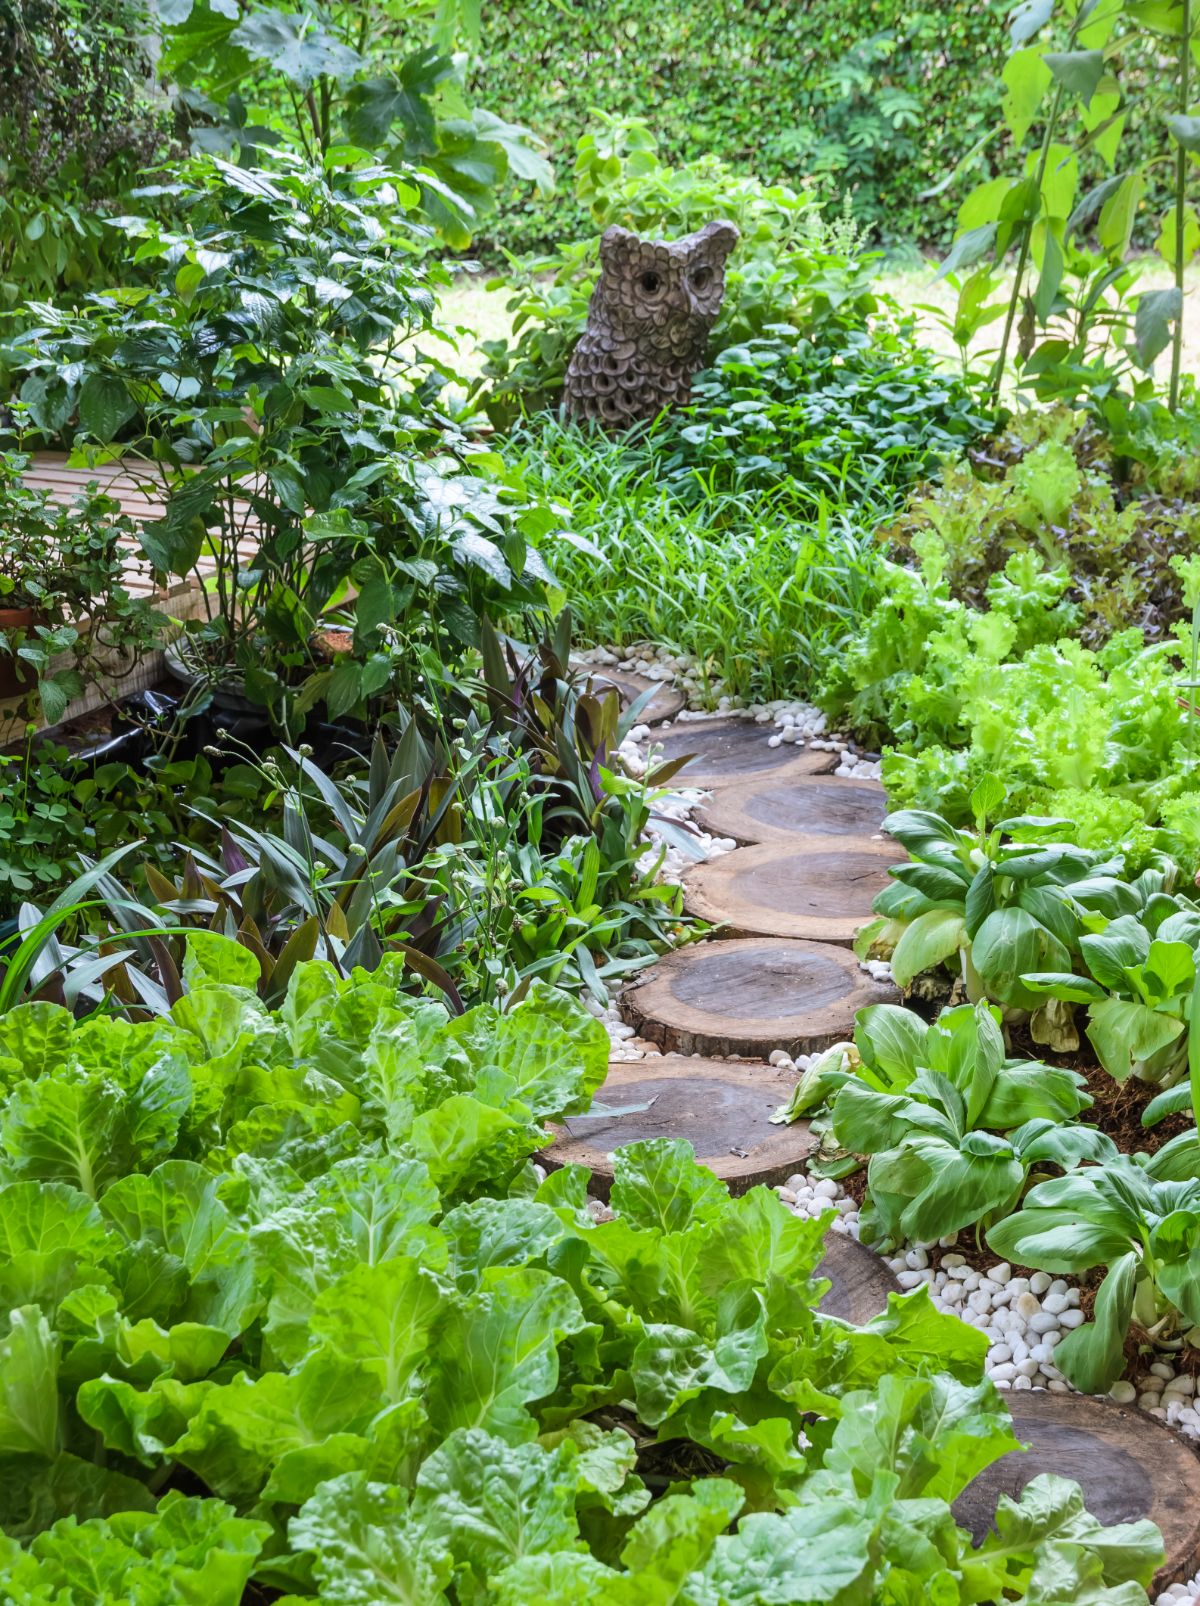
If you’re just starting a new garden, consider how best to avoid treading on your garden soil when you’re designing your garden layout. Raised bed gardening can help, as can allowing space for garden paths and walkways, adding stepping ledges to the sides of raised beds and not building beds that are wider than 4’. Beds under 4’ wide are easier to reach across when gardening, eliminating the need to walk in your beds to tend to hard-to-reach plants.
As garden paths can be fertile ground for weeds too, consider this when installing them and opt to create paths from materials that will suppress weed growth, such as bricks, stones, gravel or pebbles. Or if permanent walkways aren’t your thing, keep your paths well mulched with natural materials like saltmarsh hay or wood chips.
For already established gardens, try to work in some basic pathways into your design, even if those pathways are as simple as a few strategically placed rocks or stepping stones. Whatever it takes to make it easier for you and other garden guests to avoid compacting your soil.
While walking on soil and moving equipment, like tractors, around, are the quickest ways garden soil can become compacted, over time soil can become dense all on its own due to rain, weather and other factors. The beauty of no-till gardening is that, as soil is continuously rebuilt from the top down with regular applications of compost and mulch, the upper layers of soil are newly built and loose.
As most plants’ root systems confine themselves to the upper layers of soil anyway, if you are regularly applying compost and mulch to your garden, and you’re using walkways to avoid stepping in your garden rows, your soil should remain relatively loose and workable.
Keep your soil covered
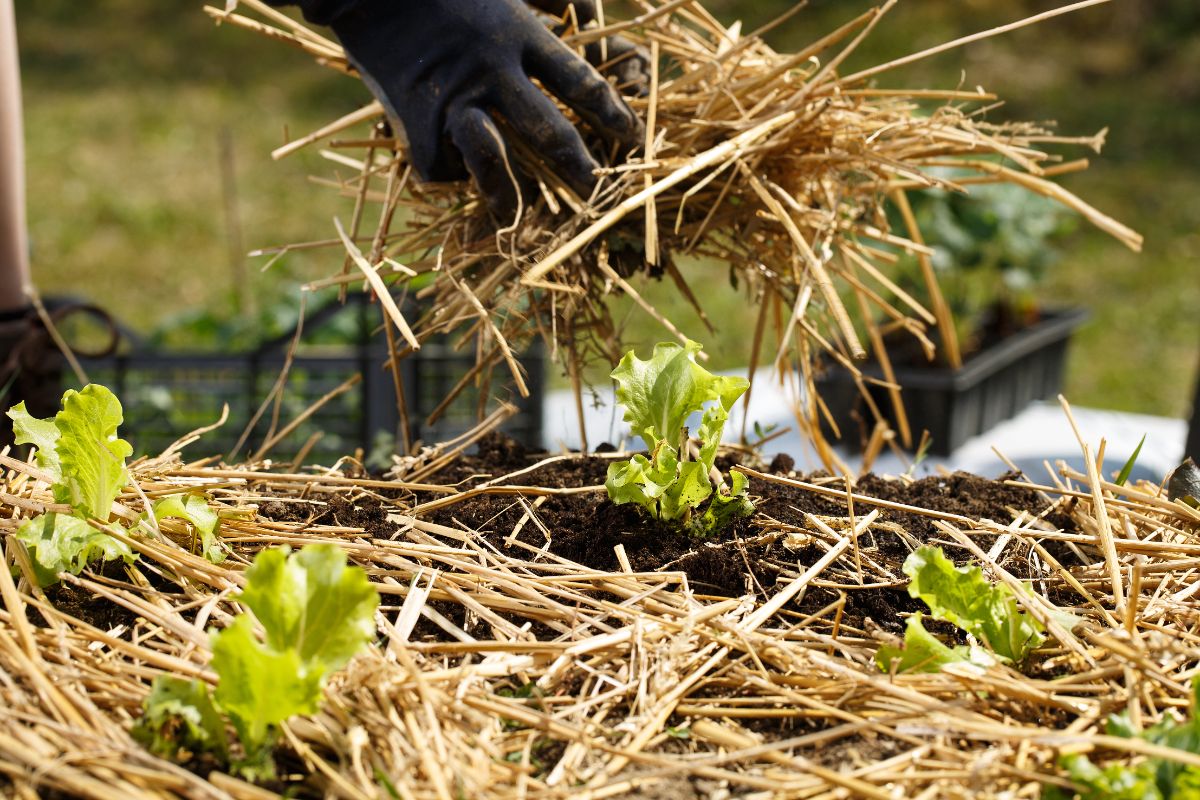
If you take a walk in nature, you’re unlikely to find a patch of bare earth. That’s because plant seeds are opportunistic little things that are happy to take root anytime they find a spot of empty soil. If a spot of earth isn’t covered by leaves or pine needles, a weed seed will eventually find it and start growing.
It’s important to keep this in mind when growing your weedless garden, as any spot of exposed soil is a potential breeding ground for weeds. That’s why you’ll want to do everything you can to keep soil covered at all times.
Mulch
When most people think of covering soil, they think of mulch. And with good reason. Mulch works well in ornamental gardens, vegetable beds and garden pathways and excels at weed suppression. By shielding your garden soil from weed seeds, mulch is the leading line of defense against weeds and should be a staple of any weedless garden.
But the benefits of mulch go way beyond simply repressing weeds. Mulch can also help soil retain water better, thereby reducing the need for frequent watering. Additionally, it can insulate plant roots from temperature extremes. Even better, if you’re using a natural mulch, it will enrich your garden soil as it degrades. Win-win!
Best mulches for your garden
When it comes to choosing the right mulch for your space, you’ll want to consider what sort of aesthetic you’re looking for and the plants you intend to grow.
For pathways, gravel and pea gravel work well; however, vegetable gardens and fruit trees should only be mulched with untreated, degradable materials. Dyed mulches or recycled rubber mulches are best avoided around food crops.
Although weed suppression fabrics are useful, they are often made of plastic and quickly break down when exposed to the elements, transforming into a messy tangle of plastic strings that can be difficult to clean up.
While the choice is up to you, some of the best mulches for vegetable beds include:
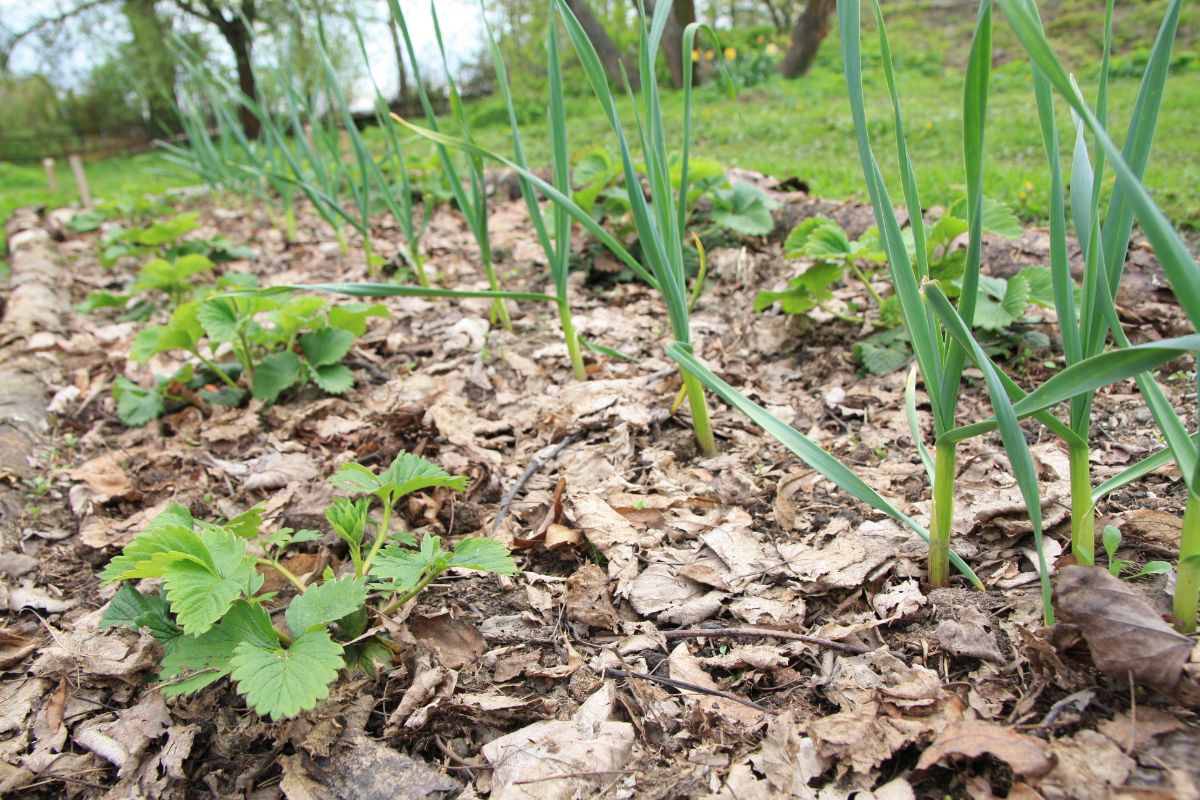
- Chopped autumn leaves. Free and easy to come by, autumn leaves are simple to use and all-natural. What’s more, putting them to use in your garden will save you from having to bag them and throw them away! Just make sure you chop your leaves up prior to use so they don’t hold too much moisture.
- Saltmarsh hay. Hay and straw are frequently used as garden mulches; however, unless you know your supplier well, your bales of mulch may contain unwanted weed seeds too. Saltmarsh hay, however, is much less likely to contain weeds and is slower to rot than other varieties of hay. This is because saltmarsh hay is harvested from coastal areas and any seeds present will only germinate in salty marsh soils.
- You can’t go wrong with compost! When used as a mulch, compost will also double as a soil enhancer, improving the nutrient-content of your garden and promoting plant growth. Talk about simplifying your garden maintenance routine!
How to apply mulch
For weed suppression, mulch should be applied regularly, about once a year. Reapply mulch when last year’s mulch begins to degrade to ensure that your soil is always covered by a nice, thick layer.
When applying mulch, aim for about 2 to 4” of mulch. Mulch that is too thick may create issues with watering and airflow, while mulch that is too thin won’t do much to prevent weeds from creeping in. If you’re using compost as mulch, you can generally get away with using less as it is denser. For compost, aim for about 2 to 3” of coverage.
As you lay your mulch down, make sure you leave a bit of air space between your mulch layer and any plant stems or tree trunks. Ideally, you’ll want to leave about 3” of space between your plant stems and your mulch. This will help prevent issues like rot.
If you are planting seeds directly in your garden, carefully pull back your mulch in the area where you want to plant and then sow your seeds. Once your seedlings are well-formed and are several inches tall with a few true leaves, you can push your mulch layer back towards your seedling bases a bit to limit the amount of space where weeds can grow.
Ground covers
It’s good practice to apply your mulch in autumn before the winter really sets in. Prepping your garden for winter in this manner can give you a leg up on next year’s garden and simplify your spring gardening tasks. But if you don’t want to use traditional mulches, like wood chips, you can use living mulches instead.
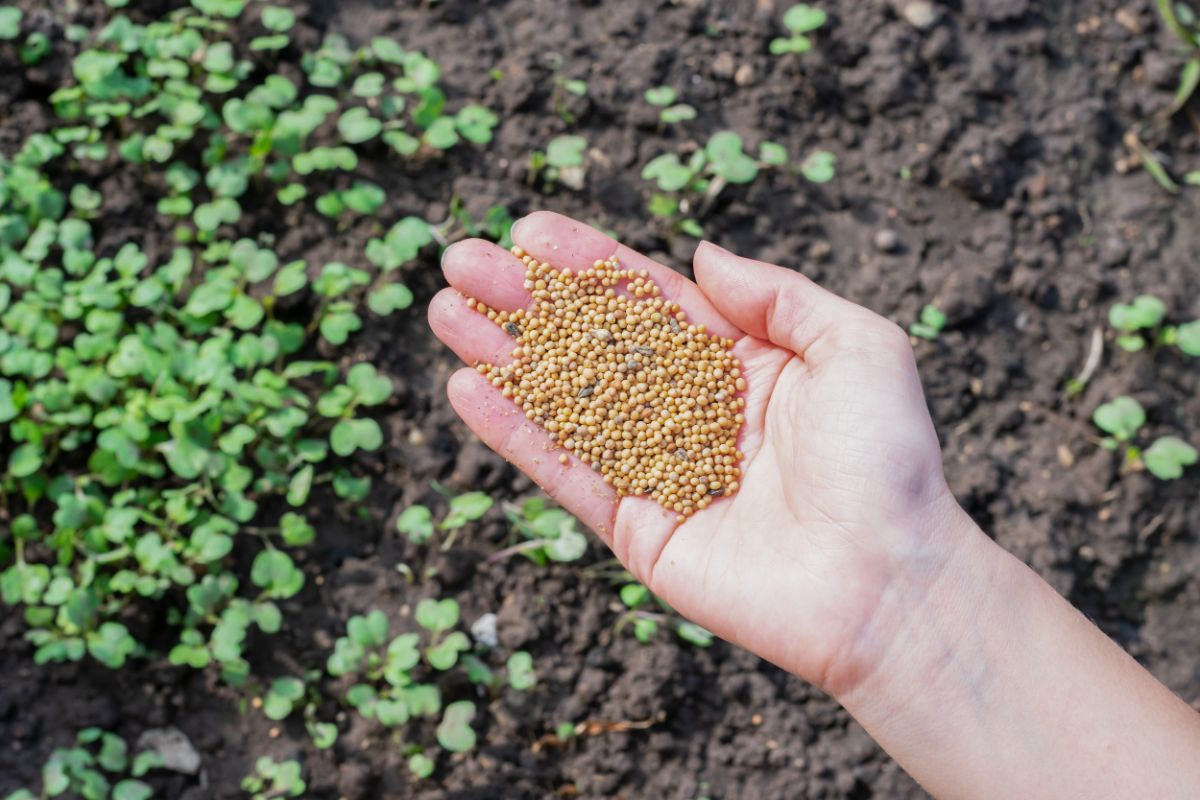
Cover crops, also known as “green manure,” are certain plants that are sown in your garden to prevent weeds, slow erosion and enhance your soil’s nutrients. When planted in autumn after you pull out your vegetable patch, cover crops can keep your garden soil well protected from any weed seeds that may try to take root.
If you want to use cover crops in your garden, opt for “winter kill” varieties, rather than “winter hardy” plants. Winter kill cover crops will be killed off by cold temperatures, meaning they won’t sprout up again in spring when you’re ready to start gardening. Winter hardy cover crops, on the other hand, can survive winter temperatures and need careful management in spring to ensure they don’t become weeds themselves.
Depending on your growing location, some of the best winter-kill cover crop options include:
- Oats
- Forage radishes
- Field peas
- Certain types of clover
- Rye grass
Beyond weed suppression, cover crops will enrich your garden soil, by releasing valuable nutrients, like nitrogen, after they die.
Planting arrangements
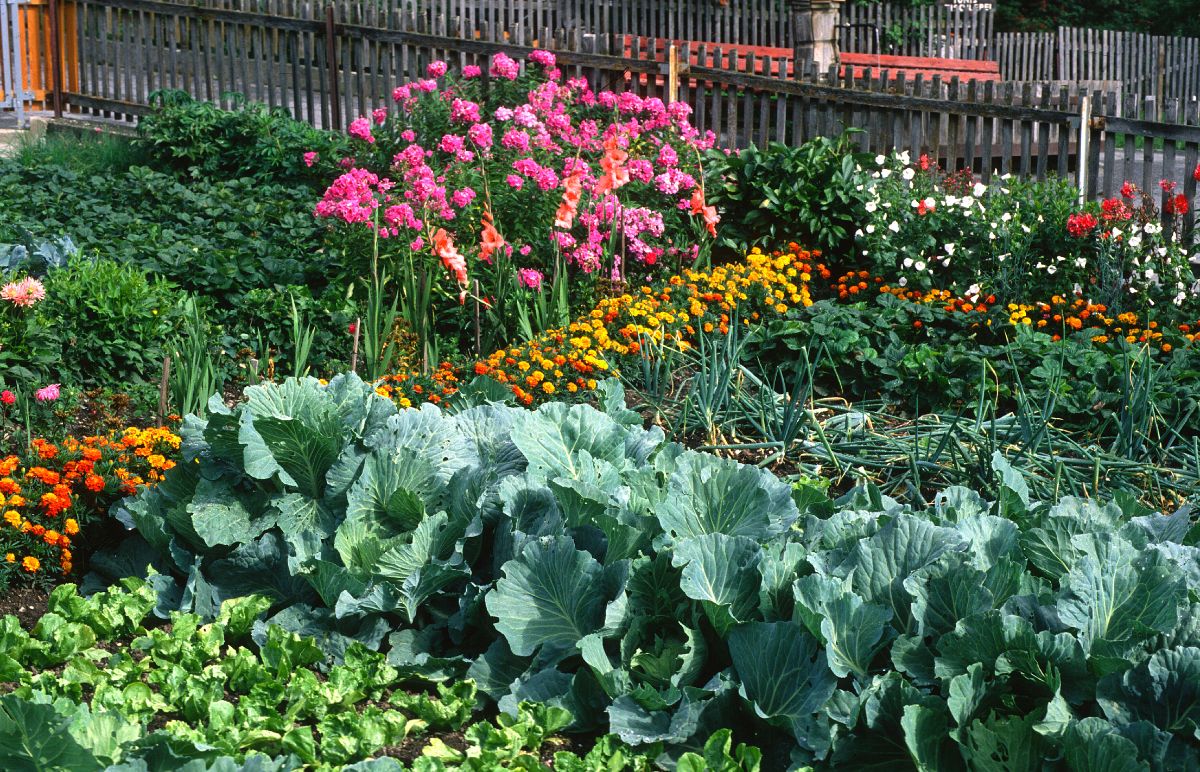
While mulching and cover crops can help keep soil covered to prevent weed growth, you can accomplish the same result and maximize your garden’s growing capacity too by paying attention to your planting arrangements.
When planting your garden, try to sow plants closer together, while still making sure you give each plant adequate room to grow and ample air flow. Try planting tall plants with shorter plants to cover more ground and experiment with some ground cover options, like creeping thyme, in ornamental beds.
If you sow cold season crops that are harvested early in the year, like spinach, try succession planting later season crops in the same area to avoid having bare soil. For example, follow up your spring planting of spinach with some carrots in summer and then sow some cabbage plants in the same area in late July for an autumn harvest.
By carefully planting as many plants as you can in your garden, you will ensure you’re getting as much use as possible out of your garden while also limiting the amount of area that weeds can grow in.
Try drip irrigation
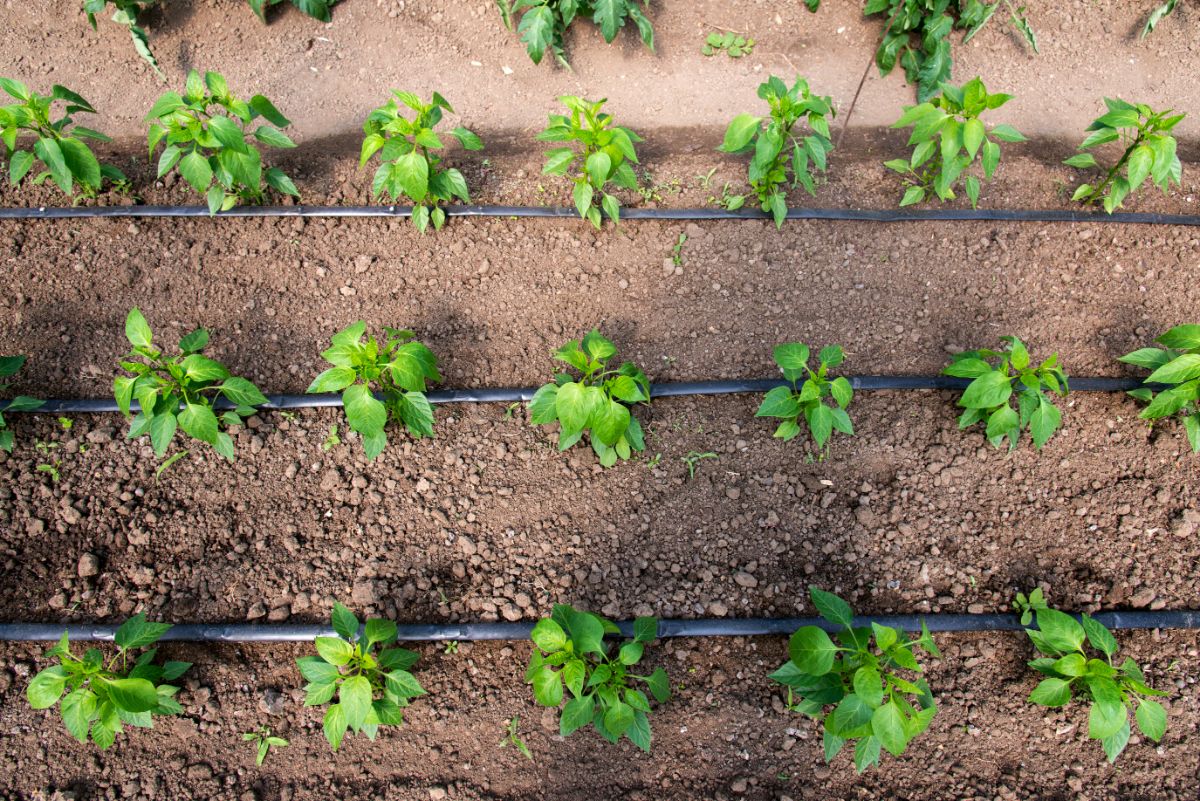
Sprinkler systems may make watering your garden a breeze but they don’t differentiate between the plants you’ve planted and unwanted weeds. So, every time your sprinkler system goes off and begins watering your garden, it’s watering your garden’s weeds too.
Not only do sprinkler systems encourage weeds by watering them, but overhead watering can also create the conditions that promote certain plant diseases, such as powdery and downy mildew.
Rather than cranking out your old sprinkler system this year, why not try installing a dripline irrigation system instead. These simple systems use a network of hoses and thinner tubes to direct water exactly where you want it: to plant roots. And, as dripline systems limit water flow, you can direct it only to the plants you want to keep and away from weeds. As temperatures rise, unwatered weeds will fail to thrive or wither away on their own.
While dripline systems may seem intimidating at first, they are quite simple to install and can be put together easily in the space of a single afternoon. Even better, because they can be attached to timers, you can make your entire watering regime automatic, taking all the guesswork and effort out of watering your plants. Timers can be set to go off at a certain time of the day (such as the morning which is better for plant growth) and they will continue watering your plants even if you go on vacation!
Although dripline systems are more expensive than a lawn sprinkler or hose to install, they last for years and most of the system can remain outdoors even during harsh winters, meaning you won’t have to spend much time maintaining them.
Although dripline systems are most often used with in-ground and raised bed gardens, they can be scaled back quite drastically and used to water small container gardens too. Just determine how long it takes your system to thoroughly water your containers and program your timer to water your plants just for those few minutes a day.
Driplines can water an entire row of plants at once, or you can direct your tubes to the base of a single plant or pot for very focused watering.
Fertilize carefully
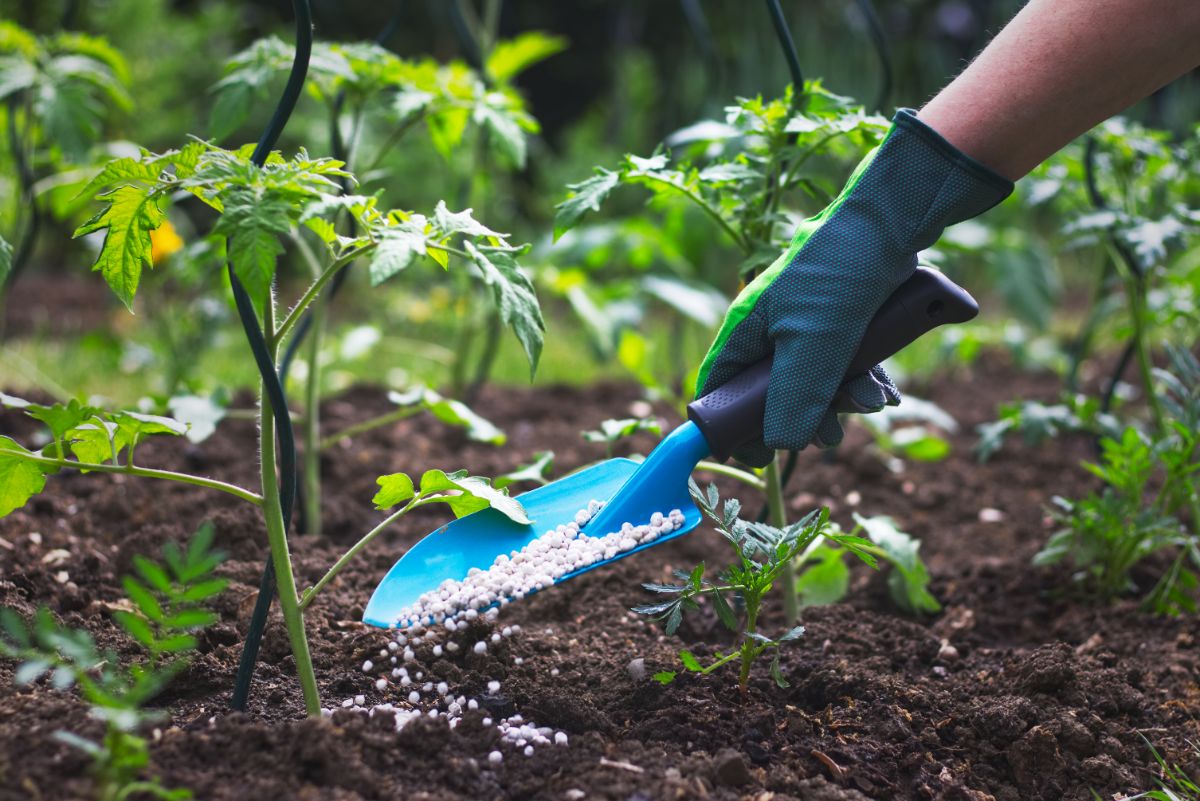
As with watering, you’ll want to be careful when applying fertilizer so as not to accidentally encourage weed growth. Weeds, like any plant, will grow stronger and more resilient in the presence of fertilizers, so try to keep fertilizers away from weeds if possible.
If you’re growing in pots or rows, direct fertilizers straight towards plant roots and try not to broadcast fertilizer all over the place. But, as always, follow the manufacturer’s instructions when applying and keep granular fertilizers away from plant stems to prevent issues with plant burn or rot.
Organic weed control options
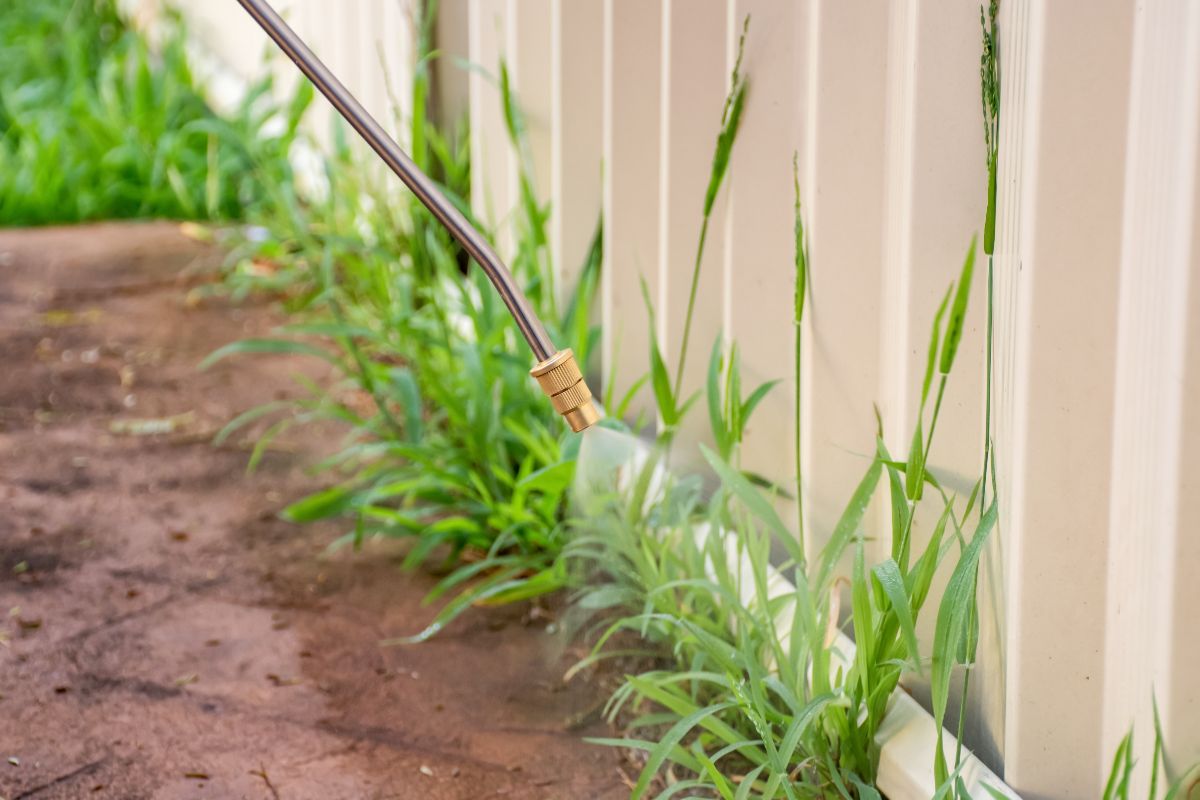
Even with the above methods, the occasional weed is bound to find its way into your garden. When that happens, don’t despair. Just know that weeds are a part of nature and that there presence means you have good, rich soil that weeds and other plants want to grow in!
However, though an occasional weed is no reason to get upset, it doesn’t mean you want to leave it in your garden either. Weeding out a single weed now will help stop it from sowing thousands of weed seeds later, after all.
So, when you do see a weed, be sure to pull it up and try to disturb the soil as little as you can to prevent sowing additional seeds. If you have a particularly troublesome weed or a plant that you don’t want to pull by hand, there are a few other organic methods that can help as well.
Vinegar
Surprisingly, household distilled white vinegar is an effective weed killer and it doesn’t contain any toxins either. It is, however, a generalized herbicide, so be careful where you spray it and don’t allow it to touch any plants you want to keep as it will harm any plant it comes in contact with.
To make your own homemade vinegar-based herbicide, mix together:
- 1 gallon of distilled white vinegar, 5% acidity
- 1 cup of Castile soap
To apply:
Pour your vinegar and liquid soap into a garden sprayer and begin spraying any weeds you’d like to dispose of, taking care not to spray non-target plants and watch the wind direction to avoid allowing overspray mist to drift onto other plants. Take the time to thoroughly drench weeds, as it’s not enough just to spritz them a little bit.
While effective, this recipe works best on younger weeds and older plants may need multiple applications to remove them completely. Also, try to time your applications for hot, dry days when rain is not in the forecast to avoid having your vinegar washed away.
Vodka
Vodka is another household product that is also great at killing weeds. Able to remove plant leaves’ waxy coatings, vodka kills plants by causing them to dry out when exposed to hot sun. As another general herbicide, take care how you apply vodka sprays and don’t spray them on non-target plants as they may be harmed.
To make your own vodka-based herbicide, mix together:
- 1 ounce of vodka
- 2 cups of water
- Several drops of Dawn or Castile liquid dish soap
To use:
Pour your mixture in a garden spray bottle and mist your weeds down, being sure to thoroughly drench any weeds you’d like to get rid of. As with vinegar sprays, vodka sprays are best used on hot, dry days when rain is not expected and they tend to work better with young plants and broad-leafed specimens.
Burning
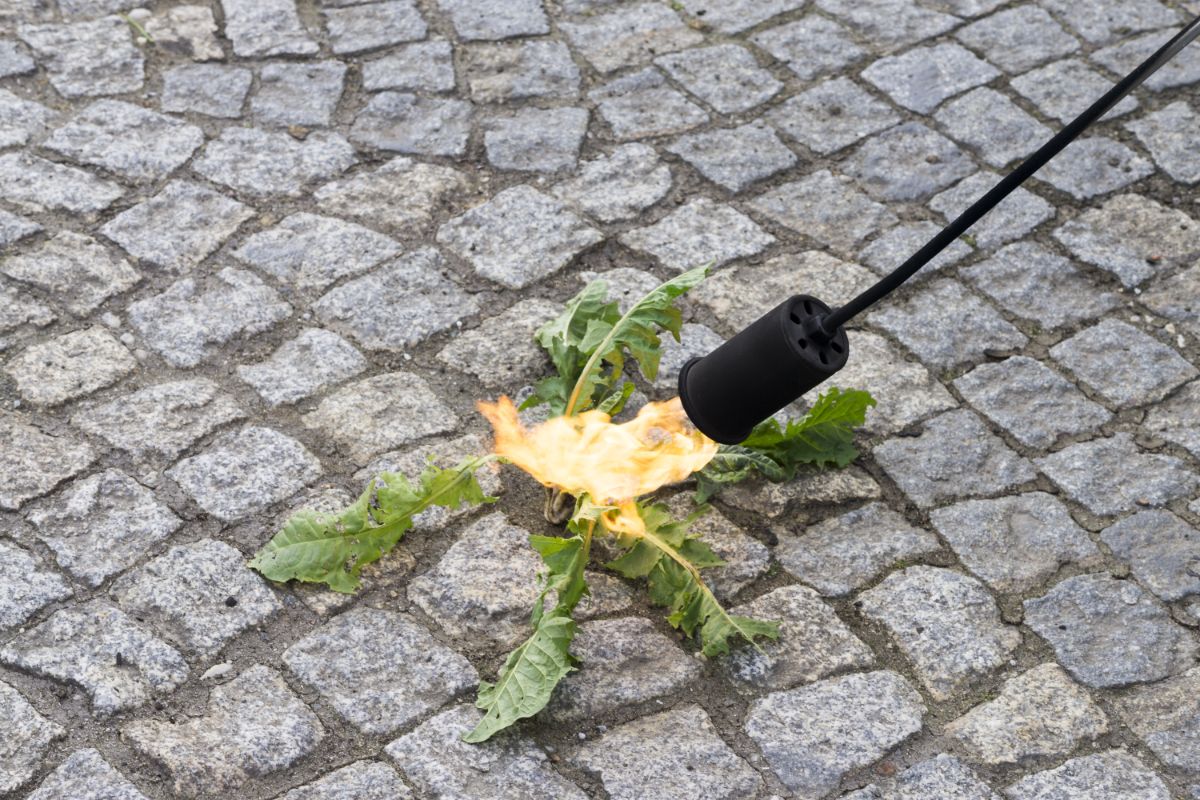
Also known as “flame weeding,” burning your unwanted weeds is a fast and effective way to weed your garden and works particularly well on stony walkways where tight cracks make weeding a chore.
Flame weeding works by quickly passing a torch over your weeds to heat them up. You’re not trying to completely burn up the weeds, but simply heat them enough to destroy the cells so the plant can’t grow. Often, it’s enough to kill off just the top of the plant and, thus weakened, the roots will die soon thereafter. That said, you may need to flame weed an area several times to completely remove any tough weeds.
When using flame weeding, take extra precautions not to cause unwanted fires, don’t weed on hot, dry days and always have a source of water nearby just in case. Also, it’s important to know the toxicity level of the plants you want to burn and never burn certain species, like poison ivy, poison oak or poison sumac, as their oils can become airborne in smoke and can cause severe respiratory issues.
Conclusion
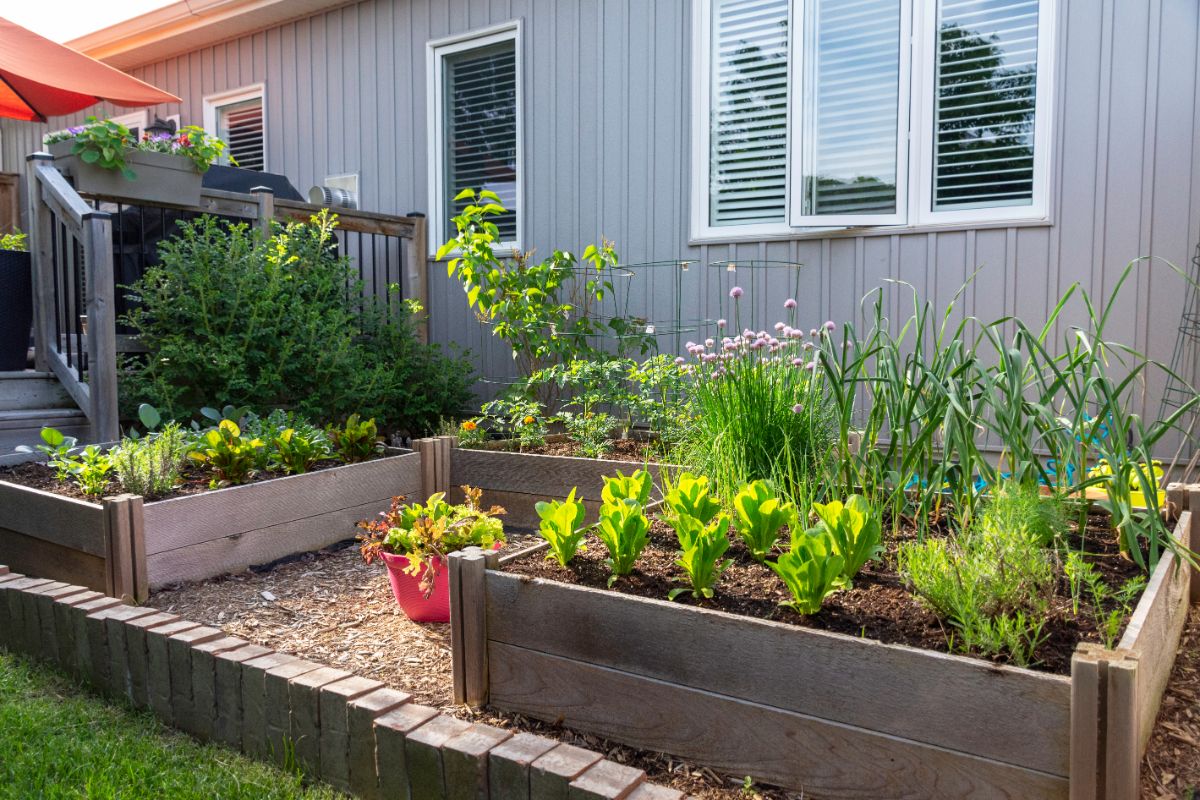
Weeding is hard work and is a task that many gardeners don’t relish. And while an entirely weed-free garden isn’t likely outside of your dreams, a low-weed, easy to manage garden is certainly achievable. By practicing regular garden maintenance and installing helpful, weed-suppressing products, like mulch and driplines, you can get ahead of your weeds once and for all.
With weedless gardening techniques, gone are the days of hunching over garden beds and weeding tough to manage plants for hours. Instead, by using these methods, you’ll find yourself with a (nearly) weed-free garden and a weeding chore that has been reduced to mere minutes a week. With all that free time at your disposal, you’ll have so much more time to do what gardening is really about: enjoying your outdoor space.
References:
- Reich, Lee. (2000). Weedless Gardening. Workman Publishing Company.
- Rumsey, Kat. “5 Tips for Using Vinegar Herbicides.” Northwest Center for Alternatives to Pesticides. 22 June 2022. 2018.
- Stimpson, Jennifer. “10 Uses for Vodka.” This Old House. 22 June 2022. 2022.



Leave a Reply