By June gardening is in full swing most everywhere. Gardens get planted, tender annuals see life outside even in the colder climates, and cool-weather crops and crops in more southern climes are already being harvested.
After the planting, many experiences a bit of a lull in between planting and heavy harvesting. So, what are some things smart gardeners are doing in June?
Let’s look at these
Ten Top Things Smart Gardeners Do in June
Jump to:
- 1. Start weeding early.
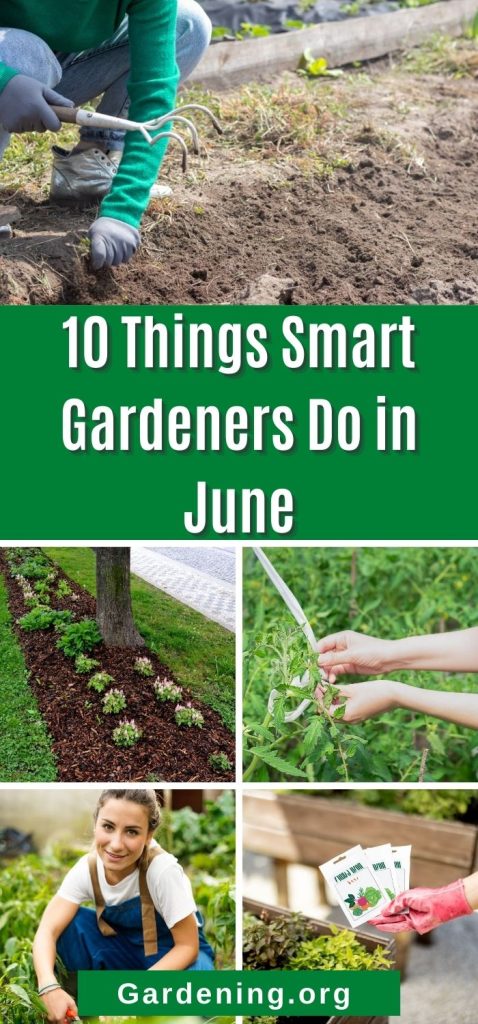
- 2. Use barriers and mulch in lower priority beds and landscapes.
- 3. Keep new seeds and transplants watered.
- 4. Start the pest watch early.
- 5. Invite the good guys.
- 6. Circle back to perennial beds, herb gardens, and vegetable beds.
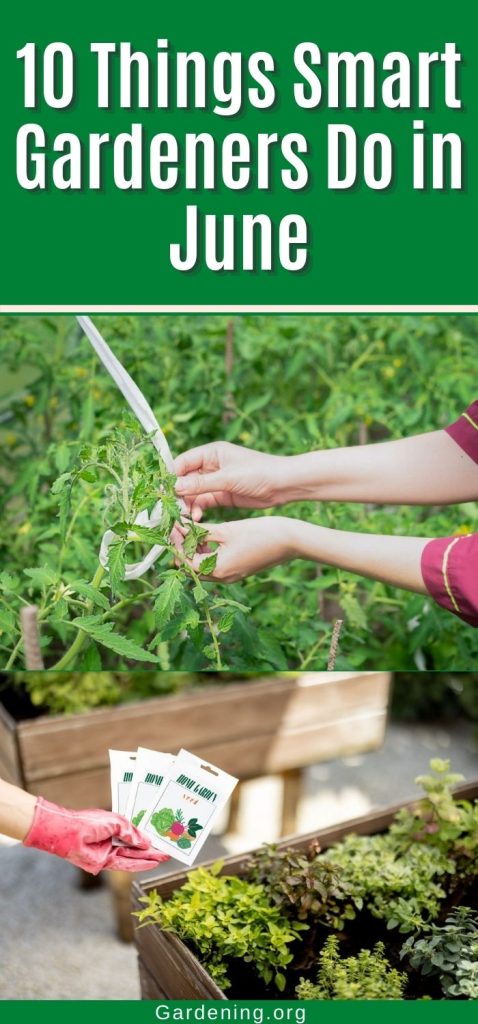
- 7. Get tied up.
- 8. Be prepared for warm weather for cool-loving crops.
- 9. Take a new seed inventory and plan for succession planting.
- 10. Stock up on canning and preserving supplies.
1. Start weeding early.
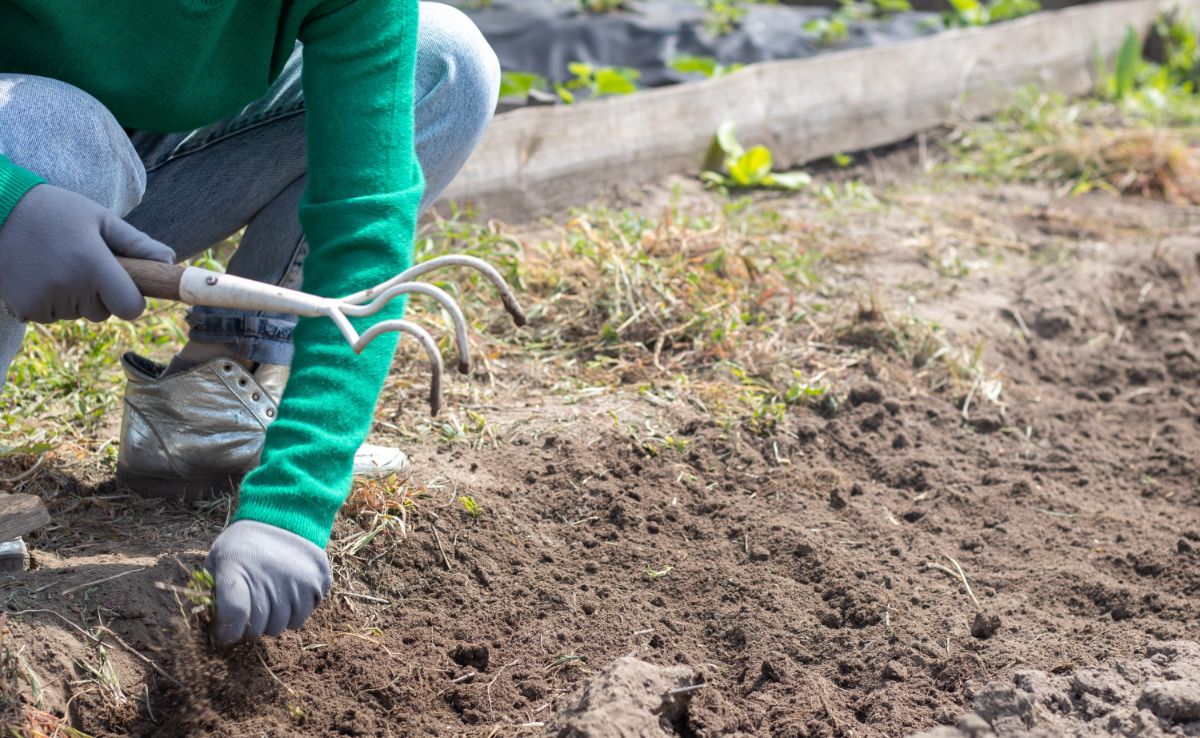
Don’t wait to weed. As soon as you have weeds popping up, you should start a regular routine of weeding. Weeding is easiest when sprouts are small and/or in their thread stage. You’ll keep weeds from getting out of hand, keep them from stealing too much of the water and nutrients your plants need, and you’ll keep them from going to seed and creating new weeds.
By the time you have all of your garden in, it’s likely you’ll see some small weeds popping up. This is the time to start your weeding habit. The exception to this is if you need to wait for your intended plants to get larger so you can tell them apart from the weed sprouts. If in doubt, sure; wait it out a little bit until the real weeds reveal themselves.
There are several ways that you can control weeds organically in your garden.
2. Use barriers and mulch in lower priority beds and landscapes.
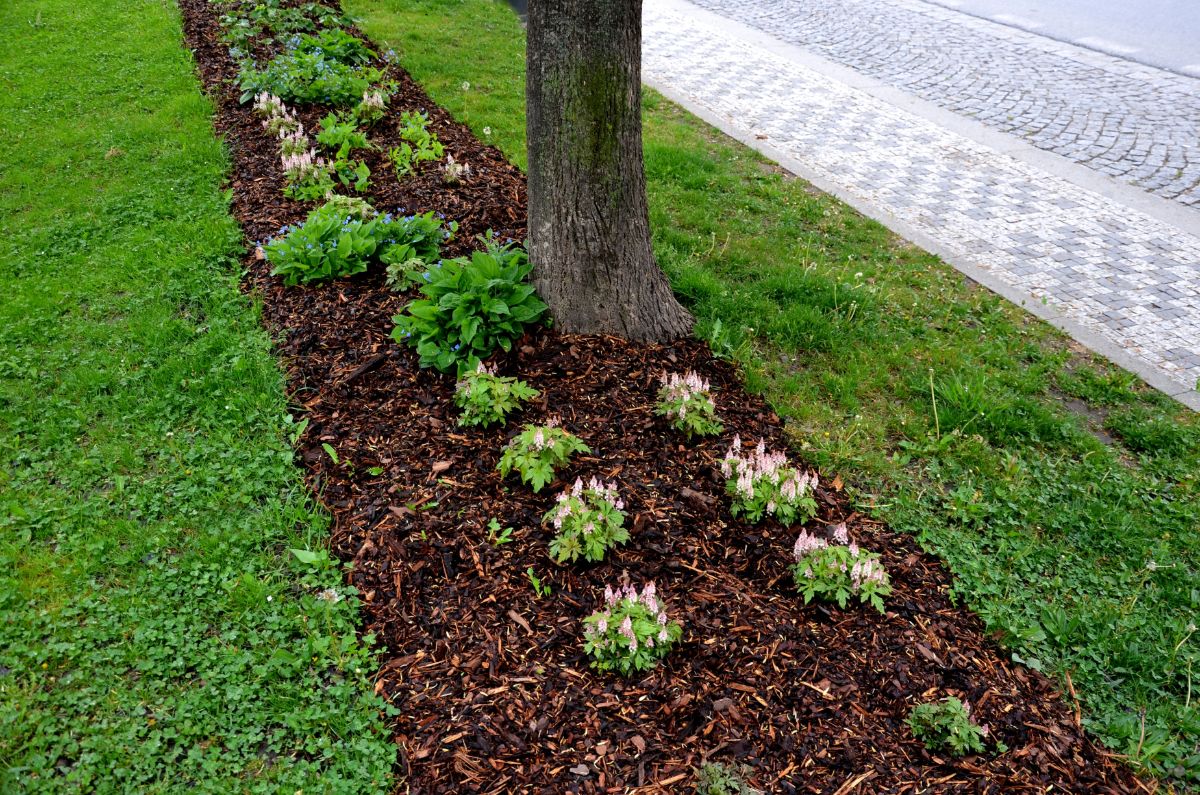
Garden maintenance can feel overwhelming, especially if you also have ornamental gardens and landscape features that are vying for your time. To keep things manageable, take this bit of a lull before garden maintenance and harvesting gets into full swing and see what you can do to lower the maintenance in some of the other areas.
One of the best ways to do this is to use weed barriers and mulches . If you extend the mulched area a bit beyond your plants, and you keep the mulch at a level almost even with adjoining grass or lawn, you won’t hardly need to weed these beds at all, and the low mulch will allow you to mow right to edge of the bed. When you mow to the edge, you won’t need to spend extra time with a weed whacker or on detail trimming.
3. Keep new seeds and transplants watered.
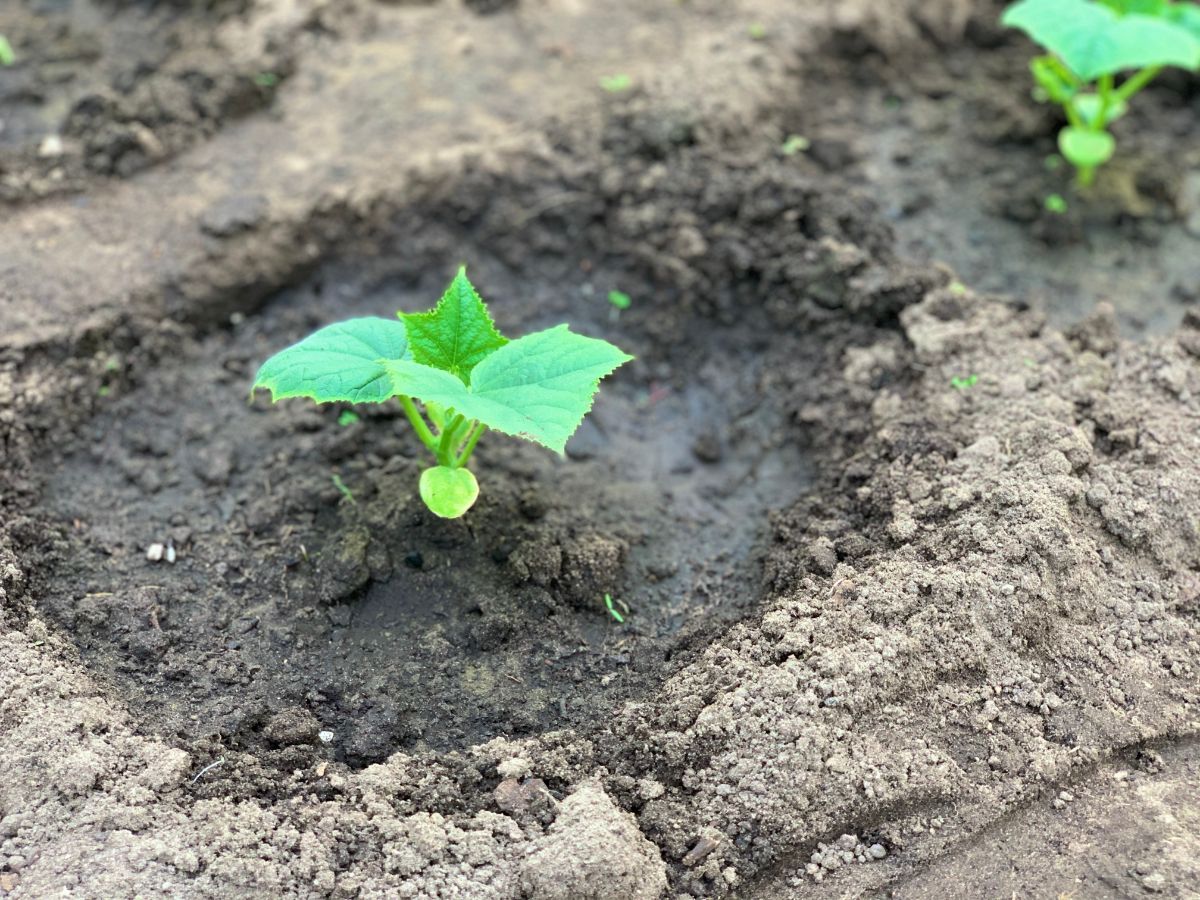
Seeds and newly transplanted garden plants do not have deep roots yet. Their roots (or indeed the seeds themselves) are very close to the surface of the soil.
That soil has just been dug and disturbed in the planting process. When disturbed and when the weather gets warmer, the soil at the surface gets hot and dries out more quickly than deeper down.
This all means that plants and seeds that are living in only the top inch or three or four of soil can dry out, even when the ground itself is not really dry. The space where those plants and seeds are living can dry out in a matter of a couple of days.
Water often and water deeply while your plants and seeds are getting established. Once they develop deeper roots, you can and should reduce your watering but if you let things dry out now, you are likely to end up with seeds that don’t germinate and plants that wilt and die.
In a couple of weeks, it will all be a different story, but in the beginning, water is the name of the game.
4. Start the pest watch early.
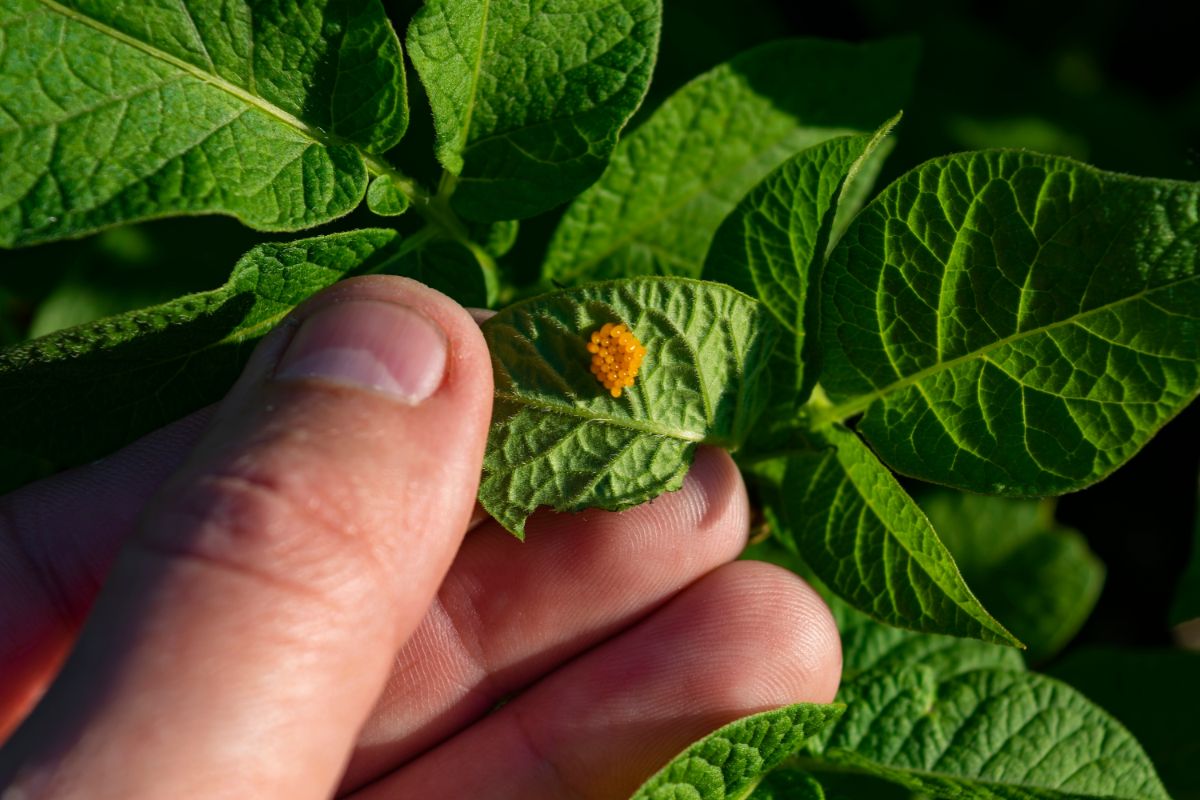
Keep an eye out for pests and harmful insects from the time you put plants in the ground. As soon as you see signs, start dealing with them. Don’t just look for the bugs themselves—look for their eggs and for tell-tale signs of plant damage that tell you to look closer.
In the beginning dealing with harmful insects can be as simple as crushing eggs or picking the bugs off and crushing them or dropping them into a jar of soapy water.
If you get an early enough start on pest control, you may keep the population down low enough that you don’t have to take more severe measures. The insect population tends to start small, and then explode as new generations are laid and hatch out. Many harmful garden insects can have multiple generations in a season, and each one will multiply and be larger than the last.
It is difficult to wipe out all harmful insects in a garden, but it is also not usually necessary that you get every last one. So long as you keep the population under control and the plants are healthy and well-fed, the plants can often outcompete insect pressure.
You may also want to consider some preventative rounds of treatment, such as using Neem oil or another organic solution just before or just as eggs start to hatch.
Remember that pest control solutions and pesticides will kill “good” bugs just as easily as they will kill the bad bugs. This doesn’t mean that there aren’t good controls and good organic solutions. You can use targeted insecticides that will target things like worms (BT is good for this). You can use organic oils that will not kill beneficial insects as long as you don’t spray them directly, that target bugs that chew on plants (Neem oil is one such solution).
The key to successful insect control in the garden is to do your research and have a plan. Apply at proper times of the day (when pollinators and beneficial insects are not active or present or when plants are not in bloom) and follow the manufacturer’s directions to avoid harming beneficial insects.
5. Invite the good guys.
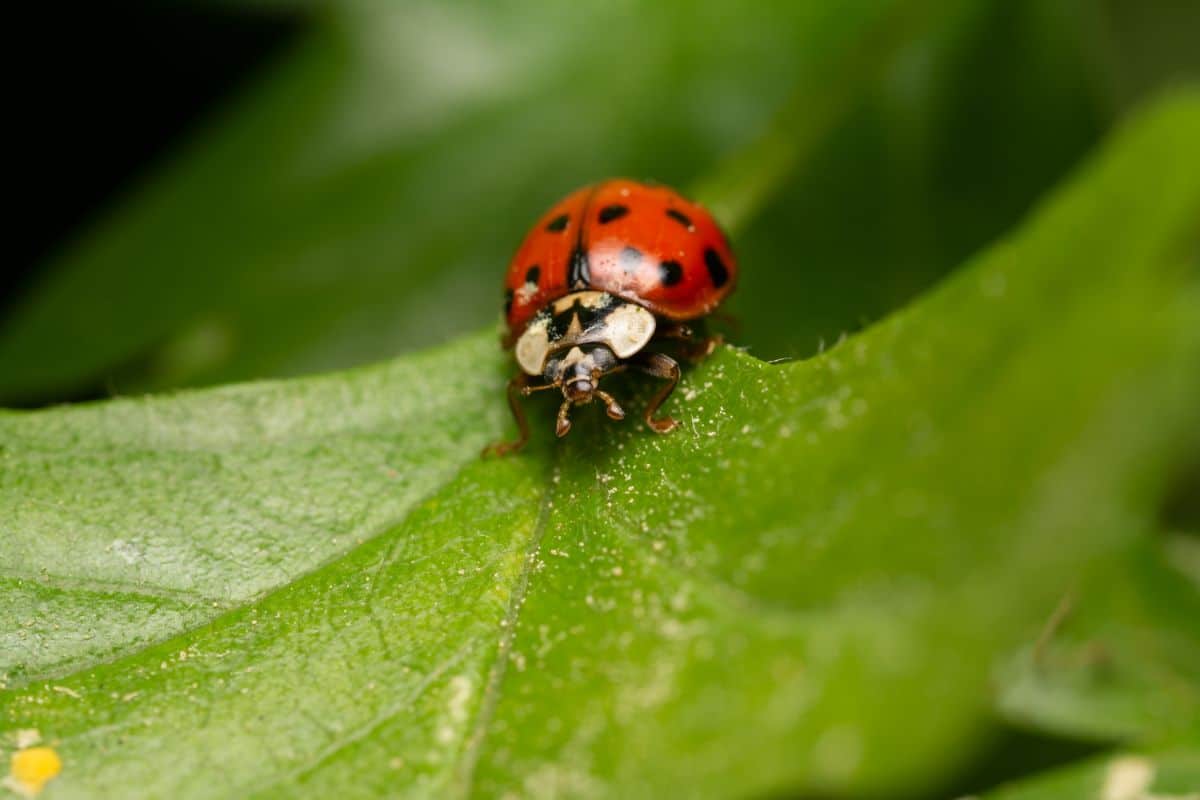
There are a number of “good guys” that can contribute to the health of your garden and also help keep harmful insects at bay. Invite these helpers in by creating a mutually beneficial environment.
Some of these good guys include pollinators like bees, hummingbirds, and butterflies, predatory insect-eating birds like blue birds, and insects like assassin wasps, dragon flies, and spiders that will eat bad bugs. Worms are another example of helpful natural garden creatures.
Try to attract helpful species that will target your garden pests without targeting your crops. For example, blue birds are largely insect-eating, so they don’t tend to also go after your berries and vegetables. Ladybugs eat other insects but do not eat your plants.
There are several different strategies for creating an inviting garden atmosphere for these types of helpers. First, do no harm by reducing and managing herbicides, pesticides, and chemical use.
Plant an attractive pollinator garden to bring in the butterflies and bees to help pollinate and increase your yields.
Start a worm bin either in the ground or in your home or garage to generate quality fertilizer and increase worm populations.
Or hang a bluebird house or two so they’ll make your home, their home.
6. Circle back to perennial beds, herb gardens, and vegetable beds.
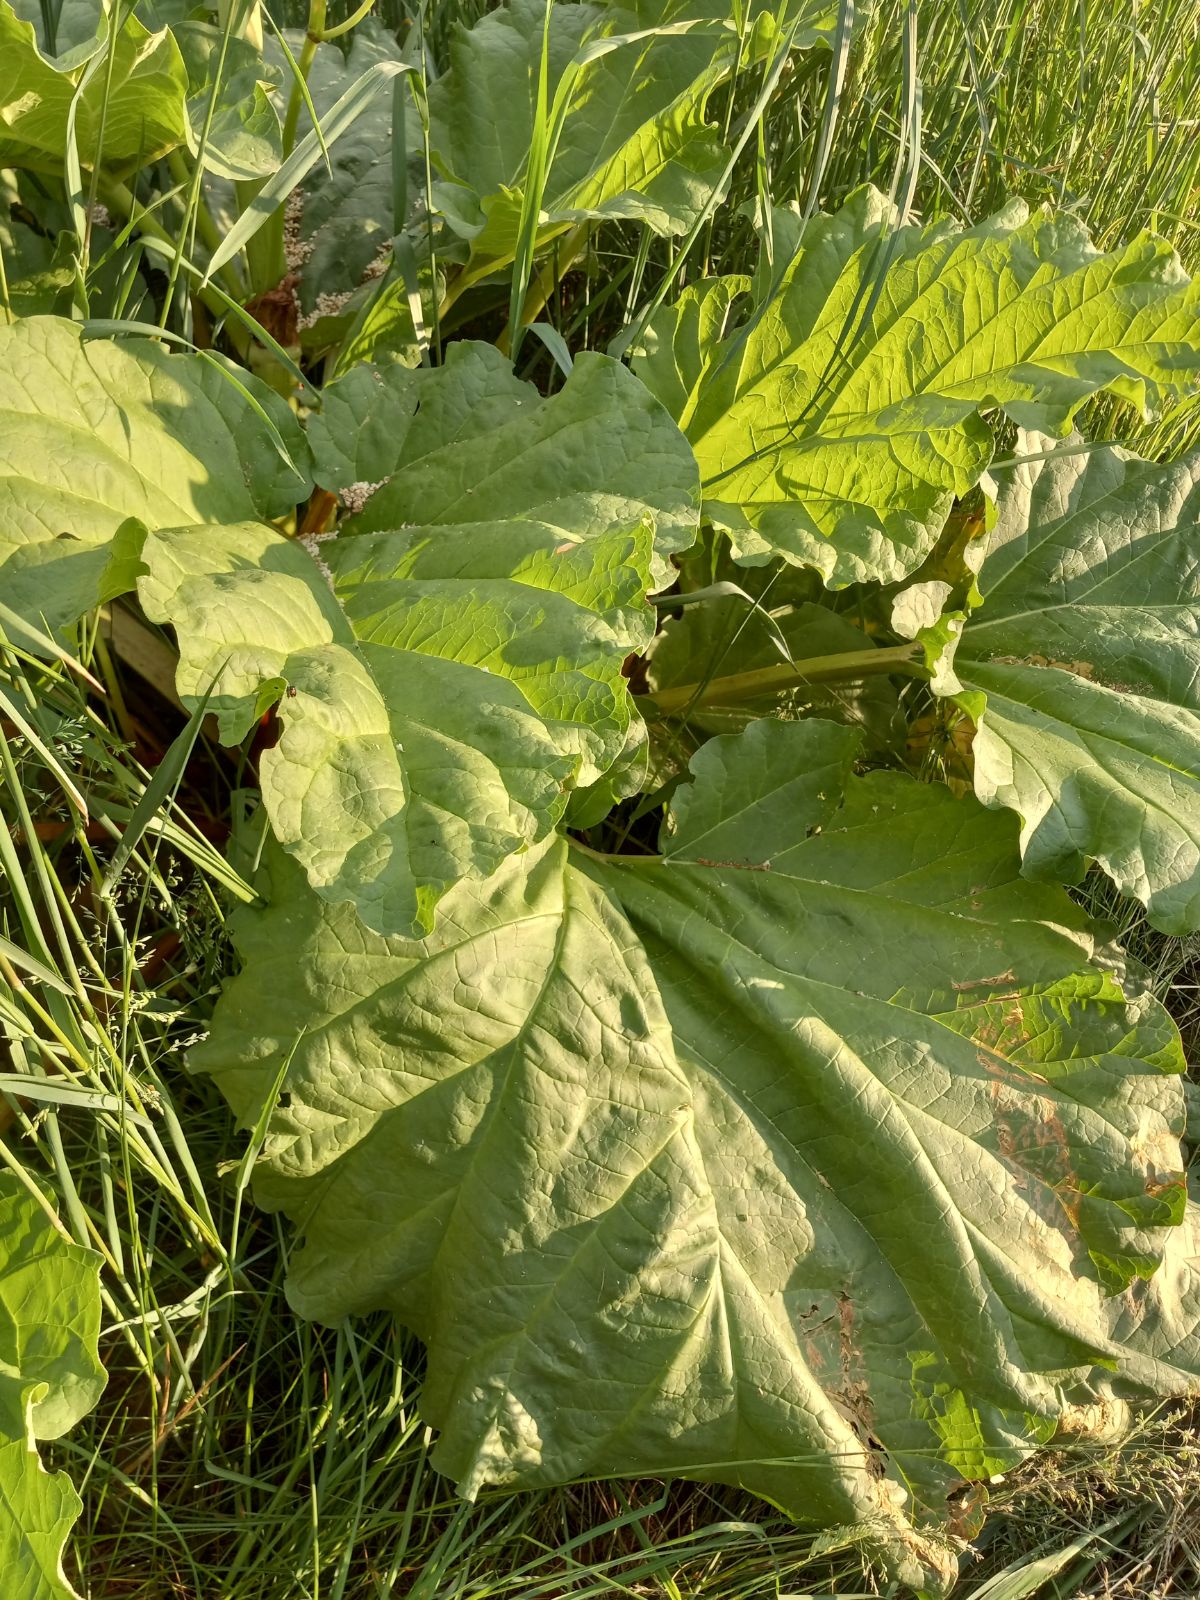
When it’s time to finally plant in the ground, the priority is usually on planting. Sometimes you need to let other things slide for a week or two. Established perennial plants, herb gardens, and perennial vegetables beds like asparagus and rhubarb often get ignored during this time. Perhaps your fall-planted garlic has been a tad neglected.
Now that your garden is in, it is time to circle back to these plantings and pay a little attention to them. See to weeds before they get out of hand. Look plants over for early pests or disease. Fertilize if it is appropriate to do so.
Give your established beds and perennials a little care now that the planting pressure is off so that all your plants will continue to thrive.
7. Get tied up.
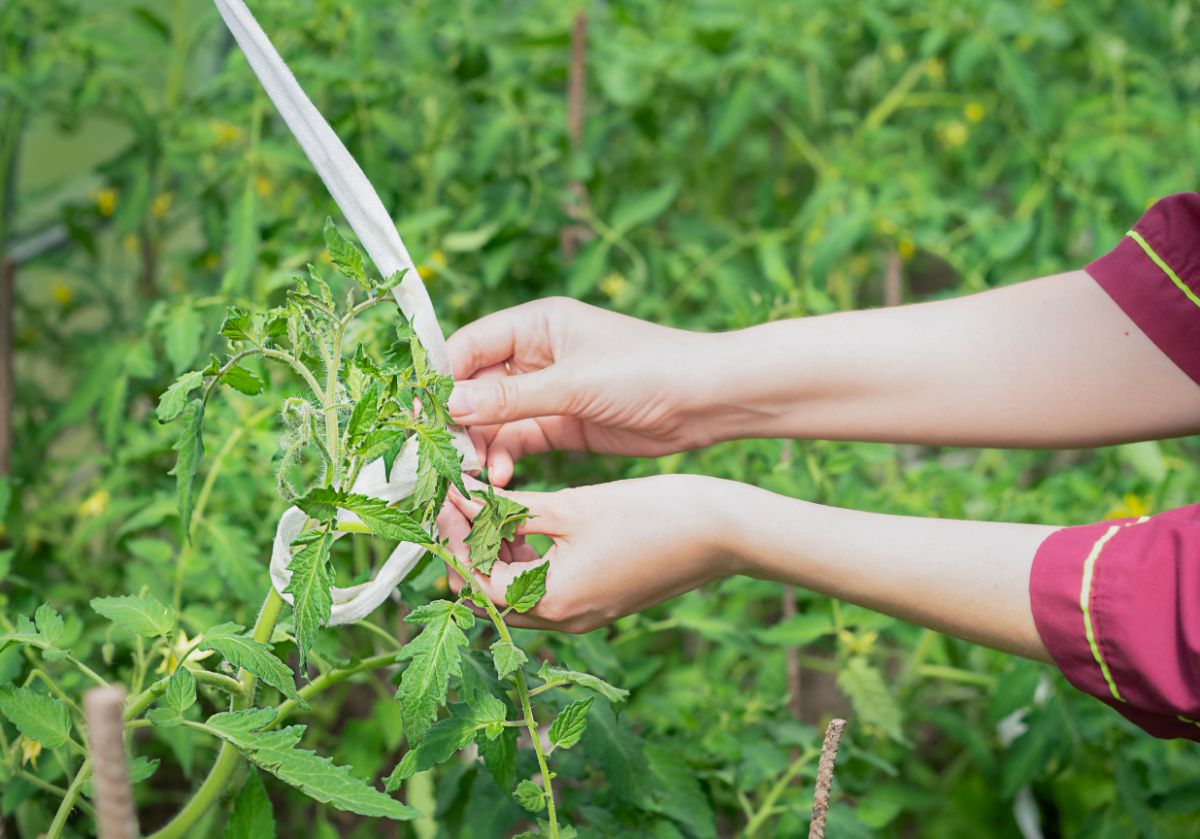
Here’s another thing to start early before it gets away from you. Tying up and staking any crops that need support.
Tomatoes are probably the most popular example of this. It’s easy to ignore them after they’re planted as we wait for those lovely fruits. But it is also easy to think you have time and ignore tying and supporting them for too long. Within a week or two of planting, you should be starting to tie up plants like tomatoes.
Some other things that might need some support and attention include peppers, peas, and beans, and tall flowers. For whatever you planted that needs supporting, take a look early on, tie it, or train it as needed.
Keeping up with this task will reduce breakage and plant damage, and ultimately improve the health and productivity of your plants.
8. Be prepared for warm weather for cool-loving crops.
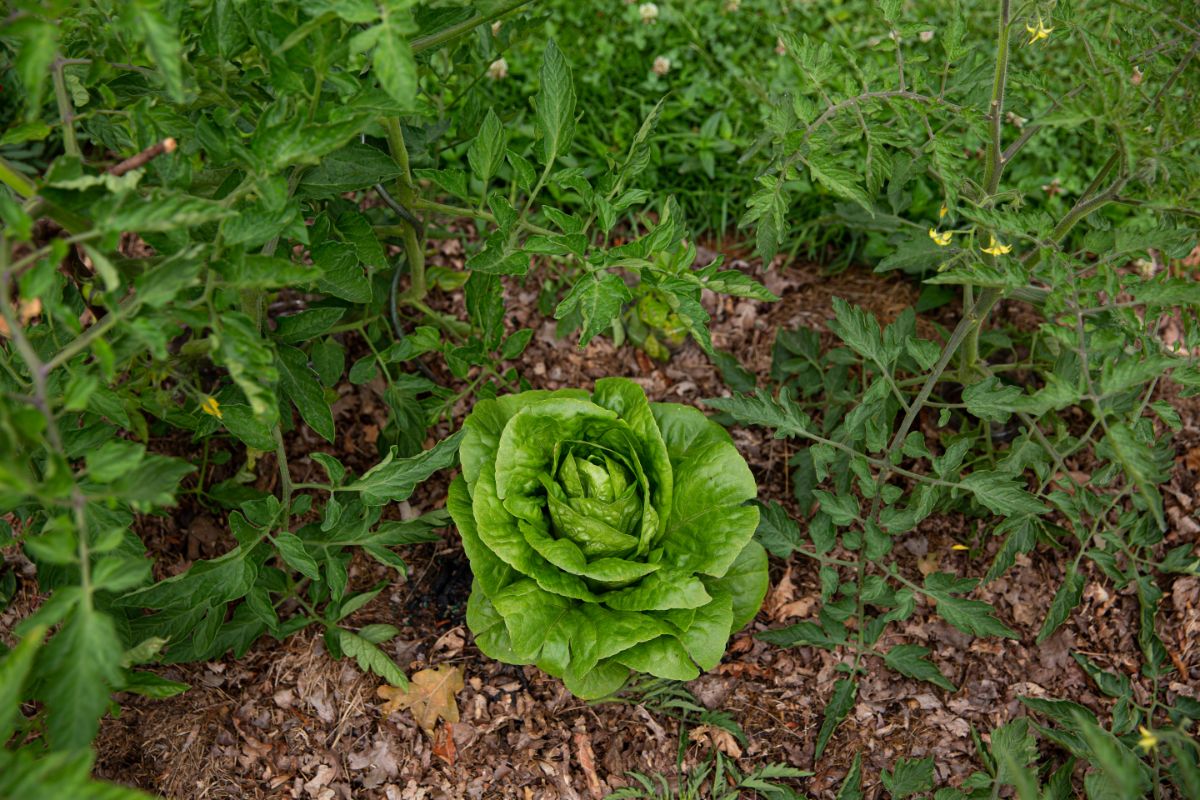
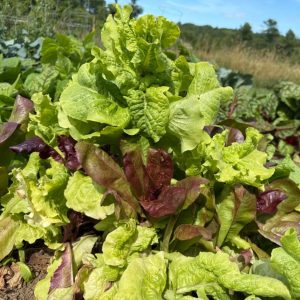
Things that prefer cooler weather or that tend to bolt when temperatures spike can be tough to grow consistently in the hottest months. This includes a lot of the greens like lettuce and spinach.
If you love your summer salads, this can be a real let-down. But there are a few things you can do to keep good greens going all summer long.
Be prepared with a shade cloth, umbrella, or row cover. Use it to get the sun off the plants for the hottest part of the day.
Plant bolting plants beneath taller plants to give them shade and help keep them cooler. For example, consider a second planting of lettuce or spinach under tall tomatoes or in a row next to something tall like sunflowers or corn that will cast some shade.
Mulch the row with some straw or shredded paper to help keep the roots cooler.
Grow some alternatives in the middle weeks of summer that can stand in for spinach, lettuce, and bolting greens. Some things that make good fresh greens for salads and raw eating, but which are not very likely to bolt, include kale, beet greens, chard, and young cabbage and broccoli leaves.
9. Take a new seed inventory and plan for succession planting.
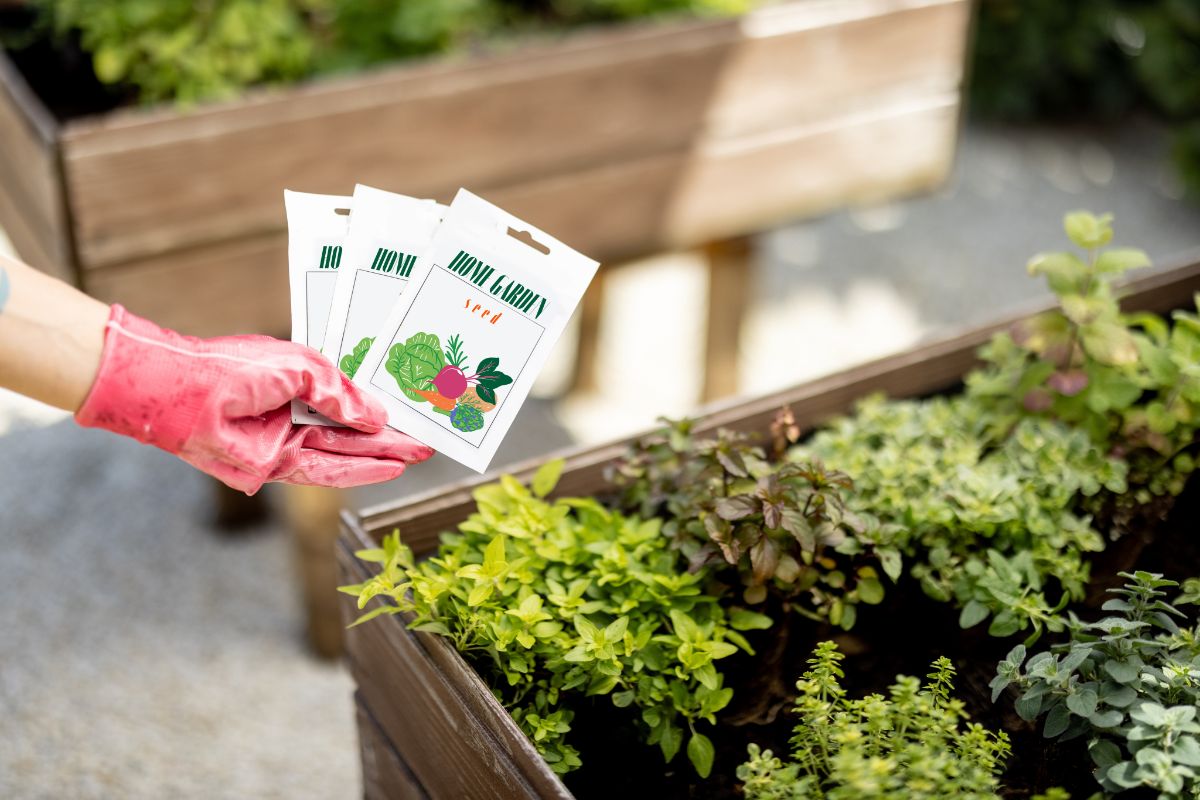
Now that you’ve got everything in the ground, take a quick look through your seed inventory. If there are plants that you plan to plant in succession for multiple or fall harvests, make sure you have the seed leftover now.
If you don’t, it’s a good idea to buy or order your succession and fall crop supplies in June. This will allow time for your order to be processed and shipped, lower the likelihood of shortages and not being able to get the seed later in the summer, and will make sure that you have the see you need when you need it.
The time gets tight when you’re planting a second or succession crop that needs to finish before fall frosts. Delaying inventorying and ordering your next round of seed could make the difference between getting that crop to harvest or not.
When you’re planting in succession, the difference of even a week or two can be the difference between a successful fall crop and one that dies on the vine before it can mature or ripen.
10. Stock up on canning and preserving supplies.
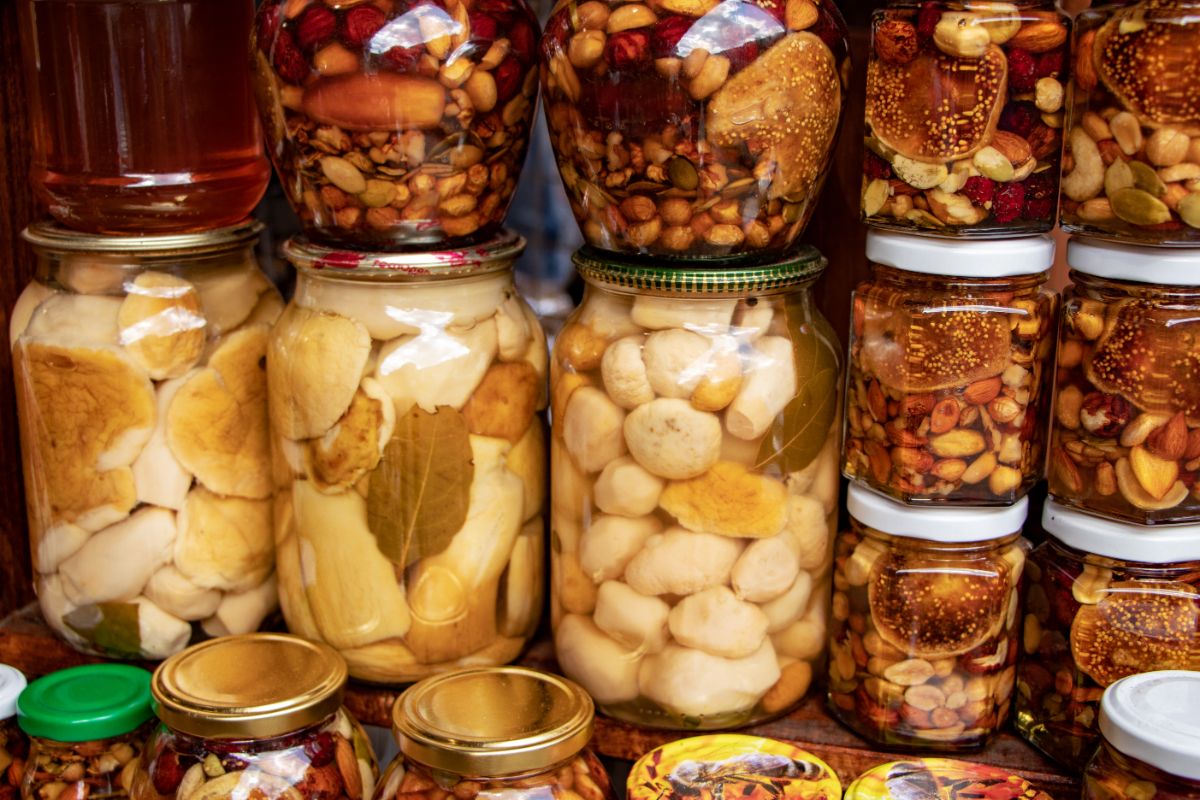
The pressure is off for a minute, but soon it will be back on—the pressure of harvesting and preserving, that is. Early crops, early fruits, and berries will be ripe and ready before you know it. You’ll have cole crops ready to dehydrate, can, or freeze in a few short weeks.
Be ready for when that harvest comes in. It’s easy to forget about supply needs until you need them. So while you have the time, and before you have a counter full of produce to put up, take stock of what you have on hand.
Buy or order freezer bags, jars, new canning lids or rings. If you like vacuum sealing, buy the bags now. The best price for many of these supplies (vacuum sealer bags in particular) is often found online, so you’ll want a little extra time for ordering and shipping.
While you’re at it, give your equipment a once-over. Run a cycle through your sealer. Check your canner for dents or dings that might have caused rust. Have your pressure canner gauge calibrated. Test your thermometer for function and accuracy.
There is nothing worse for a gardener than having a beautiful bumper crop of fruits and vegetables ready to preserve for the cold, dark days of winter, only to find you haven’t the jars or bags to put them in. Now's the time to make sure you do!
Gardeners wait all year long to get to this point—to the point of a well-growing garden and the promise of good, fresh, flavorful food once again. Now that your time to shine has arrived, stay on track for the best garden—and harvest—ever, by tending to these few things in June.

Diane
How do I extend my rhubarb growing season? I live in Wisconsin
Mary Ward
First thing to do is to pull out or cut off any seed heads/shoots when they appear. Second is to pull up stalks to harvest instead of cutting them off flat. The pulling and loss of the stalk signals the plant to create more. If they have not been fertilized, give them a good dose of compost. It'll do wonders. Make sure they are getting good water. Soak deeply every week to 10 days if they are not getting enough rainfall. While you do not want to harvest more than 2/3 of the plant's stalks at a time, as long as the plant is strong and producing new stalks you can keep harvesting. Most people stop by the end of June but I have harvested later with a well-fed and maintained plant. Sometimes the edges of the stalk can get a little tough, but you can peel those off with a vegetable peeler. I believe people used to harvest much longer than what most people do now. Rhubarb is similar to asparagus in that it grows from a crown, so, like asparagus, you need to leave enough stalks and leaves to feed the crown for future harvests in the coming year. After several years the stalks may start to become spindly and that is a sign that the plant should be divided (some sources say three to five years, some say eight to ten, I lean toward the 5 to 8 range). Use the divisions to expand your patch or share with a friend if you don't need more. Finally, mulch with good manure and compost in the fall every year--you'll see a huge difference come spring! Good luck!
Rosemary
I love the look of Moss as a mulch to my ornamental pots. Is that a healthy cover for them.