Saving Seeds is a fun, interesting, and productive hobby you can add to your repertoire of gardening skills.
Any time of year is a good time to start thinking about seed saving. If you’re still in the planning or planting stages for your garden—perfect! You have the opportunity to select good seeds to grow and build on (and you’ll learn what to choose here). Even if you didn’t plant with a plan for saving seeds in mind, you might find that at the end of the garden season and as summer turns into fall, you still have some seeds around worth saving. Take a stroll around your off-season fall or winter garden and see what seeds might still be hanging around to be saved.
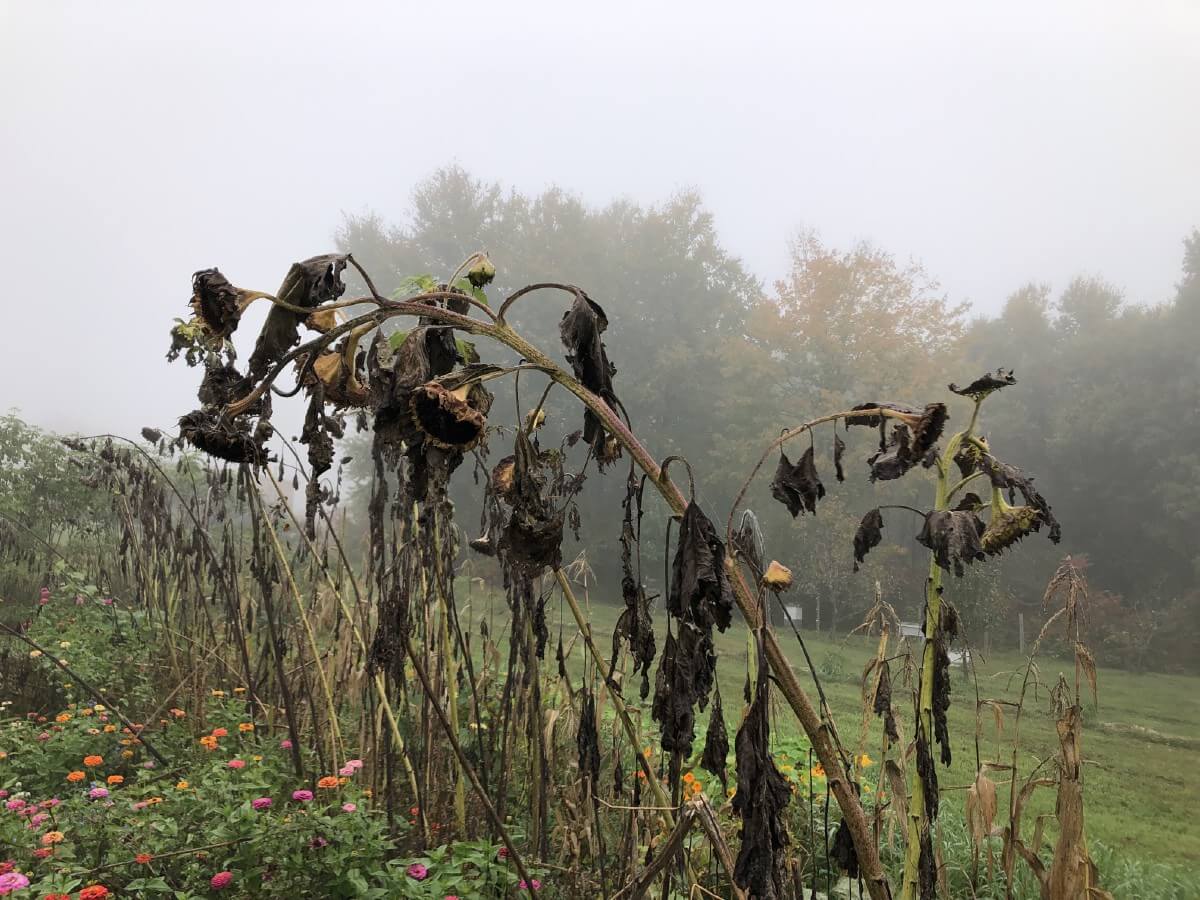
This article is offered as a guide to simple seed saving. It is aimed toward beginner seed savers or those with perhaps limited experience saving seeds. Certainly savers at any level are welcome here and even the more practiced seed saver might find this a good refresher. Whether you’re just learning, dusting off your seed-saving hat, or maybe looking to pick up a tip or trick or two, please do read on!
Jump to:
- What Is “Simple” Seed Saving?
- Why Bother Saving Seeds?
- Understanding Terms and Pollination
- What Happens if You Save Seeds from Hybrids or Plants That Cross-Pollinated?
- Keeping It Simple for New Seed Savers
- What Seeds Should You Start With for Simple Seed Saving?
- The Easiest Vegetable Seeds to Start Saving
- Saving Seeds from Herbs
- Saving Flower Seeds
- How to Harvest Garden Seeds
- When to Harvest
- Collecting Seeds and Seed Heads
- Drying and Curing Harvested Seeds
- Handling Seeds With Gel-like Seed Coats
- Handling Small Encased Seeds
- A Note About Genetic Depression in Seeds
- Packaging and Storing Saved Seeds
- Final Thoughts for Simple Seed Saving
What Is “Simple” Seed Saving?
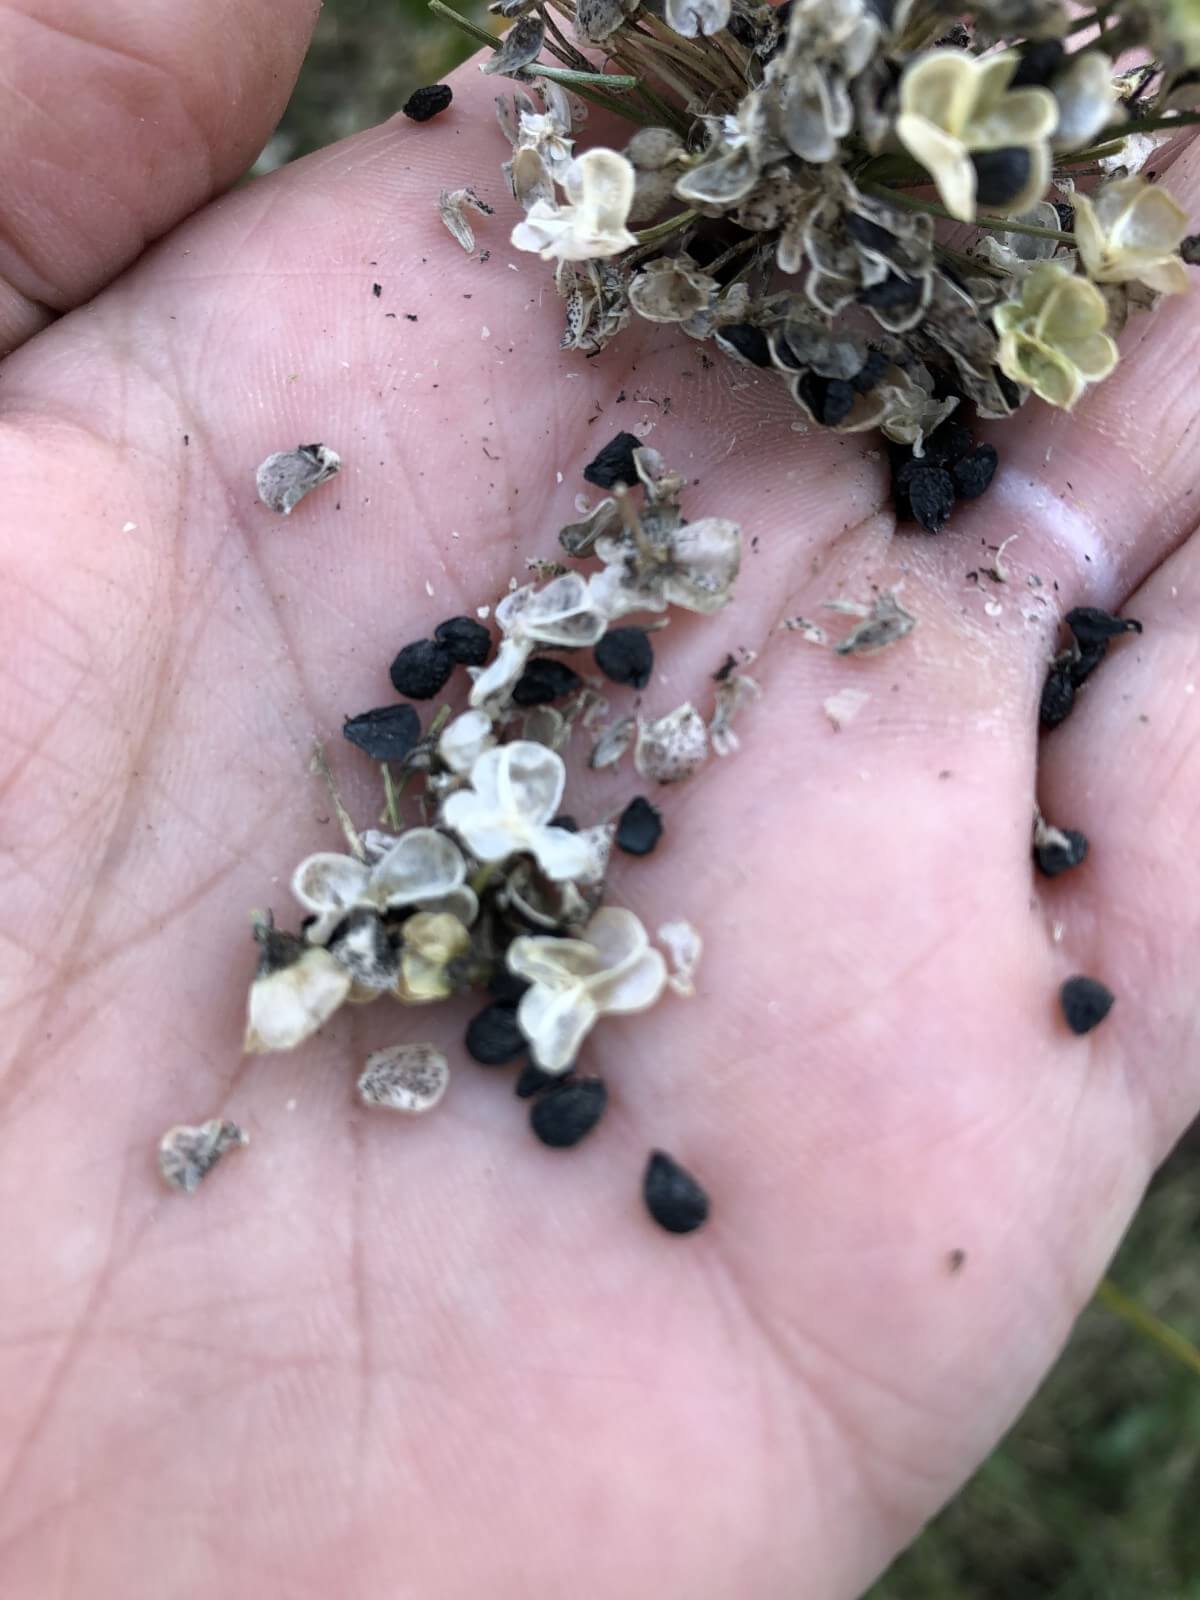
What is meant by “simple seed saving”? This only means that we will start with the basics; the easiest seeds and the easiest seed-saving techniques—Level One Seed Saving, so to speak.
When it comes to viable, productive seed saving it all starts with pollination. Pollination in plants happens in a number of ways. Some of these ways make it very easy for plants to cross-pollinate and some can create real Frankenstein plants.
But there are other plants that are pretty perfect and self-contained, for which crossing and freak creation are not much (if any) concern. These are the plants we will be focusing on here because these are the plants that don’t require much planning and forethought (if at all) and the plants you might find are good accidental seed saving candidates. (And by that we mean a leftover in the garden, a good vegetable specimen, or a leftover seed head still around after the heydays of your garden’s summer—things that might be worth grabbing up when you think your garden is done giving.)
Why Bother Saving Seeds?
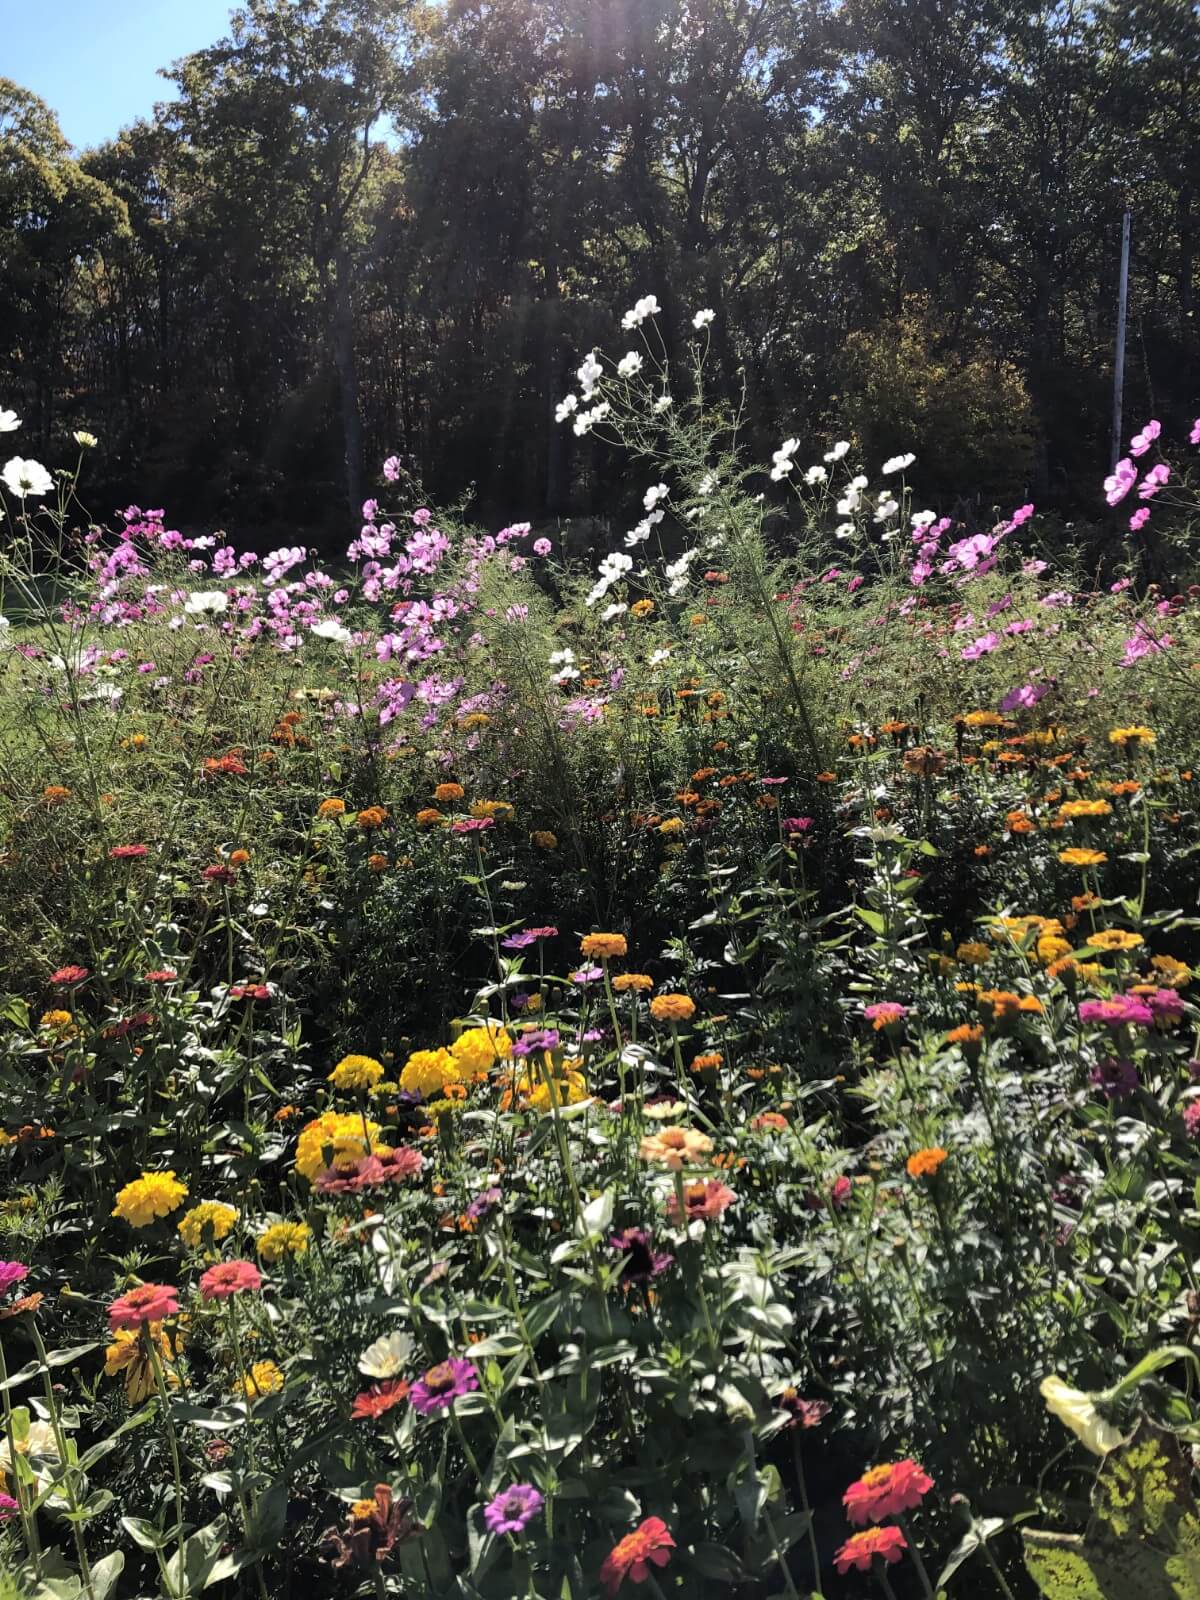
Other than pure interest and enjoyment, what are some reasons you might want to save your garden seeds? There are several, in fact:
- Survive seed shortages. Shortages, supply and demand, and shipping problems have increasingly been a problem for seed buyers. If you save what you can, you’ll rely less and less on outside supplies and supply chain issues won’t be a problem (or at least not as much of one).
- Sustainability. Being more self-sufficient means that you’ll be able to grow and eat despite it all. That is important but it also means that you are helping to create a more sustainable world. Your growth will have a minimal carbon footprint. Your food will not need to travel—ever. That’s good for the environment, the world, and your small corner of it.
- Economy. Seeds are expensive! And it seems like we get less and less for more and more money. If you learn to save the simple stuff, you can reduce your annual seed costs. If you learn a little more, you can save even more and when you learn to save the trickiest things, you can reasonably get to a point where you have no seed expenses at all. It really can be done—our grandparents and theirs did it! Prior to the end of World War II people largely saved their seeds instead of buying them.
- Ensure you have your favorite seed varieties. Seed companies and their catalogs change. Changes come as the result of consumer demand but they also come as the result of available supply, among other reasons. If you have seeds you know and love, it is a wise idea to save them when possible so that you can continue to grow exactly what you want to and not be beholden to consumers' or sellers’ whims.
- Save family favorites and heirlooms. Similar to the above, being able to save your own seeds makes it easier to save that unique favorite flower from Grandma’s garden. Societies are more mobile and we just don’t stay in homes for generations like we used to. If you can save seed, you can keep those old cherished lines going.
- Build a better-suited stock. When you save seed and select from plants that have performed well in your very specific location, you build plants and seed stock that perform accordingly. Plants that have already lived and thrived in your garden and climate have acclimated to your specific conditions. They’ve battled and succeeded against local pests and diseases, and have adapted to them (which you know, because they’ve produced despite those pressures!). Those plants have built their own natural resistance to those challenges, so they’re better prepared to face them again.
Understanding Terms and Pollination
We won’t go into all the myriad terms and anatomy of plants and their blossoms, but there are some basic terms you’ll want to know as you step into the world of saving seeds. These terms primarily have to do with breeding and pollination. They’re the most important terms to understand for getting started in simple seed saving.
First, let’s look at pollination. Plants are pollinated in one of three ways:
Wind Pollinated: Wind pollination is just what it sounds like—pollination between different plants of the same species where the pollen is spread by wind and air. These plants have developed a way to pollinate and fertilize without having to rely on insects or other visitors. These are often things that don’t attract insect pollinators or don’t have attractive blossoms (like grasses, trees, and grains) but also include many flowers and weeds.
Wind pollination is a pretty widespread yet random type of pollination and the result is that there is a lot of natural crossing and hybridization of different varieties of the same type of plant. It’s really not ideal for seed-saving, because it means the pollination and crossing of your plants, and therefore the seeds that will produce the next generation of those plants is something of a crapshoot and an unknown. There are certainly ways to save these seeds but it’s a bit more involved than what might be considered “simple”. We’ll leave that for another day.
Insect Pollinated: Insect pollinated plants count on insects like bees, moths, butterflies, wasps, and others to spread pollen between individual plants of the same type. These are often plants that have bright and attractive blooms and large, sticky types of pollen and whose pollen is heavy and won’t float well on the wind. They, too, are somewhat more difficult to save for seed because often plants of the same family or different varieties of the same type will cross when the pollen is mixed from one plant to another and again, the result can be unreliable. There are several ways to control the likelihood of cross-pollination, some of which are pretty easy for home gardeners (because there’s a good chance you’re not planting that many varieties or potential crossing plants anyway, and there are things you can do block transmission if you are).
Self Pollinated: Self-pollinated refers to plants that pollinate and fertilize themselves. These plants have developed in such a way that they do not have to rely on outside visitors or windy conditions in order to reproduce. Fortunately for us, these include a lot of garden favorites like lettuce, tomatoes, peppers, peas, and beans. While it is possible for these plants to cross with others, it’s not very likely to happen owing to the plant’s reproductive design. Self-pollinating plants are the easiest seeds to save because there isn’t a lot of work or intervention involved in managing the plant’s pollination. The outcome is a reliable seed that is usually true to type.
It is worth noting that there are exceptions to the rules and sometimes a seed can reliably be saved even if it is wind or insect-pollinated because the type of plant in question doesn’t have the genetic ability to fertilize and cross outside its own type or variety. There is certainly nothing “bad” at all about any type of pollination; it's simply worth knowing so that you know what you can expect when you save a plant’s seeds.
Now we’ll look at a few terms related to seeds, as they relate to your seed saving. These are related to pollination terms, but move into breeding and what you should and shouldn’t try to save:
Open Pollinated https://www.fedcoseeds.com/seeds/op_hybrid.htm seeds are not crosses or hybrids, and so they are capable of being saved and breeding true as long as they don’t cross-pollinate with other varieties of the same plant or species.
Hybrid plants or seeds have been crossed (usually selectively, purposefully) to combine the traits of two or more varieties of a plant to enhance some feature. It might be storage, ripening, ripening after picking, production, disease resistance, color, flavor, and so on. You might see hybrid seeds with code-like notations like “F1” or “F2”. These refer to the generation of the hybridization and what’s key to know is that if you see this kind of note, it means the seed is a hybrid and not a candidate for seed-saving.
The key thing to know about saving seeds from hybrids is that they do not breed true to the parent plant or plants. They will start to revert to the parents that were used to create the hybrid, and the results can be quite scattered.
Heirloom plants or seeds are plants that have been around for 50 years or more. They have proven themselves and have stood the test of time. Heirloom seeds are also seeds that breed true-to-type because they are genetically stable and are open-pollinated.
Annual plants in the case of seed-saving refer to plants that complete their life cycle in a single growing season and will bear seeds in that season.
Biennial plants flower every other year and in the case of seed saving means that the plants need two full growing seasons to complete their reproductive cycle before they can produce seed. Some examples of popular biennial garden vegetables are beets, carrots, parsnips, cabbage, Brussels sprouts, cauliflower, celery, chards, and collards.
Of course, there are many, many more plant and seed terms that could be explored, but these are the handful to know for getting started in simple seed saving.
What Happens if You Save Seeds from Hybrids or Plants That Cross-Pollinated?
The “risks” of saving and regrowing hybrid seeds and/or cross-pollinated seeds are not anything detrimental. It is an issue of quality and reliability.
Seed saved from some hybrid plants may have difficulty germinating and growing, though, for the most part, it will grow. The produce of those plants is the bigger unknown. The resulting fruit may taste and perform just fine, or it may not. You may have issues of sterility and get little or no crop at all. Or you may get something that, while not like the plant the seed came from, is still quite edible and perfectly acceptable to you.
The same goes for many cross-pollinated seeds. There’s just no way of knowing what the fruit or produce of the plant will be like and if it’s something good. For example, if you plant two types of radishes and they cross, the radish grown from their seed may be something in between.
Other types of plants—squash and pumpkins especially—may create some interesting half-and-half combinations that are neither real squash (as we know it) or pumpkin. You may literally end up with colors or shapes that are 50% of each. It may be edible (palatable) and it may not. Or it may just make a sterile, funky-looking fall decoration.
The point, the bottom line, is that there just is no way of knowing. If it’s a risk you’re willing to take, by all means, play and experiment. For most of us, however, it’s just too big a chance to take when our garden is our food source for the next growing season or possibly the entire year after that. If you’re relying on your plants for food, you’re going to want to have a good idea of what your seeds are capable of growing.
Keeping It Simple for New Seed Savers
It’s easy to get confused with all the terms and considerations, so to keep it simple, just remember this:
When buying seeds with an eye to future seed saving, or when deciding which of this year’s plants you might be able to save seed from, buy or save seeds that are from plants labeled as Open Pollinated or Heirloom. You can also look for types that are self-pollinating, and then you’ll know that they will not cross (self-pollinating could still be a hybrid, though).
If you remember to look for either Open Pollinated or Heirloom seeds to start with, you won’t have to worry about the plant being a hybrid!
What Seeds Should You Start With for Simple Seed Saving?
When we talk about simpler, easier, seed saving, we look first to the plants that won’t cause us a lot of headaches in terms of cross-pollinating—the plants that pretty reliably produce true to type, that self-pollinate, or don’t or won’t usually cross-pollinate with other varieties.
We also talk about starting from plants that we now have the ability to breed true because they are not already crossed or hybridized. Note that this is nothing against hybrid plants or cultivated varieties as plants and producers—many of those are really top-notch; it only has to do with knowing that the seeds we save and put the time and effort into growing are pretty likely to produce the crop and the vegetable or fruit that we are expecting to get. This has to do with results and what will and won’t get you the flavor, size, amount, health, and productivity you are planning for.
If you start off with annual plants (so that you can reap seed this year without learning about digging, overwintering, and replanting), plants that are either self-pollinating or have very little chance of crossing (due to their reproductive nature), plants that are easy to isolate and have a low isolation distance for pollination (for example, in the radish example above, you only plant one type of radish), you’ll have few worries over breeding true and productivity from your saved seed.
You will also want to start with seeds that are easy to collect. Luckily, most are. The best seeds to start with for simple seed saving are those that you can just pick, pluck, or that require only a little processing and handling before drying.
The Easiest Vegetable Seeds to Start Saving
The following is a list of the easiest kinds of plants to save seeds from. This is mostly based on their pollination habit and likeliness not to cross, and also their annual nature. Again, just stay away from seeds from hybrid plants of these varieties.
*self-pollinating plants are marked with an SP
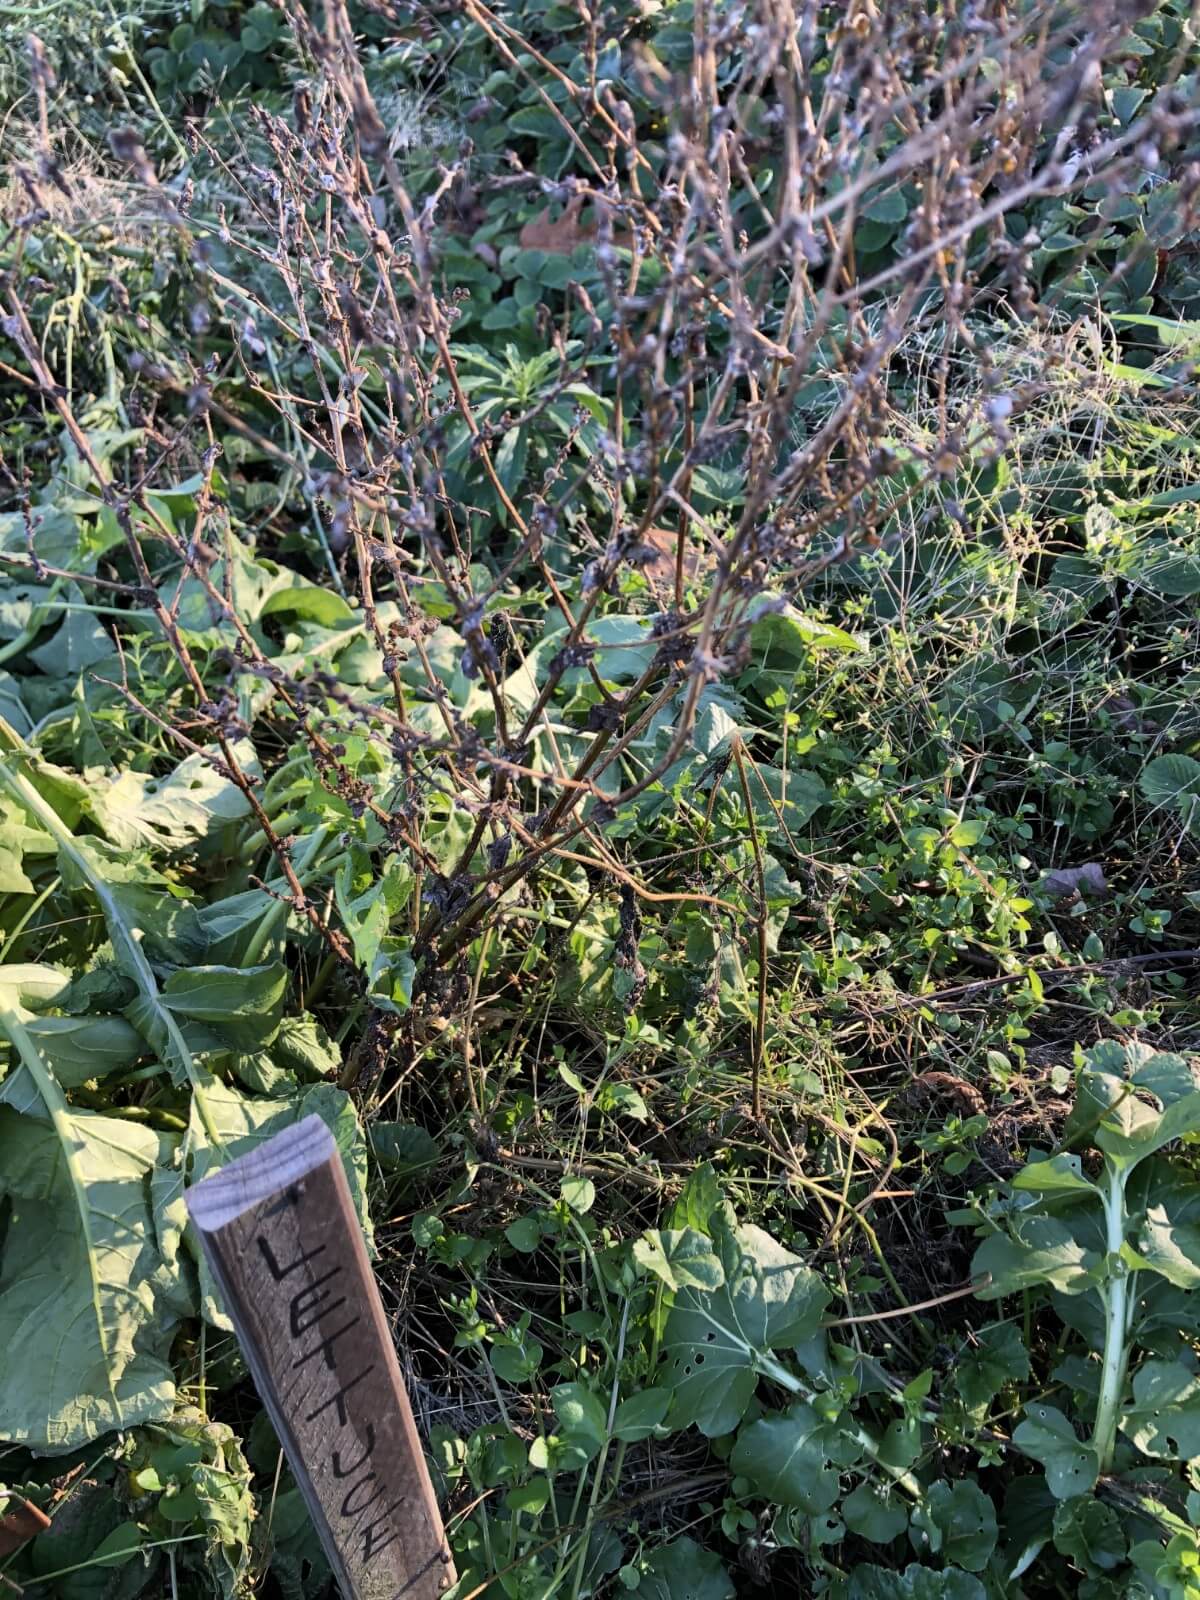
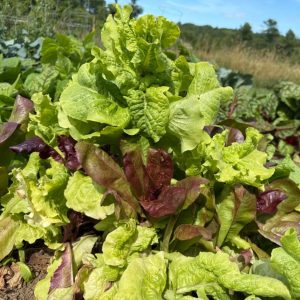
- Lettuce (SP) – Very little crossing even with different varieties in the same row. Not enough of an issue to worry about. Plants bolt easily in hot weather so it’s not hard to get a harvest in a single season. One plant will produce tons of seeds. Just know that the seeds stay dormant for the first two months, so you’ll need to wait to plant them until after that time.
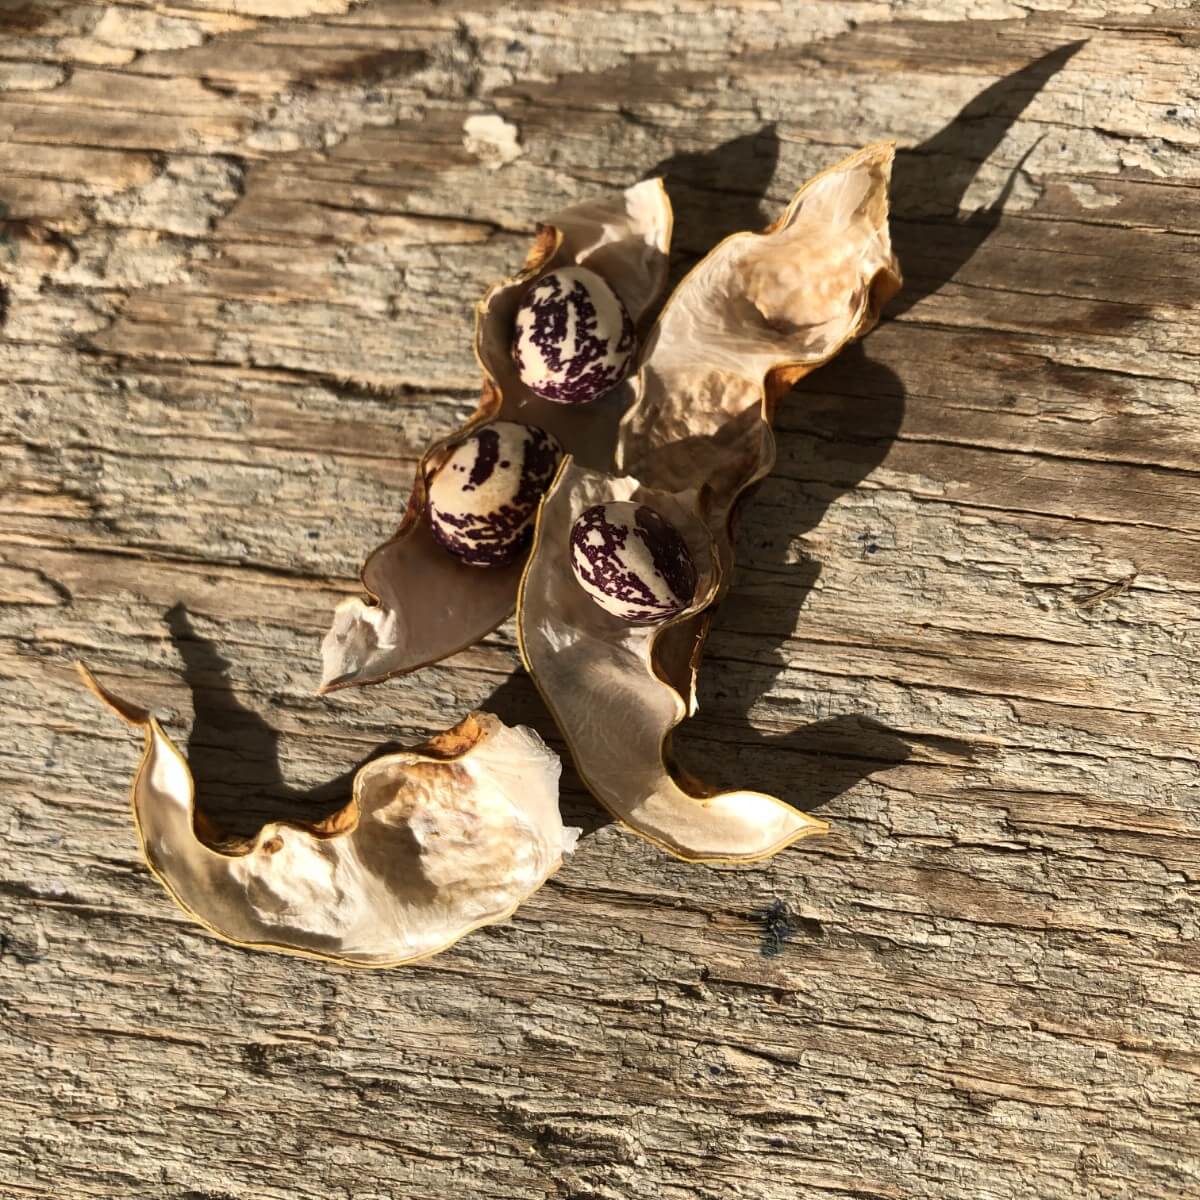
- Peas (SP) – Let pods mature past when you would pick to eat; can even let them go fully dry on the plant.
- Beans (SP) – Same as peas and little crossing; lima bean varieties can cross with each other.
- Chickpeas (SP) – Same as peas
- Eggplant (SP) – Will not cross with other types of plants but may cross with other eggplant varieties if you are growing more than one (but your result will still be an edible eggplant).
- Tomatoes (SP) – There is a slim chance of cross-pollination between different tomato varieties, though it’s not a huge concern. You can easily space different varieties out around your garden and/or plant another tall crop (corn, sunflowers, etc.) between tomato varieties if you’re concerned.
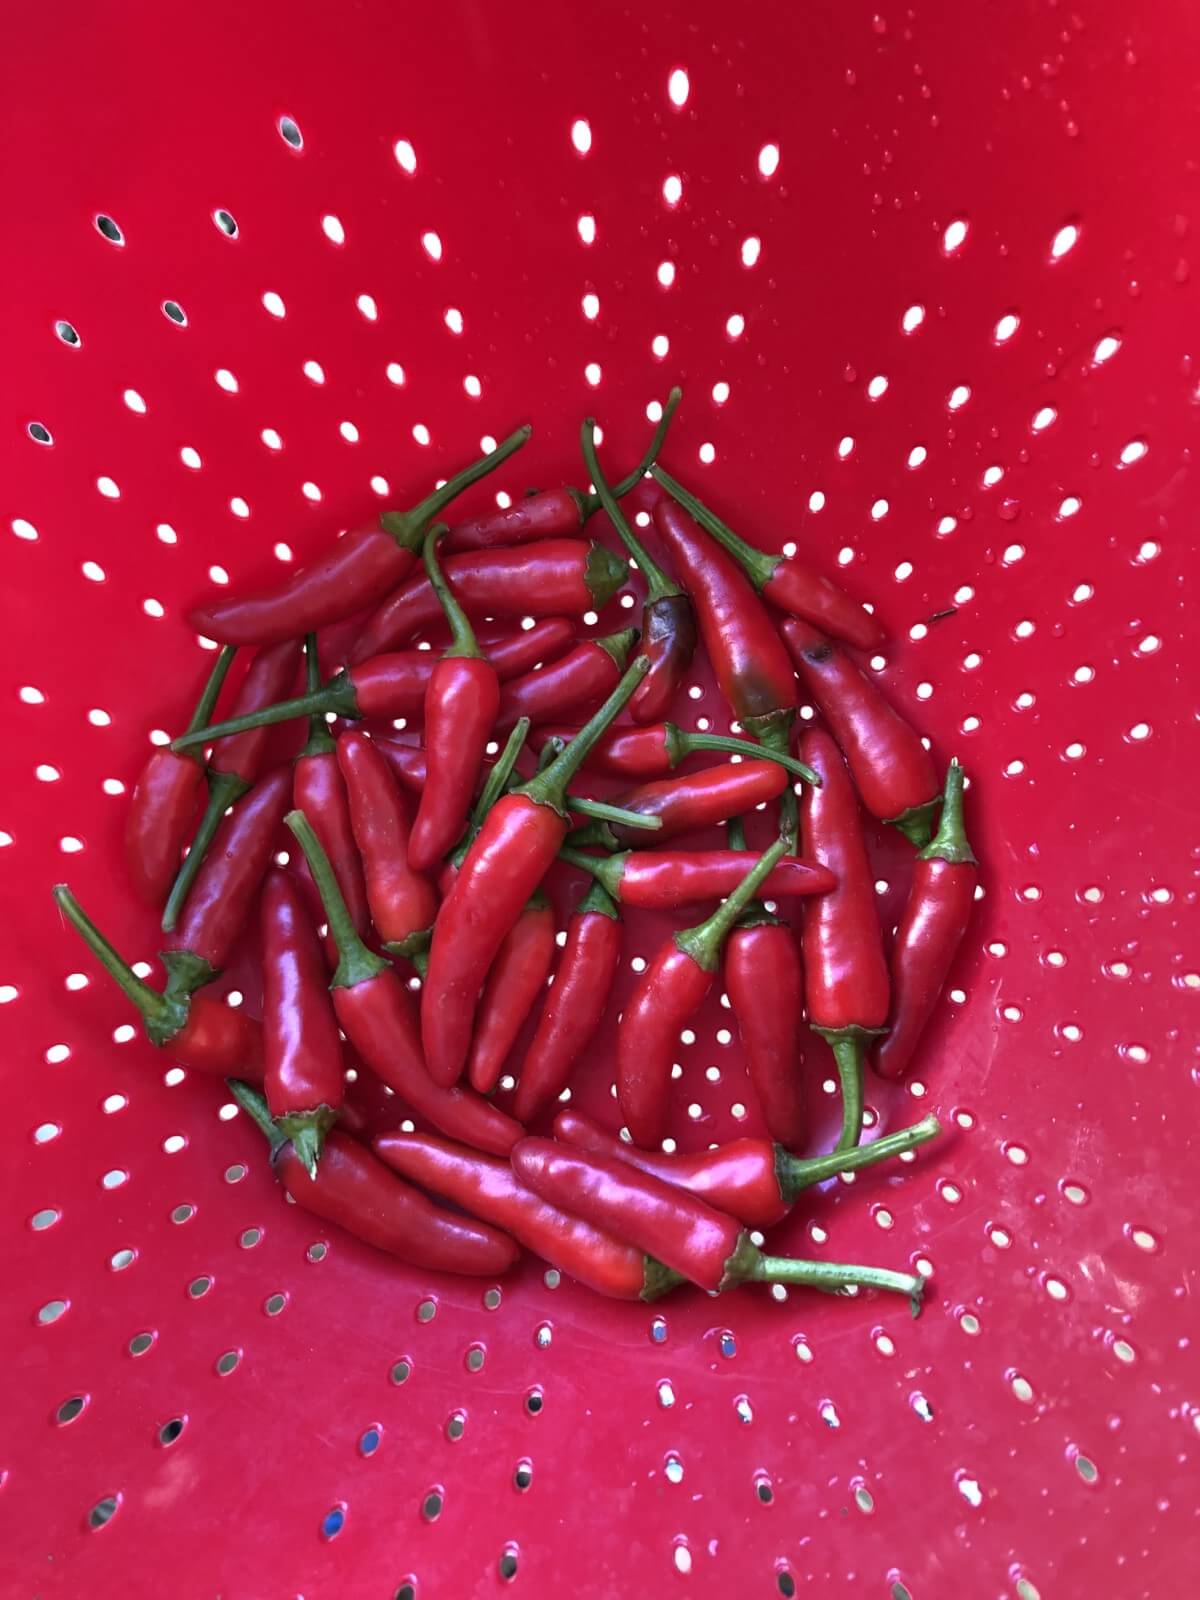
- Peppers (SP) – Some peppers can sometimes cross with other pepper varieties by wind or insect pollination. Spacing and spreading out your different varieties will help mitigate this risk. You can also cover (with row cover) or cage with a screened cage to keep insects out during pollination periods to insure against cross-pollination. Just be sure to mark the fruit that you want to harvest your seeds from (such as with a piece of string).
- Tomatillos (SP) – an easy seed to save. You’ll want to use the “blender” method for cleaning the seed (see below in the section on harvesting).
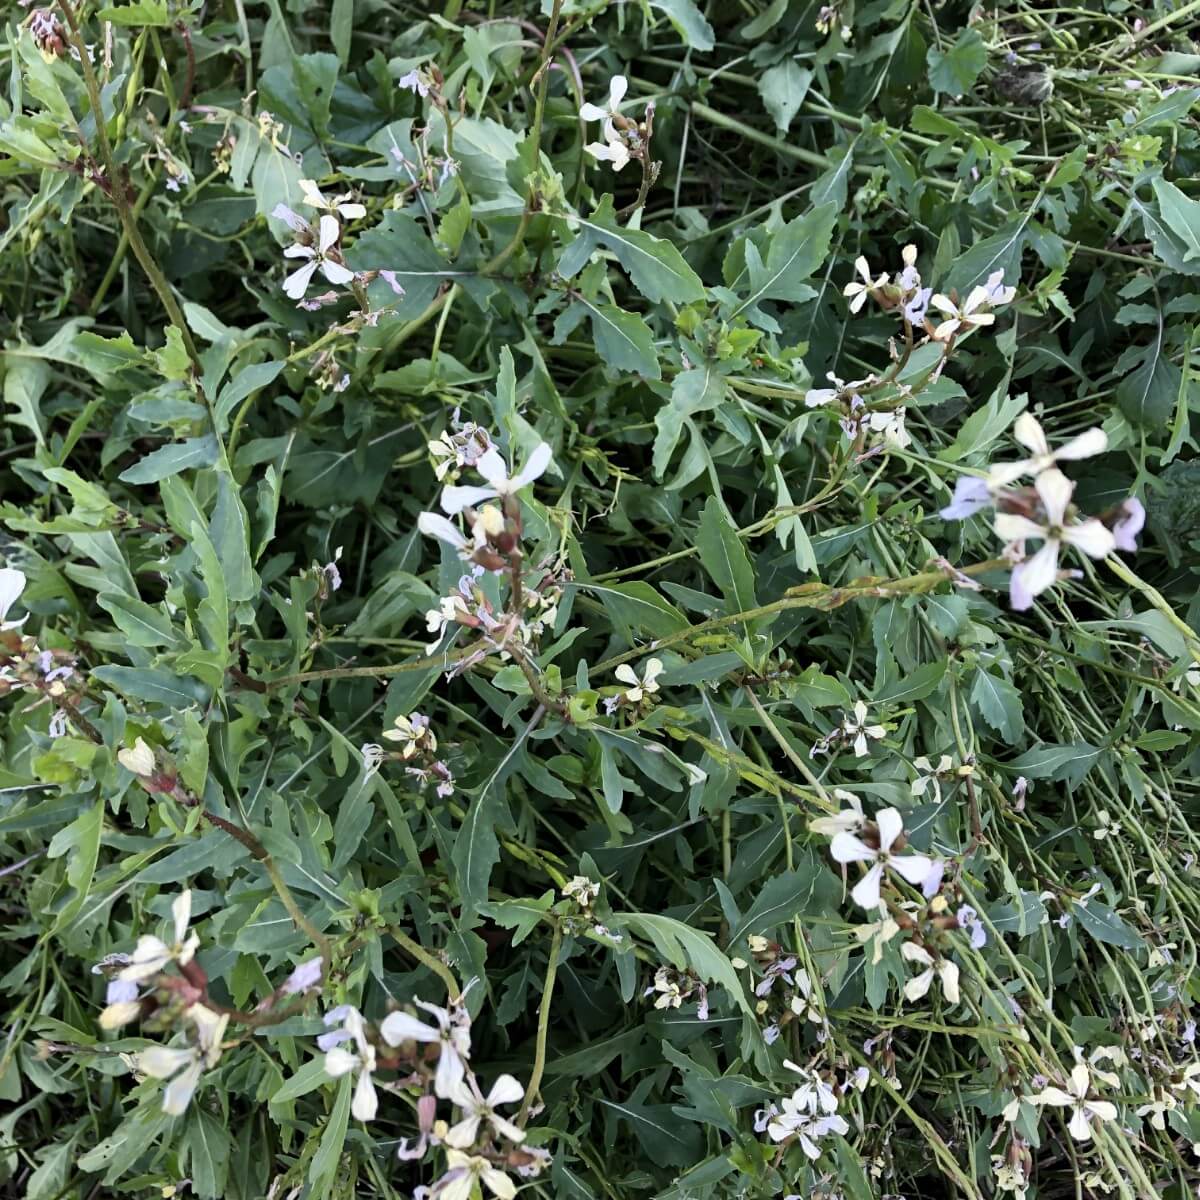
- Arugula – Arugula is insect-pollinated but can only cross with other varieties of arugula. If you only plant one variety or stagger the planting times to stagger the bloom times there is no concern.
- Okra (SP) – insects love okra so even though it is self-pollinating there is a slight chance of crossing if you are planting different varieties of okra. Note that you need to let pods turn dark brown before harvesting for seed.
- Soybeans aka Edamame (SP) – soybeans pollinate before their flowers even open so cross-pollination is not a concern.
- Spinach – even though spinach is wind-pollinated it will only cross with other varieties of spinach so if you’re only growing one type, it is still easy to save the seed and have it breed true. If you are trying to isolate different varieties of spinach you will need to use a row cover because the pollen is too fine and too small for the screen to prevent its spread.
Keep this list handy when you are choosing your seed to buy for your next garden. Choose Open Pollinated or Heirloom varieties of any of these and start saving! If you have some of these plants in your garden currently, you can go back to your seed catalog, packet, or seller’s description, and see if your seed is Open Pollinated or Heirloom, then save seed from the crop that’s in the ground—no need to wait a whole year if what you already have going isn’t a hybrid!
Saving Seeds from Herbs
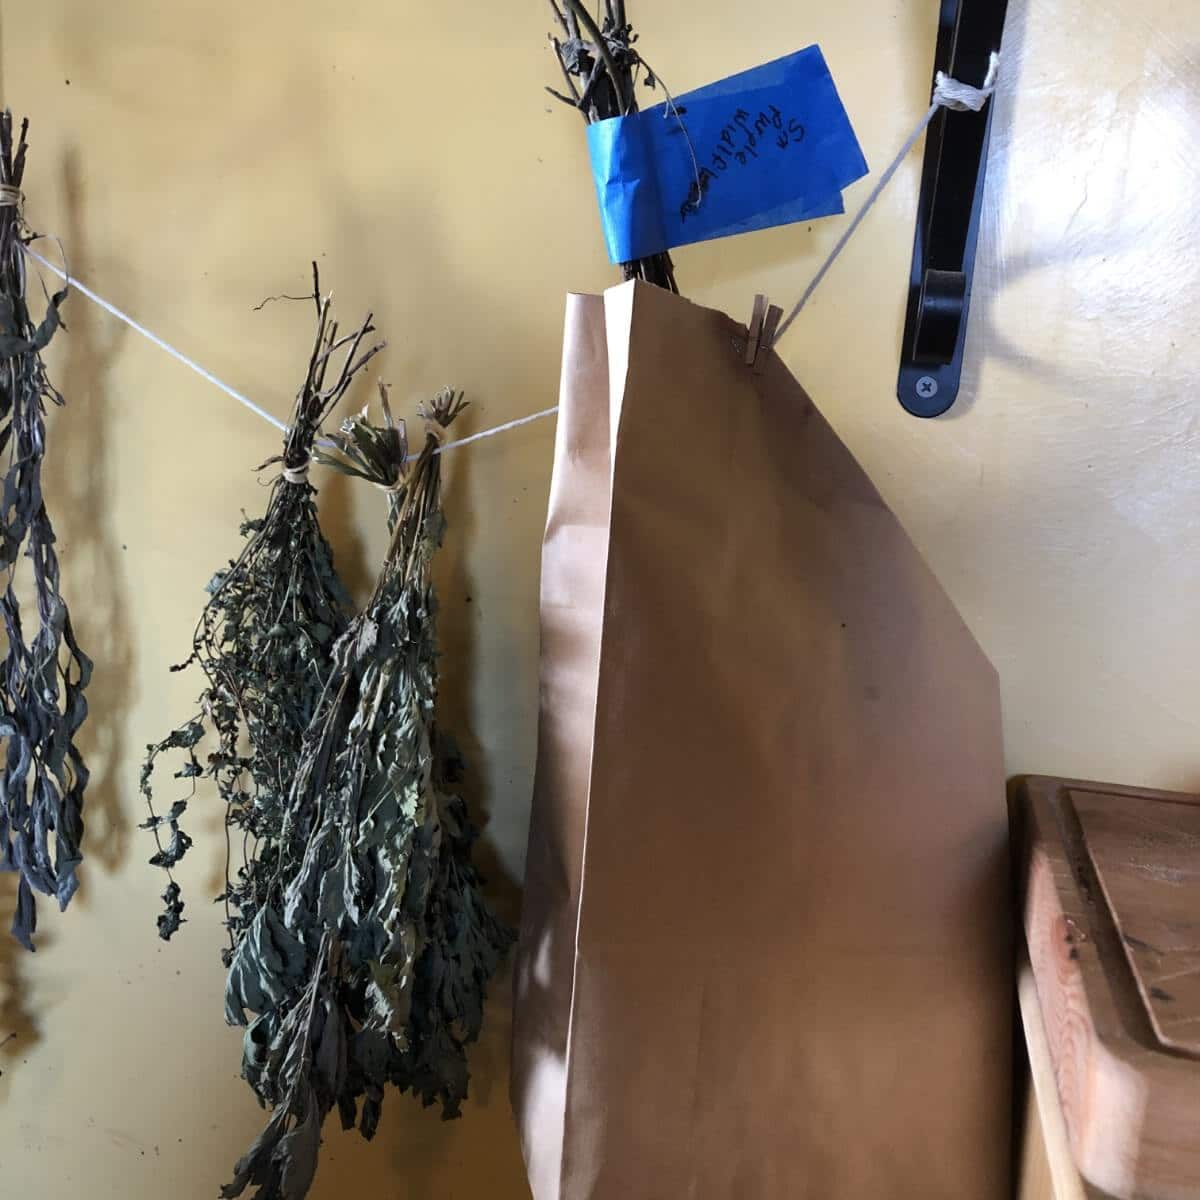
Overall, herbs see less out-crossing with other types of plants. Some varieties may cross amongst other varieties of the same type but it happens to such a low degree that there is little information available. We also tend to grow only one or two varieties of a given herb, which means that there isn’t much to worry about because there isn’t a lot of potential for crossing to begin with. Commercial growers may take more pains, but for the most part for home gardeners, the advice is to save seed as you like.
Plant, grow, observe, and save. Consider a trial run of your saved seeds in small pots before committing large permanent spaces to them if you are concerned. (Fortunately, you can get good results with herbs over a few months—even a winter run indoors will tell you a lot of about vigor and taste, etc.).
Keep in mind that often we do not allow herbs to flower because it changes the flavor of the herbs and it sends the plant’s energy to flowering and seed-making and not the leafy production that we are usually looking for when using culinary herbs; so you’ll need to change your growing and management plan a little if you plan to save seeds from herbs. Also, note that that management plan can aid you in further prevention of potential cross-pollination. Let only one variety of a plant go to flower at a time and you’ll greatly reduce or eliminate the potential pollen for cross-pollination.
Also note that herb seeds can be a little more difficult to save because they tend to be tiny. You will probably want to consider bagging methods or something similar to capture the seed from most of your herb plants.
Saving Flower Seeds
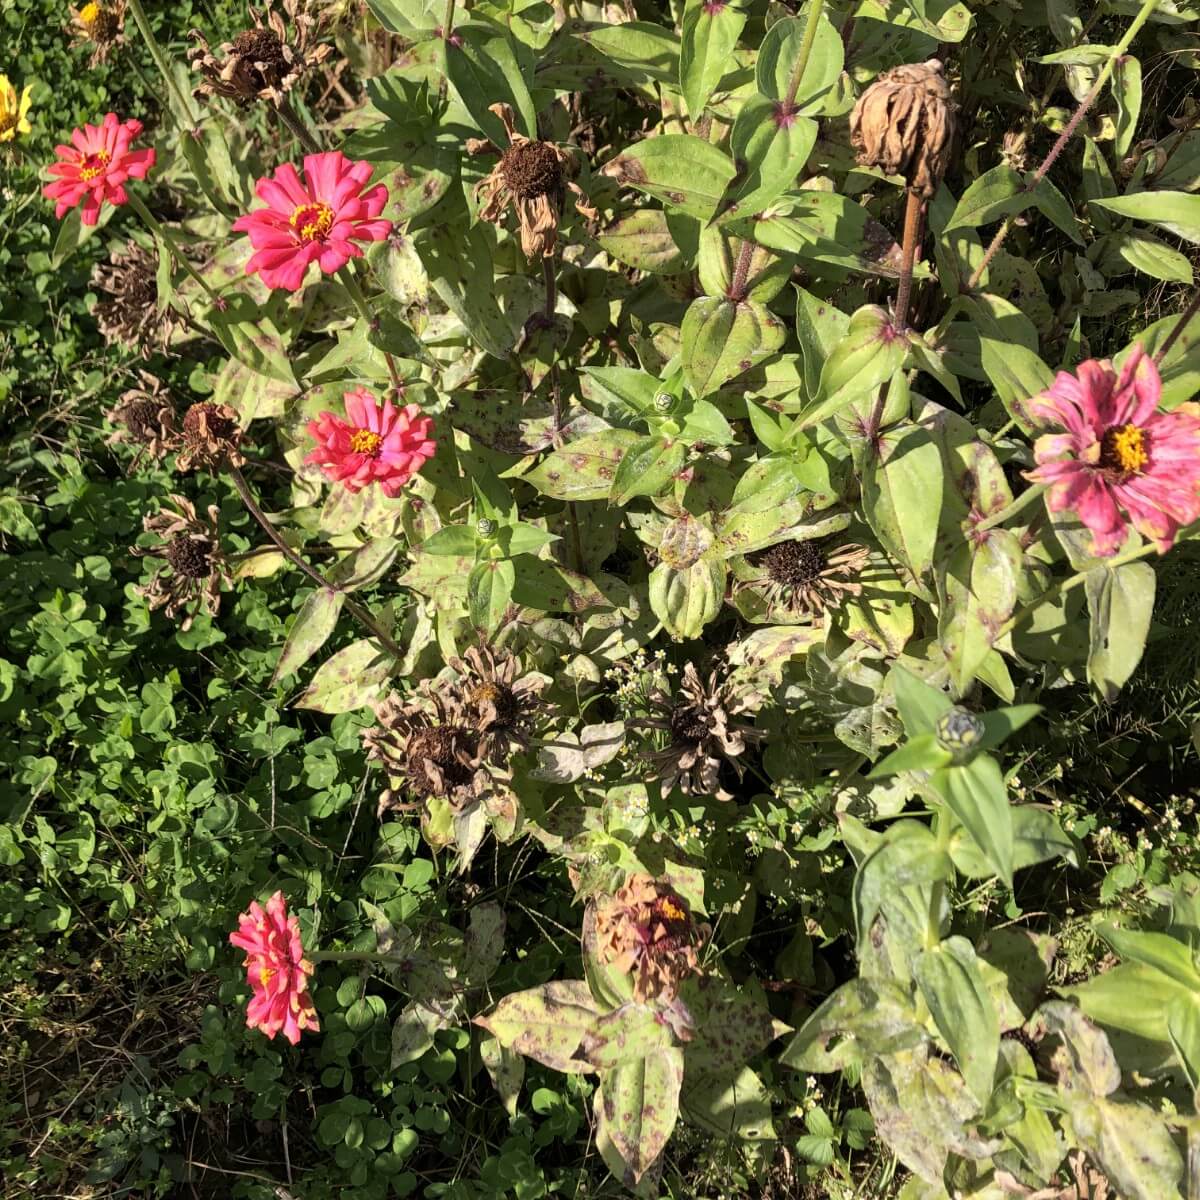
Flowers can potentially cross-pollinate with related varieties and to really prevent that you would have to take great pains. Still, flowers make the list for simple seed saving for a couple of reasons.
First off, it’s not as important in terms of ensuring a true-breeding vegetable or fruit crop that you might be relying on to feed you. When flowers cross, the effects might be more like different colors, behavior, less color variation (as in, one color gene might dominate and the “children” are all or mostly one color), or variegation; or it might be nothing noteworthy at all and you might not even know that the varieties crossed. On the other hand, accidental cross-pollination might result in something really neat.
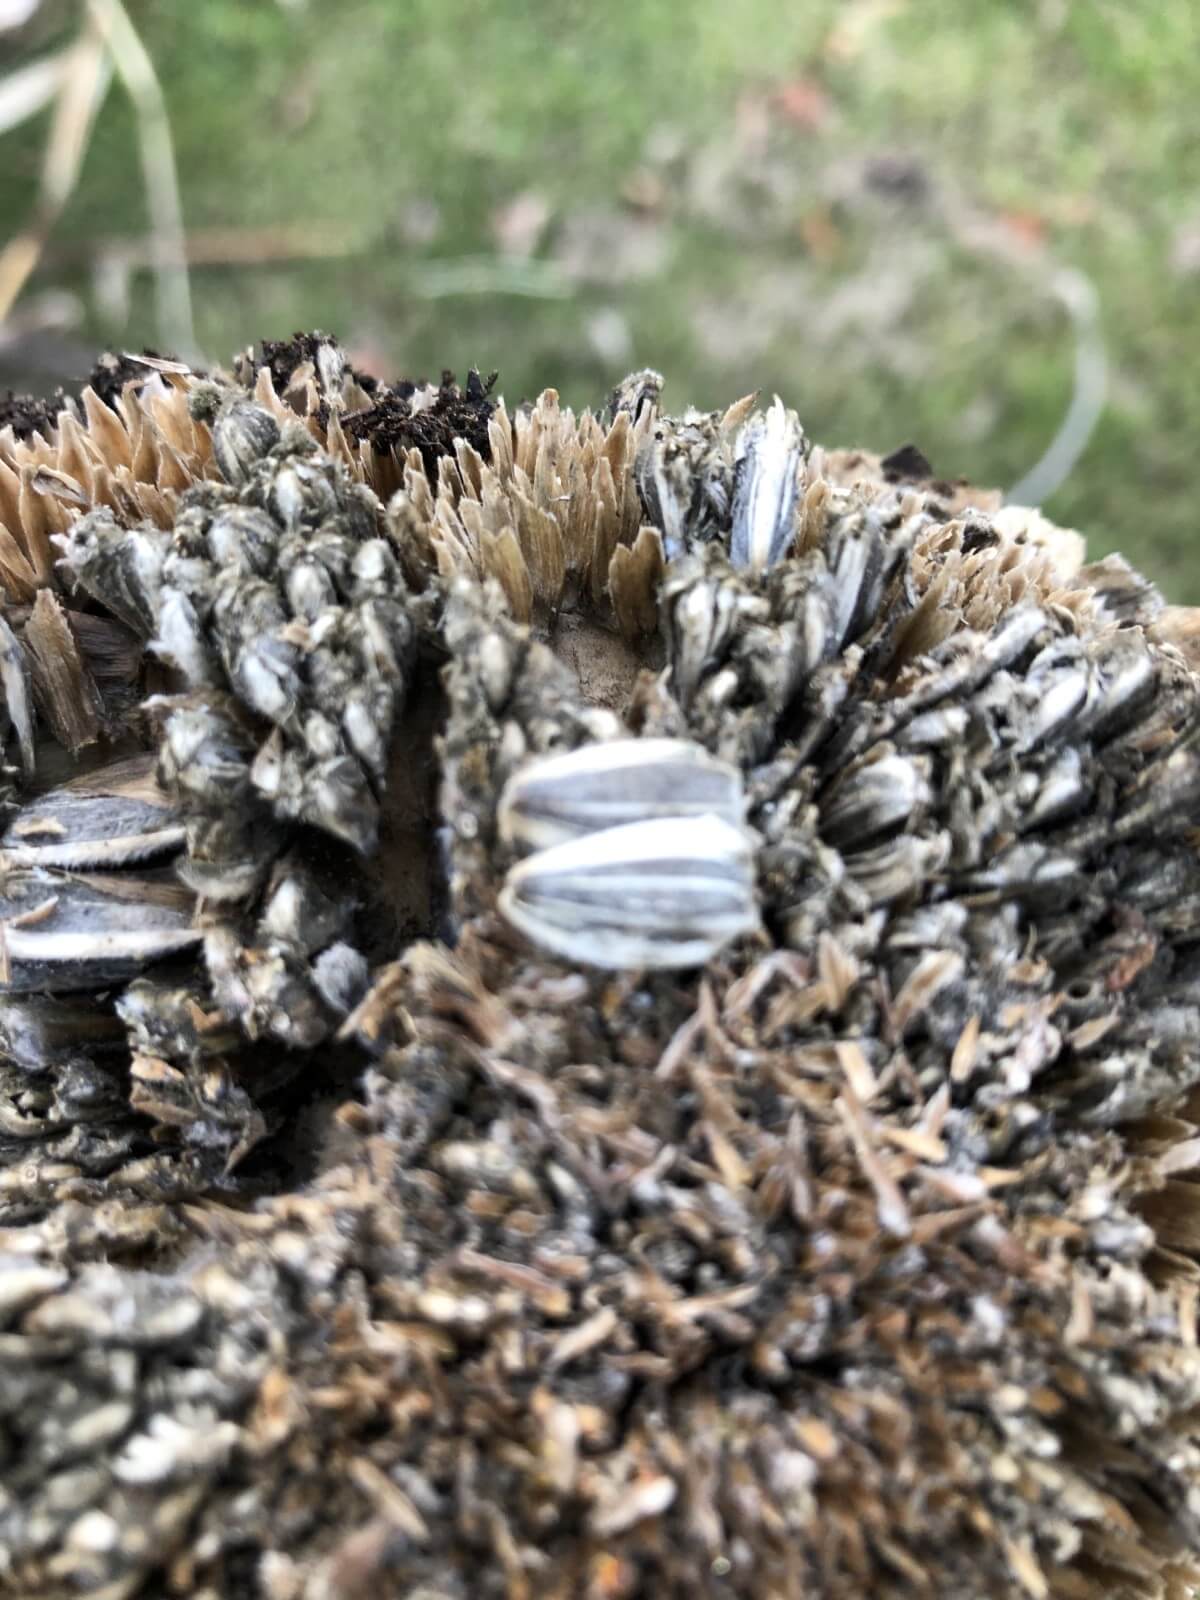
Secondly, flower seeds are usually pretty easy to save. After blooming and pollination, in most cases, flowers will just drop their petals and the center seed pod will dry down, making it easy to collect the seeds. There’s really not a lot involved in saving flower seeds so it’s worth clipping off some seed heads and giving them a go-to see what blooms.
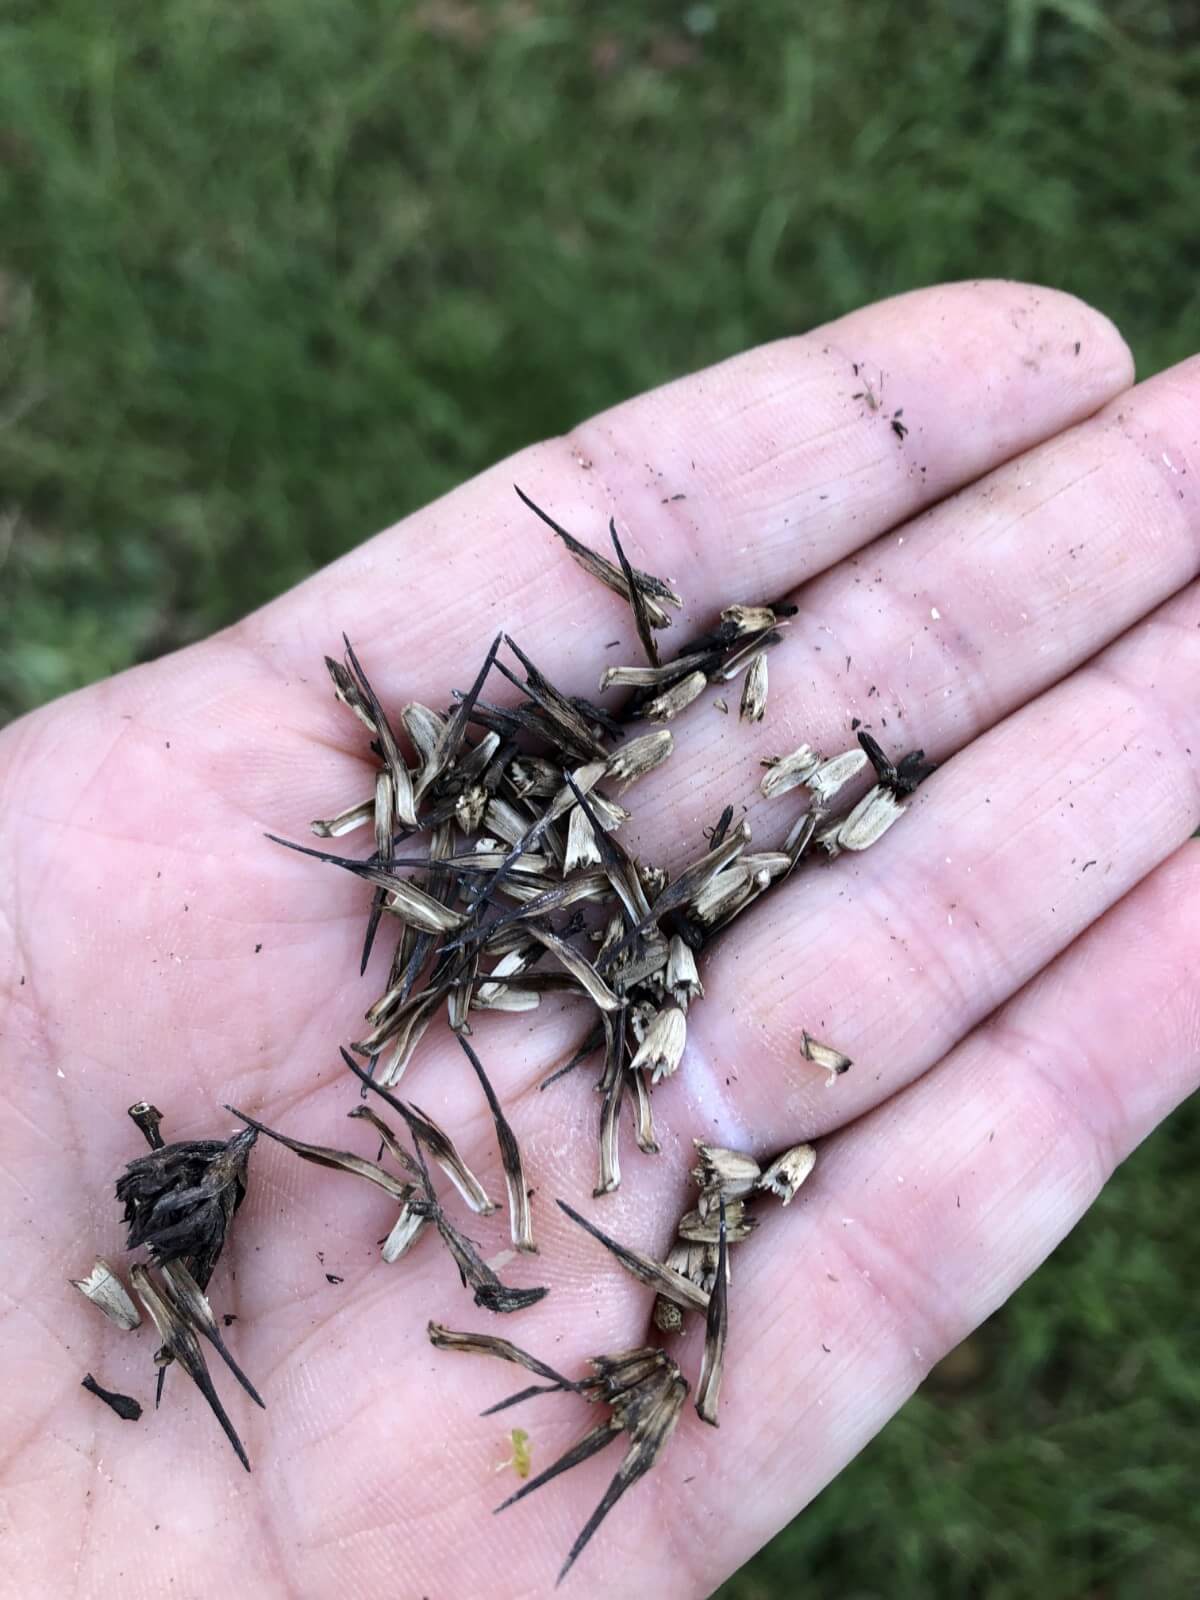
It is worth noting that with cross-pollination seed sterility is slightly possible (this is always a possibility with natural hybridization and cross-pollination). Since you have nothing to lose and it only takes a minute to collect your seed, it’s still worth trying. Before you get too invested in storing and relying on your seeds for next season, you could perform a quick germination test, which will tell you if the seed collected is capable of growing.
Some of the easiest flowers to save reliable seeds from include sunflowers, nasturtiums, zinnias, marigolds, poppies, snapdragons, cardinal climbers, and morning glories.
How to Harvest Garden Seeds
When to Harvest
Different types of plants will be ready to harvest at slightly different stages.
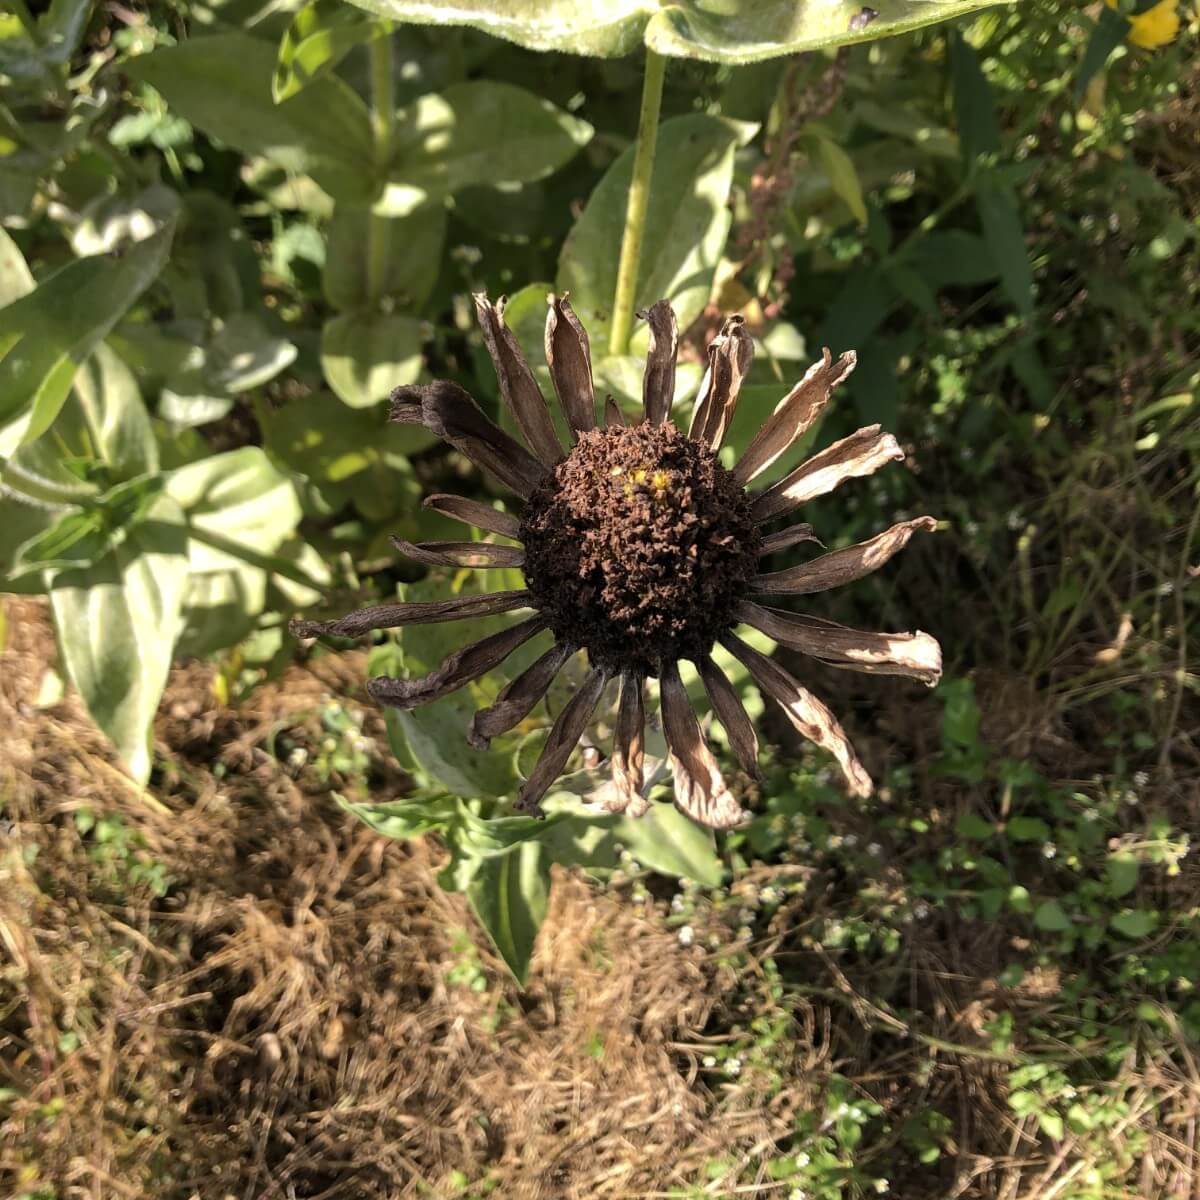
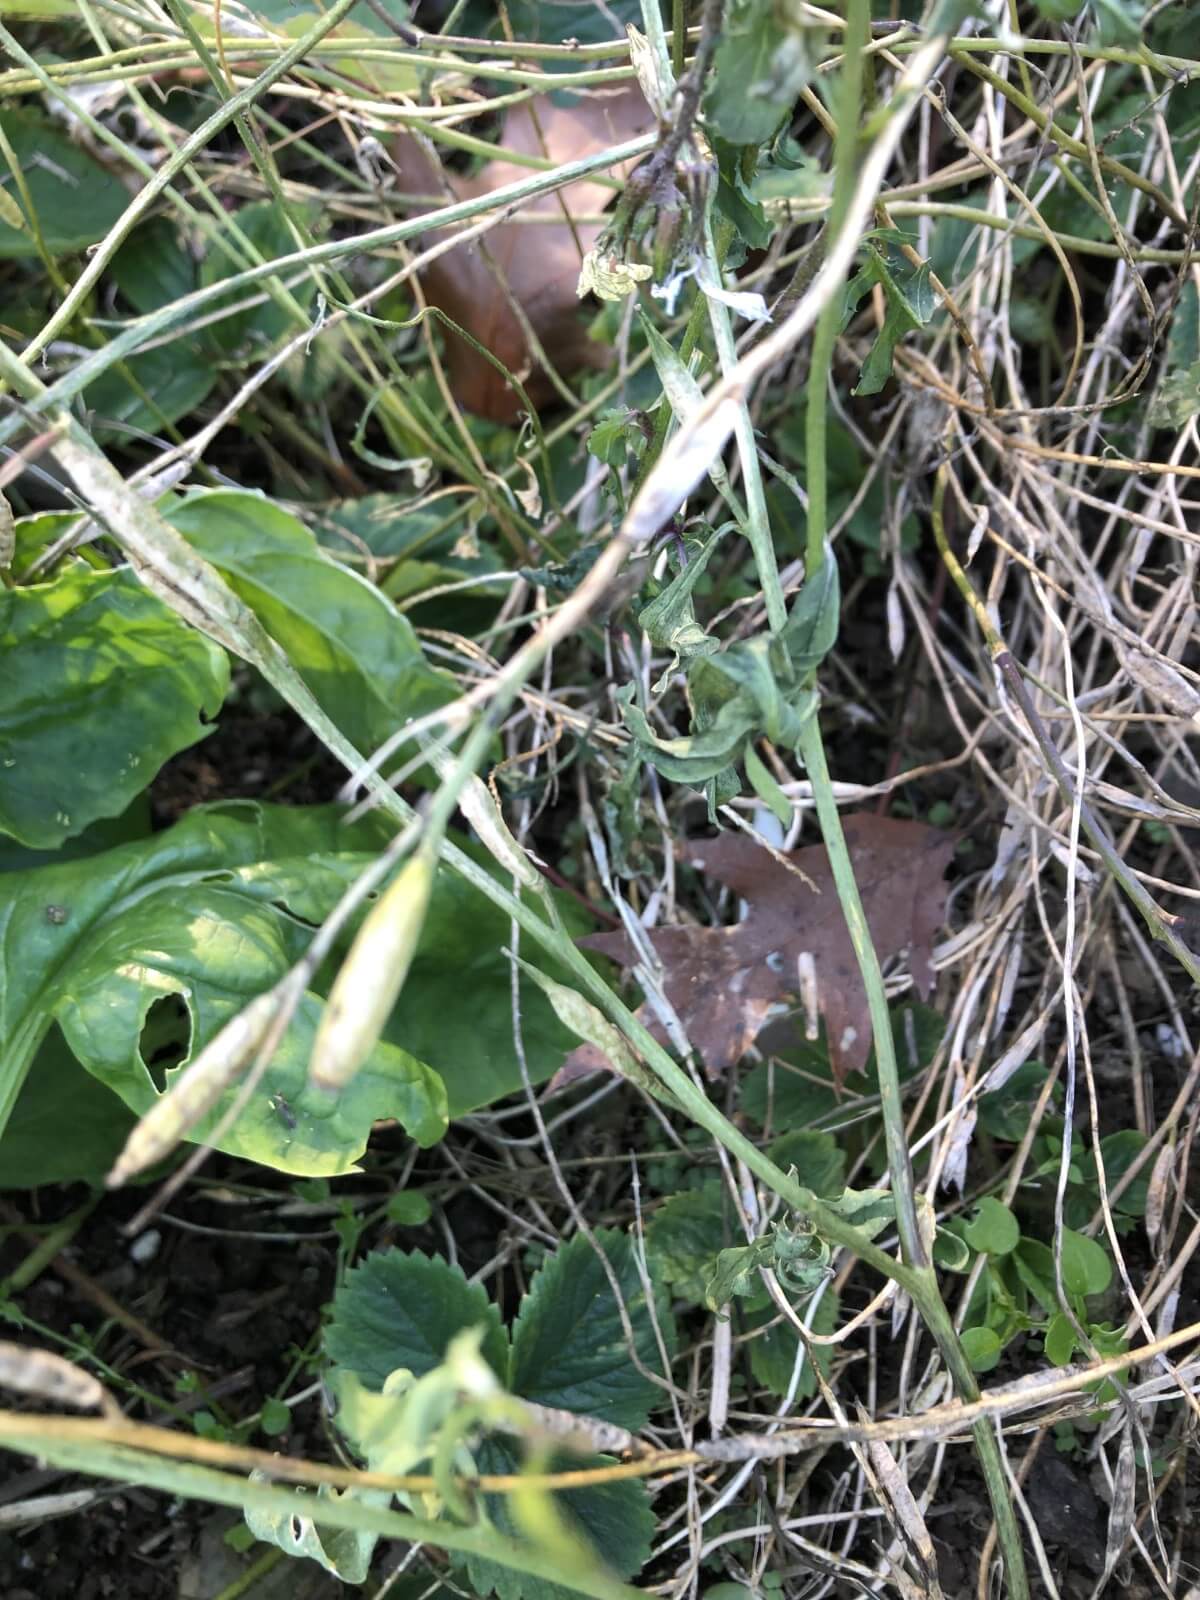
For flowers, herbs, and vegetables that grow similar types of central dried heads, wait to harvest until the seed is dried down, is hard and looks similar to what seed packet seed looks like. The plant itself will often be quite overgrown and look a lot different than what you maintain for food harvesting. Do note, though, that some seed heads will “shatter” to disperse their seed. You want to collect your seeds before this happens so that you do not end up with empty pods or seed coats. Lettuce, for example, is a vegetable that shatters. The best time to collect lettuce seed is when you see fluffy feather-like protrusions from the seed heads.
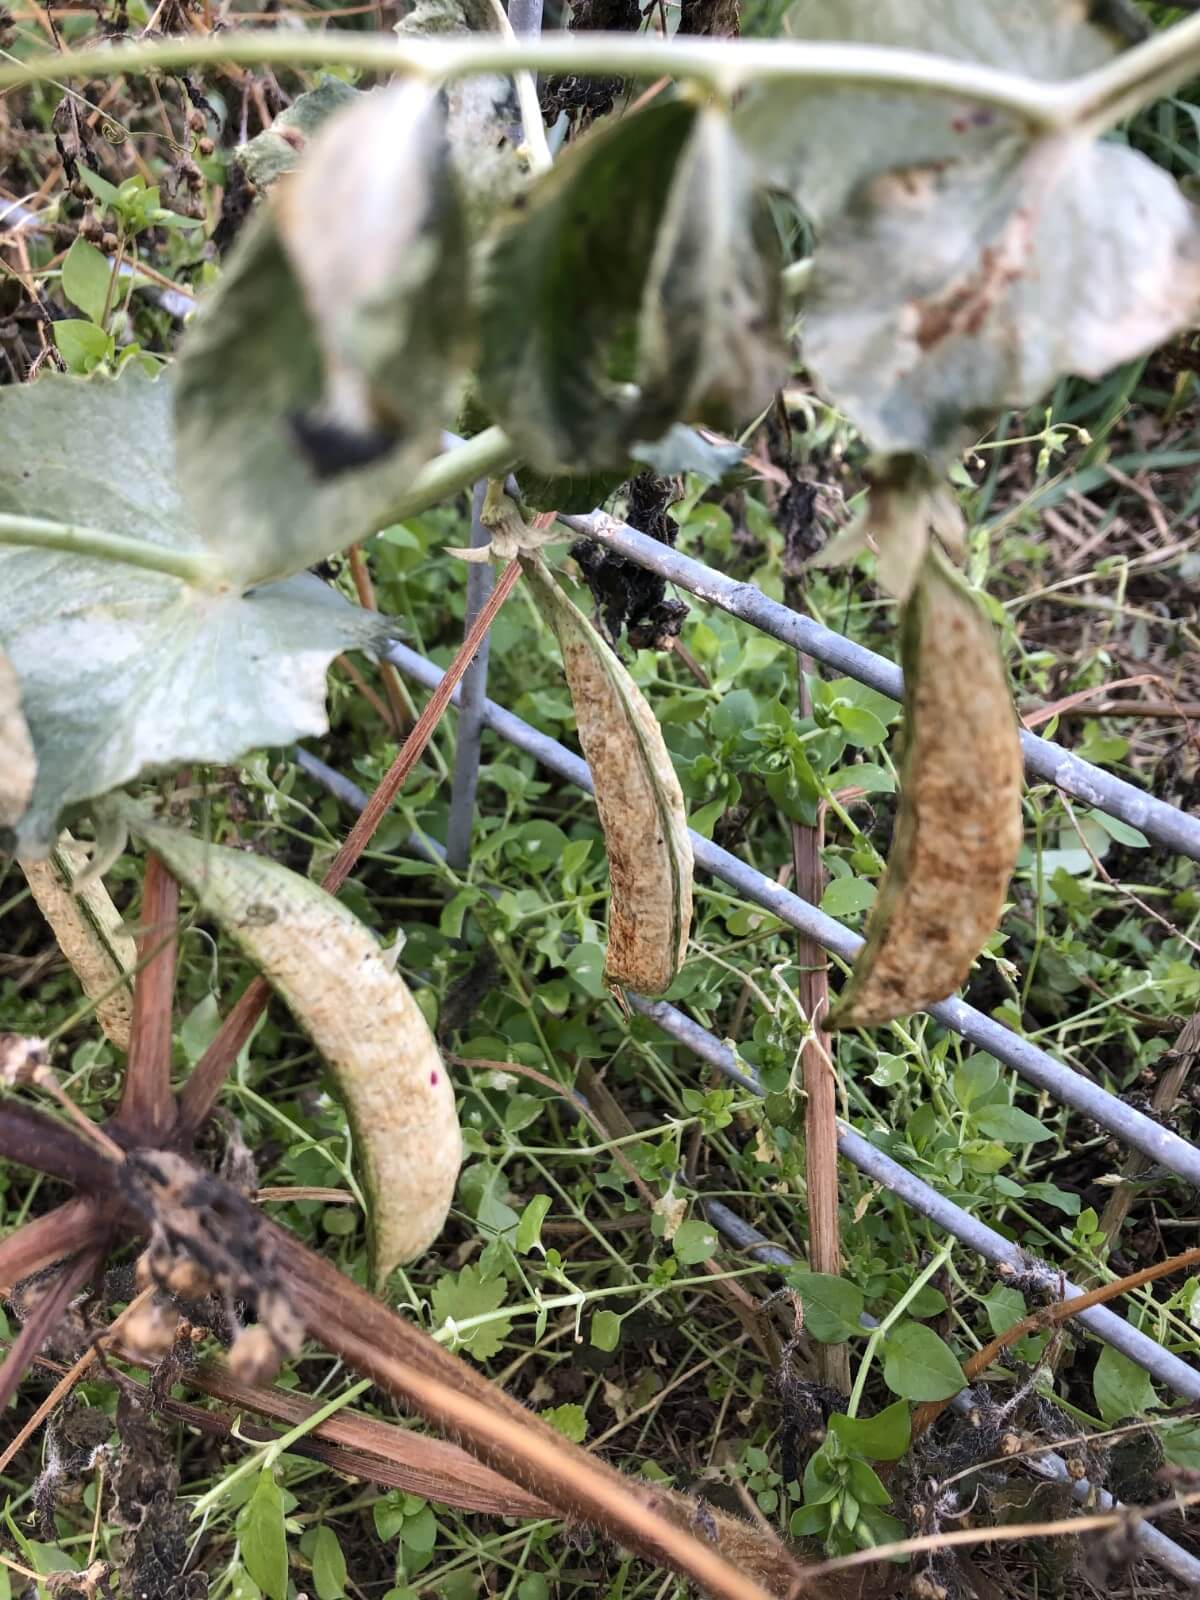
For many vegetables, it is the seed that we actually eat—peas and beans, for example. For these, you need to let the pods stay on the vine longer than you normally would and let them get very mature. You can wait until they dry down most or all of the way on the vine before collecting your seed stock. You will find other vegetables in the garden that grow similar seed pods, too (radishes are one example). Let these mature to a similar stage as mature/dried peas and beans before collecting.
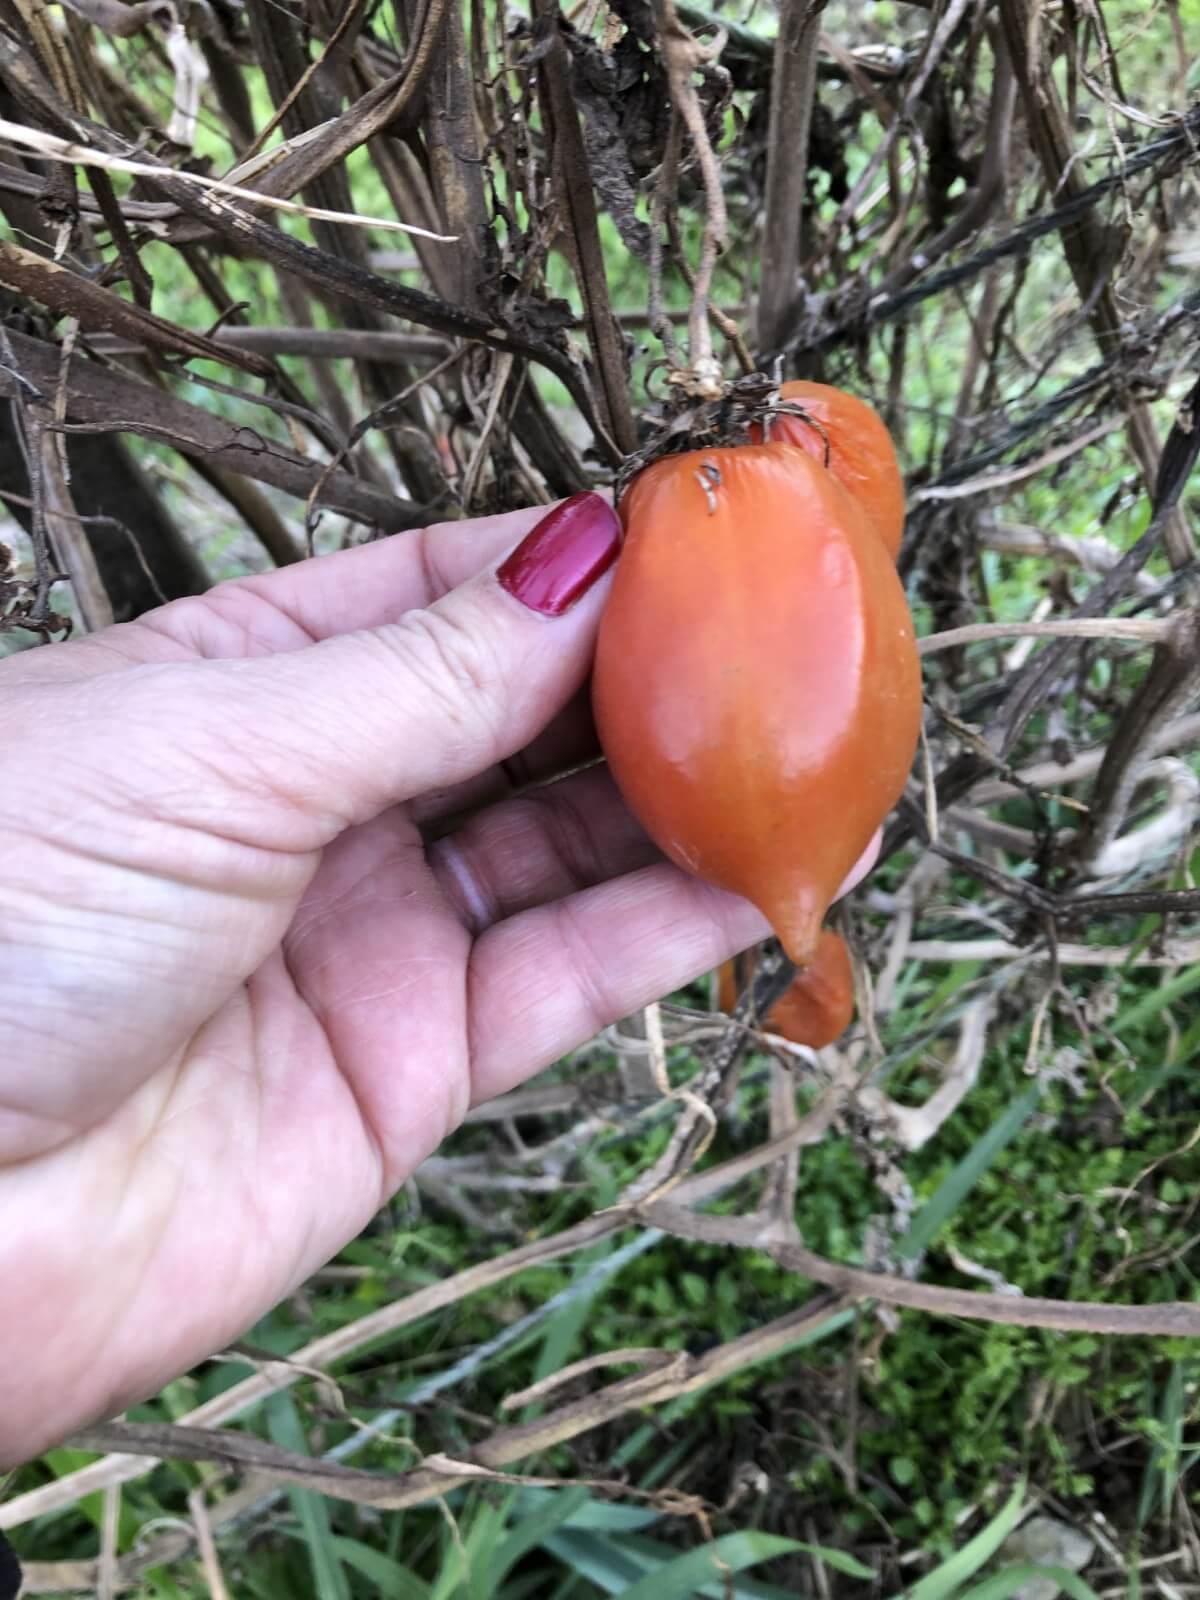
Other vegetables like tomatoes and peppers contain the seeds inside the fruit that we normally eat. These need to be left to fully ripen and mature on the plant, but they should not go to a point of over-ripe/over-mature where they begin to turn towards rotting. This is good news because it means for these vegetables we can harvest the seeds without having to sacrifice the fruit/vegetable—you just collect the seeds when you use the produce. Tomatoes should be deeply colored and very ripe before harvesting for seed collection. Peppers should be left to their final color stage, which is usually red.
Some vegetables—cucumbers, for example (though they’re not included here because of their quickness to cross-pollinate)—should be left to a very mature stage well beyond what you would consider eating. Cucumbers for seed would not be harvested until the “yellow blimp” stage.
Letting your plants and vegetables mature before harvest is important because even though over-ripe and over-matured seeds and vegetables may not taste very good to us, the seeds continue to mature, develop, and gather nutrients and vigor as they complete their cycle of development. Seed maturity affects performance, germination, and plant development for the next generation.
If in doubt you can always do a quick online search for a specific type of plant or seed but with these basics in mind, it’s often enough to have an idea of what you’re looking for and use your best judgment.
Collecting Seeds and Seed Heads
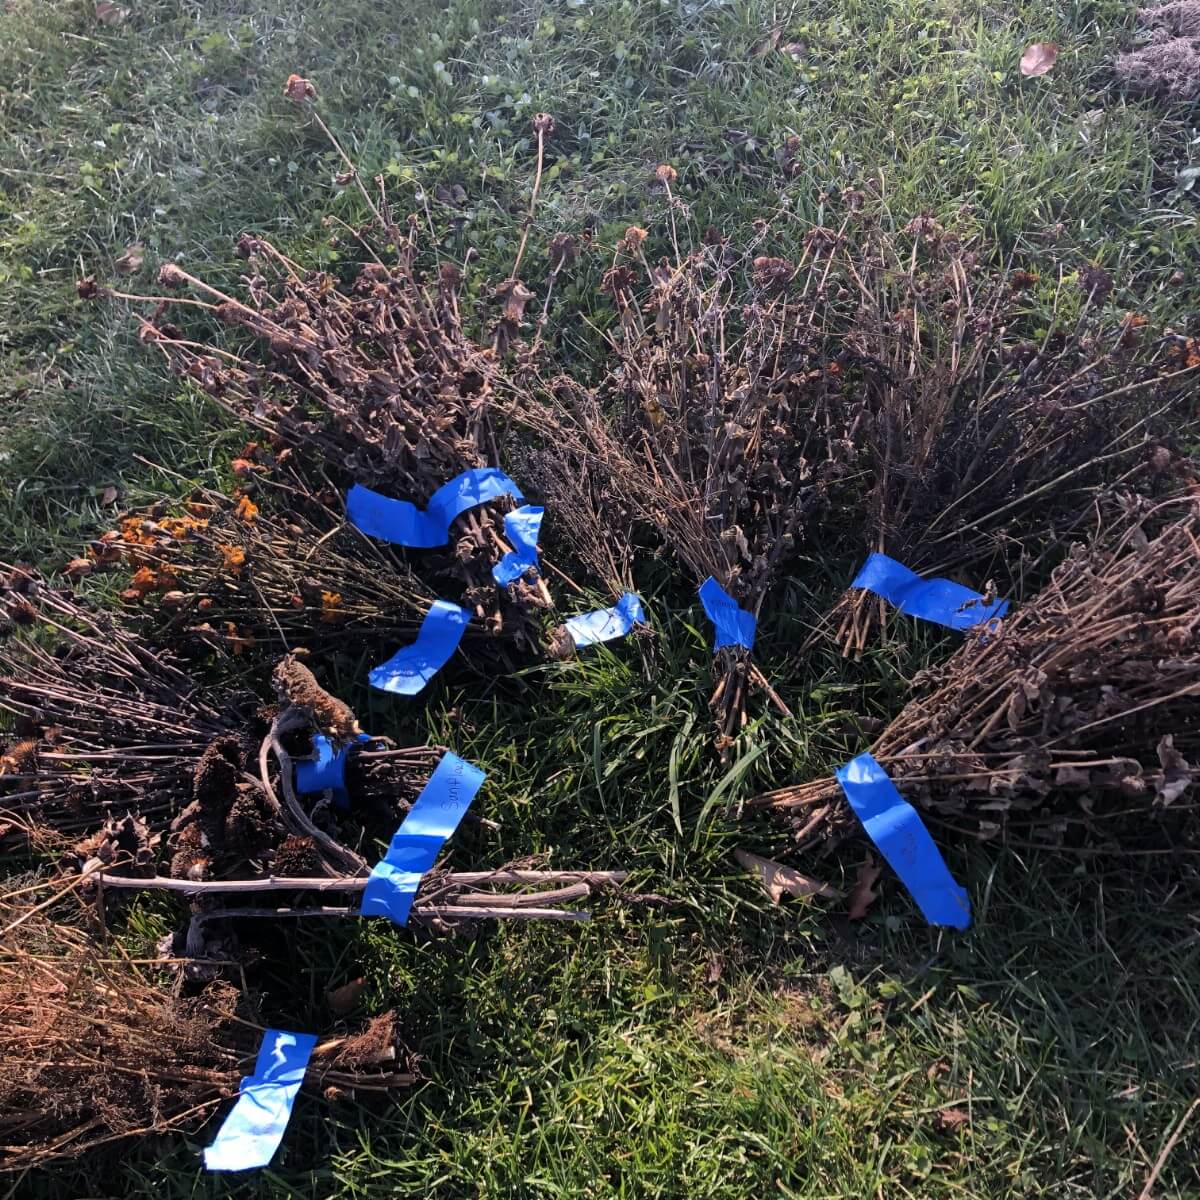
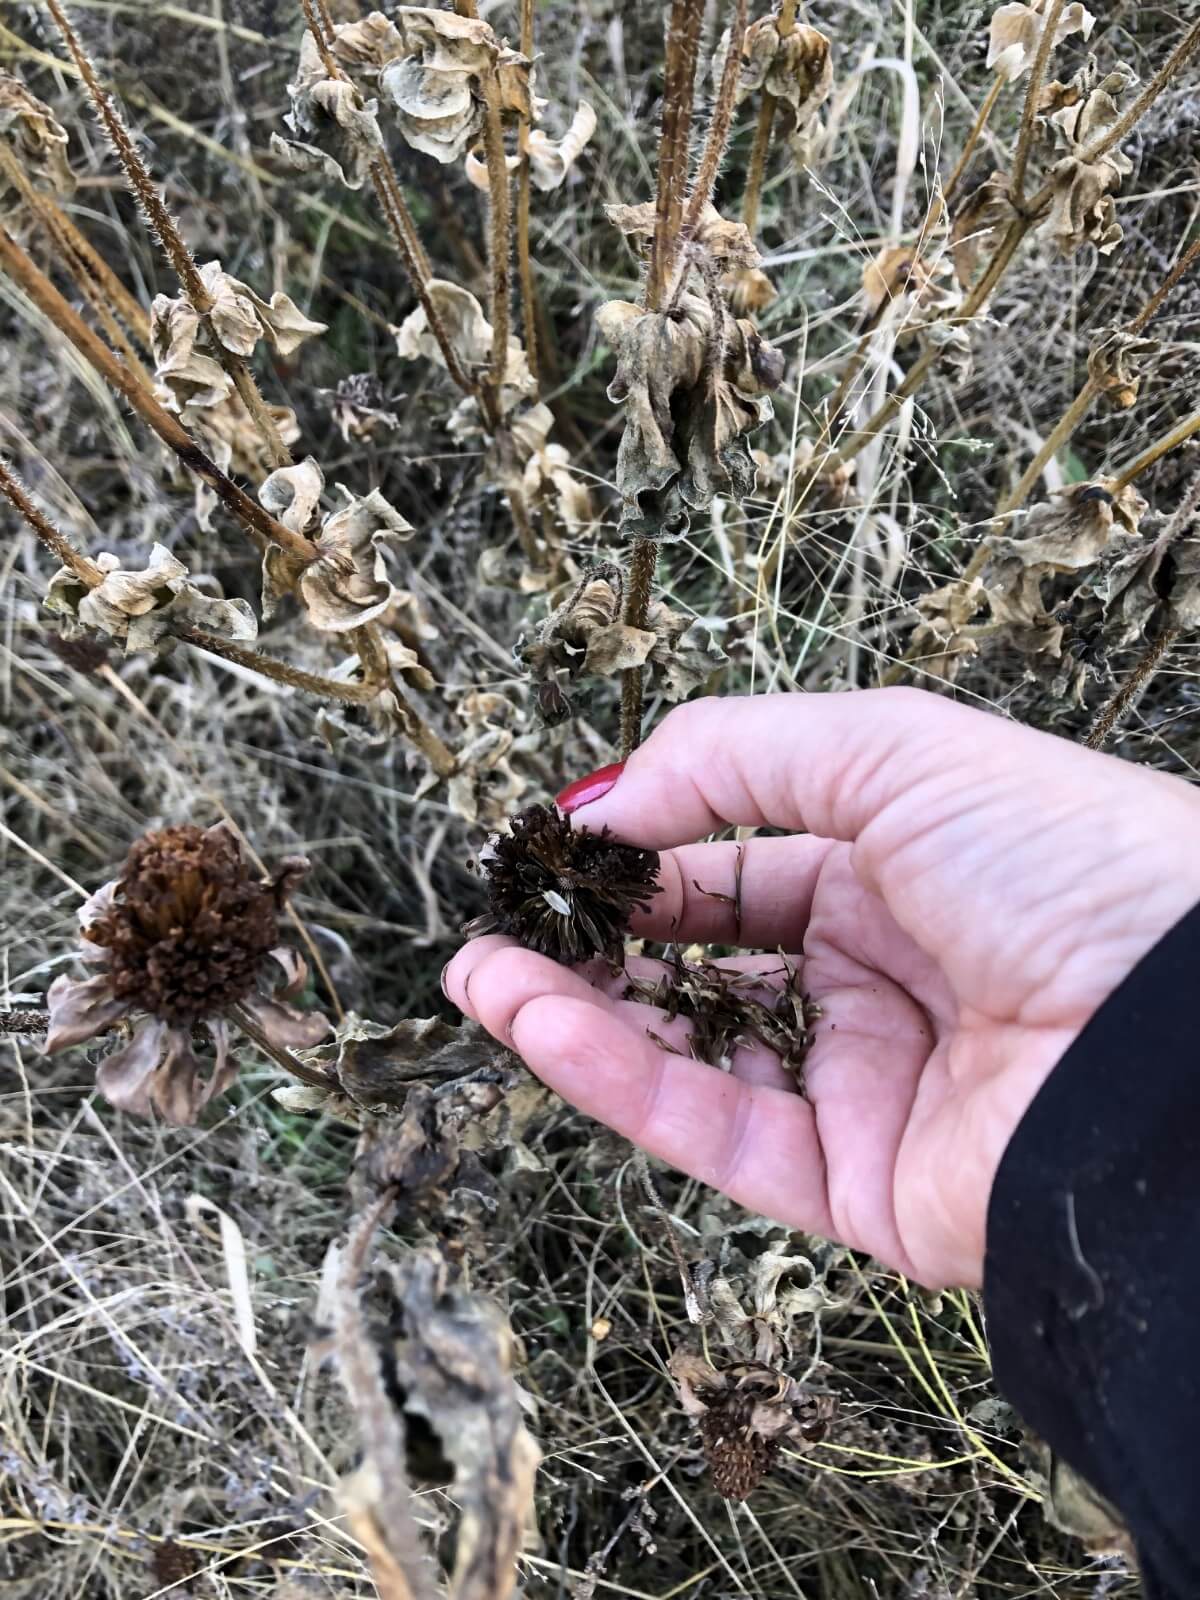
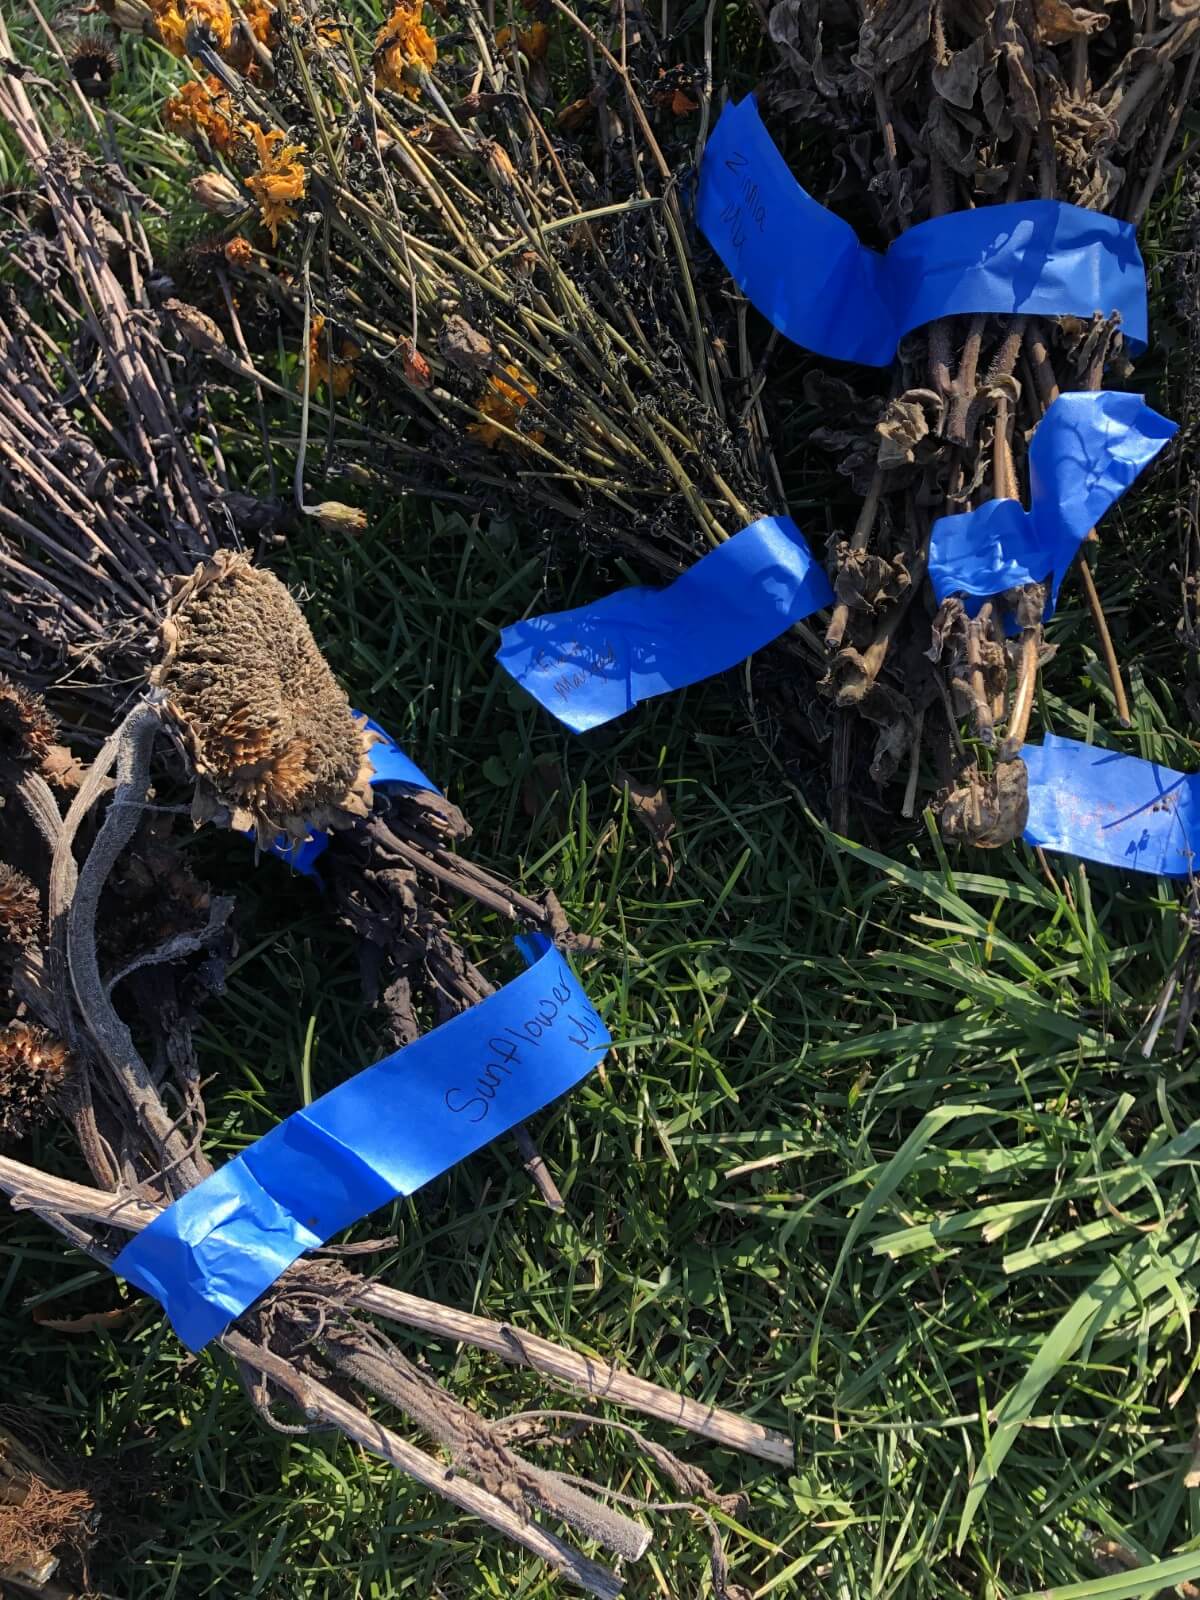
Seeds that dry down well on the stalk are the simplest to harvest. Flowers with a central seed head and vegetables that bloom and set seed similarly will be very easy to collect. You can simply go to the garden and pluck or rub out the seed into clearly marked containers. Take a lid and label as you go to avoid mixing seed.
Another option is to cut the stalks and bundle them with an elastic or piece of twine and then take them inside to separate. You’ll find this is an easier way to handle plants that have very small flowers and/or seed heads.
Once collected and dried, you have a couple of options for threshing and collecting the seed. One is to flail or thresh them against the side of a small barrel or bucket by hitting the heads against the inside of the bucket (such as a clean and dry five-gallon plastic pail). Let the seed simply fall into the bucket, then clean away as much debris and dried plant matter as you can and collect the seed. You may choose to line the bucket with an up-cycled shopping bag to catch the seed.
You can also cover the seed head with a small paper bag, tie the bag around the stalks, hang upside down in a warm place for a couple of weeks, and let the bag catch the falling seed.
As mentioned above, some seeds will be collected by picking ripe vegetables or pods.
Drying and Curing Harvested Seeds
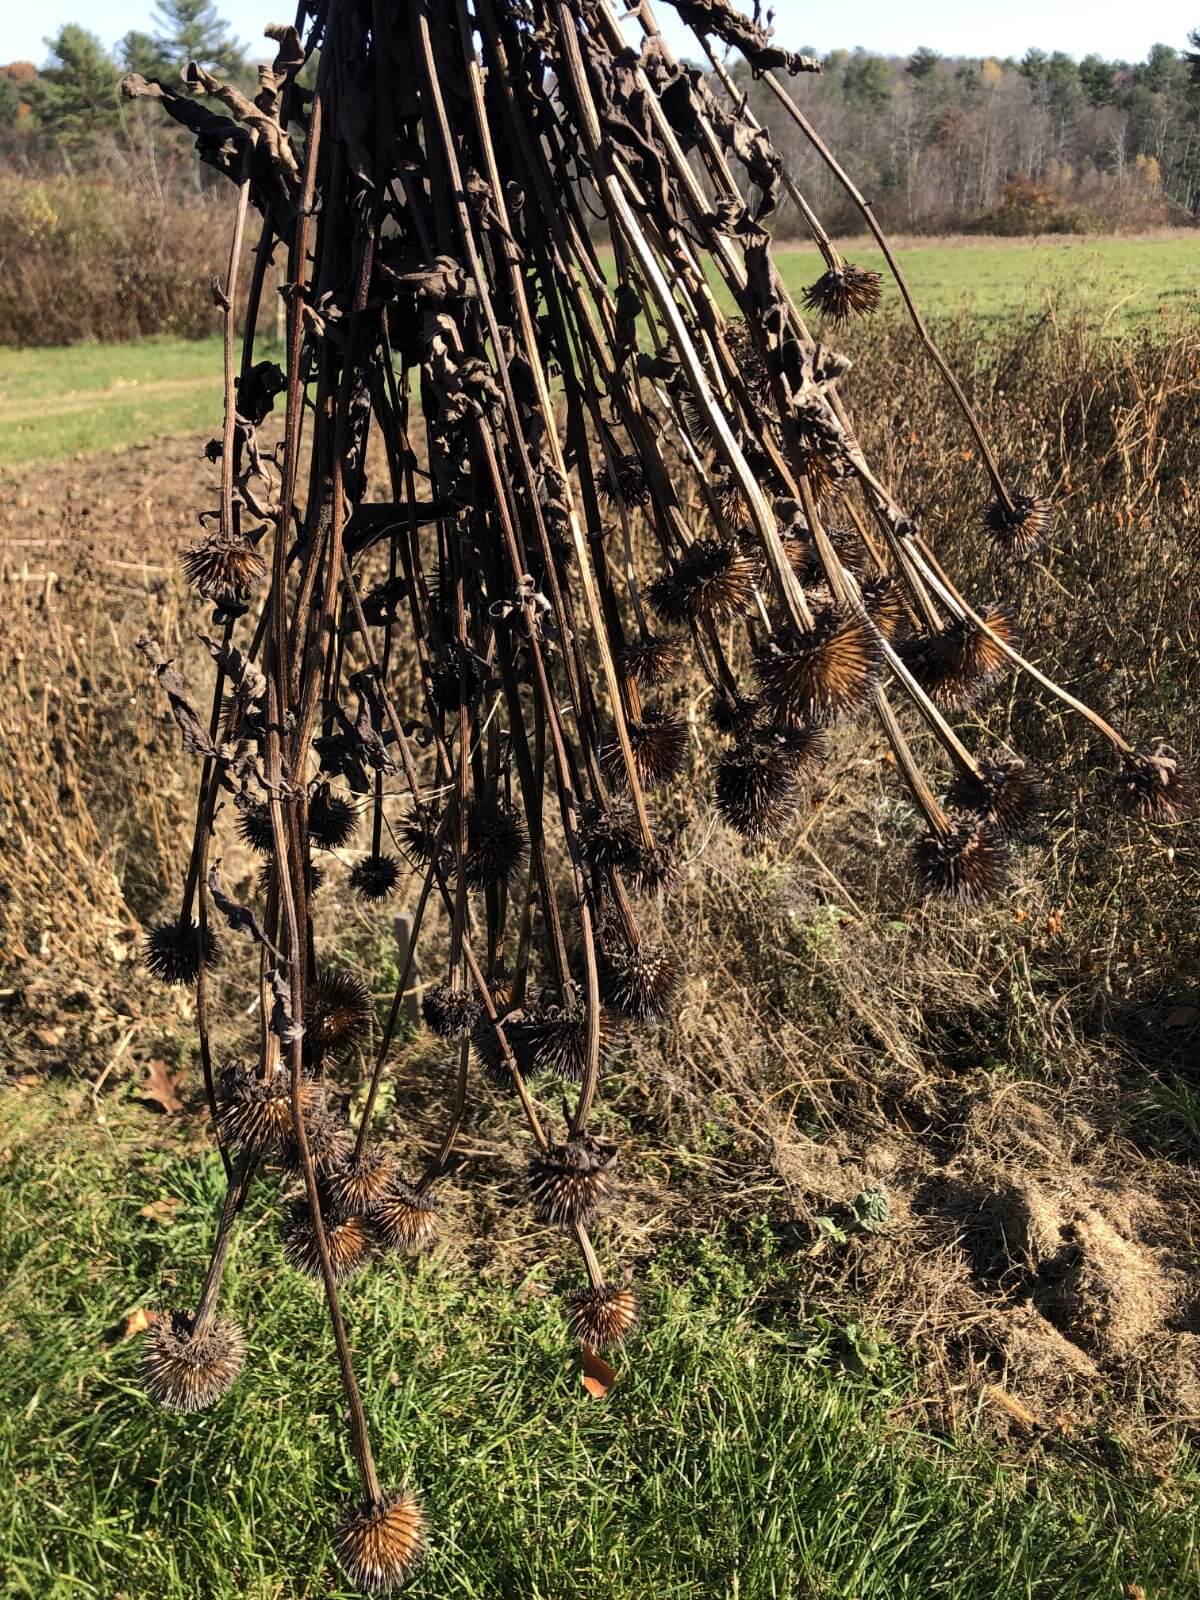
Even if the seeds you’ve picked from your garden seem dry, it’s not a bad idea to let them dry for a week or two indoors before packing them away for next year. A warm, dry room with good airflow is sufficient—just make sure the airflow is not strong and not directly blowing on the seeds so that the small seeds do not blow away.
The handling of plants and seeds may differ depending on the plants.
You can cut entire plants, stems, or stalks, tie them together, hang them upside down on a line or wire, then separate and thresh them after a couple of weeks. If the weather is threatening to destroy your almost-ready seed plants, this is a good solution that lets the seeds pull in that final nutrition and development.
For plants with small seeds, the bagging method mentioned above is a good way to prevent seed drop and loss as you let the plants and seeds do their final dry-down.
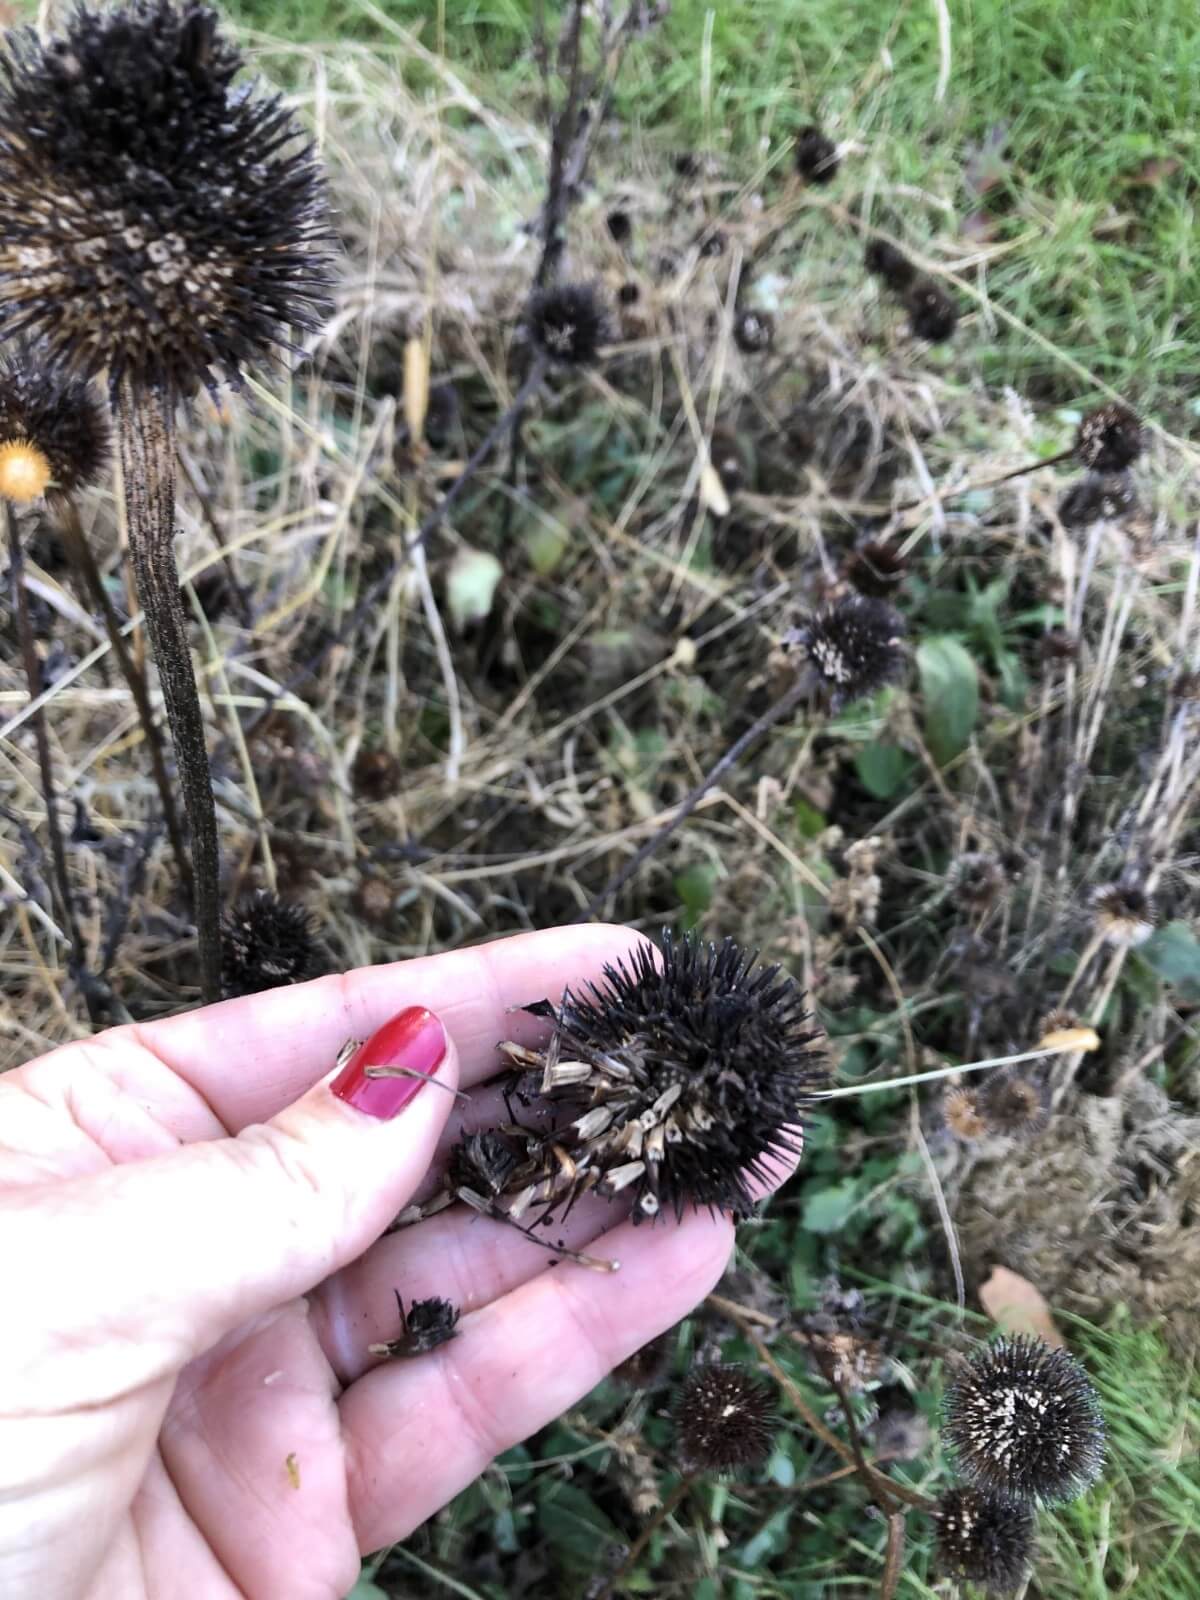
If your seeds seem slow to dry down, or perhaps you were forced to harvest a bit earlier than you would have liked due to weather or another factor, you can use a very low oven or food dehydrator to finish off the seed. This should be done at no higher than 100 degrees Fahrenheit (38 C) for six hours. If your dehydrator has a fan take care that it is not strong enough or direct enough to blow your seed around. This option may not work for some types of very small or light seeds. For small seeds, you may also need to use a solid tray to dry the seeds on, such as an herb or fruit leather liner.
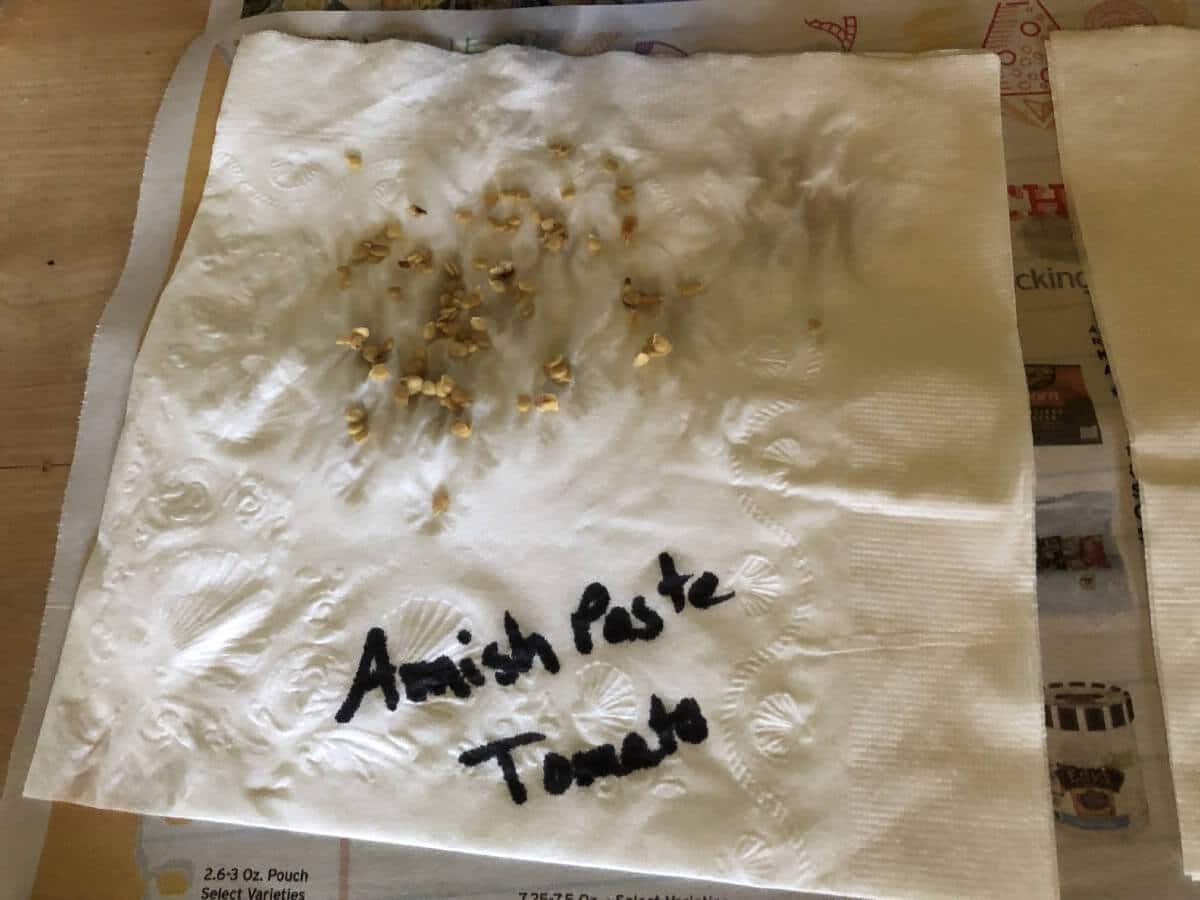
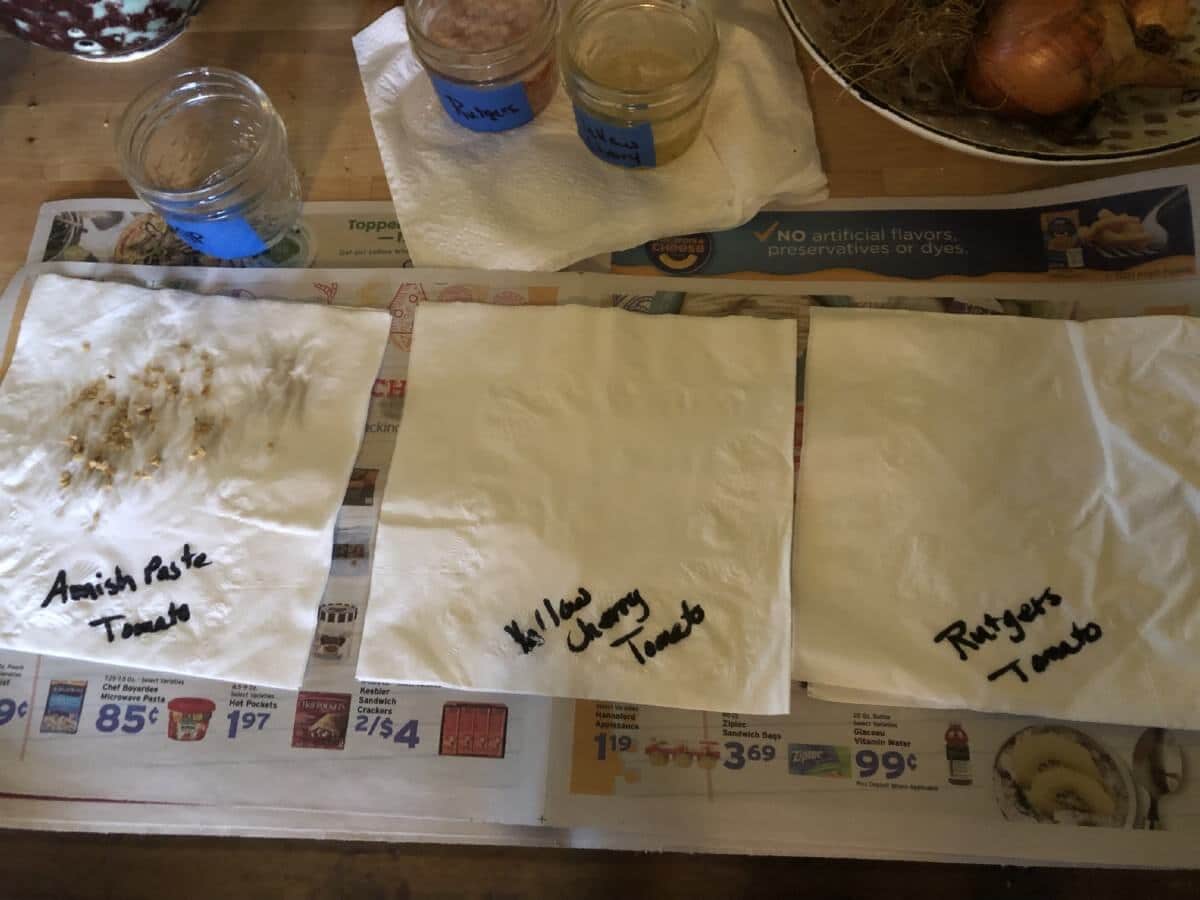
A final option that works well especially for the seed that is already separated is to spread the seed out on a fine window screen. Again, the very small seed may risk falling through so use your judgment, and again, be sure the screen is not near breezes, windows, or doors that might blow them. Laying small seeds out on paper towels works, too, and the paper towel is fine to plant with the seed if you have some sticking.
One final note—“dry” seed is never 100% dried and should not be. Your seeds for storing should retain about eight to ten percent moisture. This can go as high as 20%, but the longevity of the stored seeds is lower when the seed retains more moisture. Commercial producers have expensive equipment to help them determine the rate of moisture, but home gardeners, of course, do not. Fortunately, it’s enough to use our own good judgment—compare your seed to seed you buy from good suppliers, and you’re sure to do just fine. The point is, also do not try to dry and keep your seed at a dry, crispy stage. That will usually cause more germination and production problems than having a slightly higher moisture content.
Handling Seeds With Gel-like Seed Coats
Some seeds have a natural jelly-like coating around them when harvested. In the wild, this will eventually break down and help protect the seed but for seed saving indoors you need to remove this coating so that the seed can be stored and dried adequately. This keeps the seed from rotting or molding in storage and ensures that it is dry enough to remain dormant. The process of fermentation also helps guard against seed-borne bacterial disease.
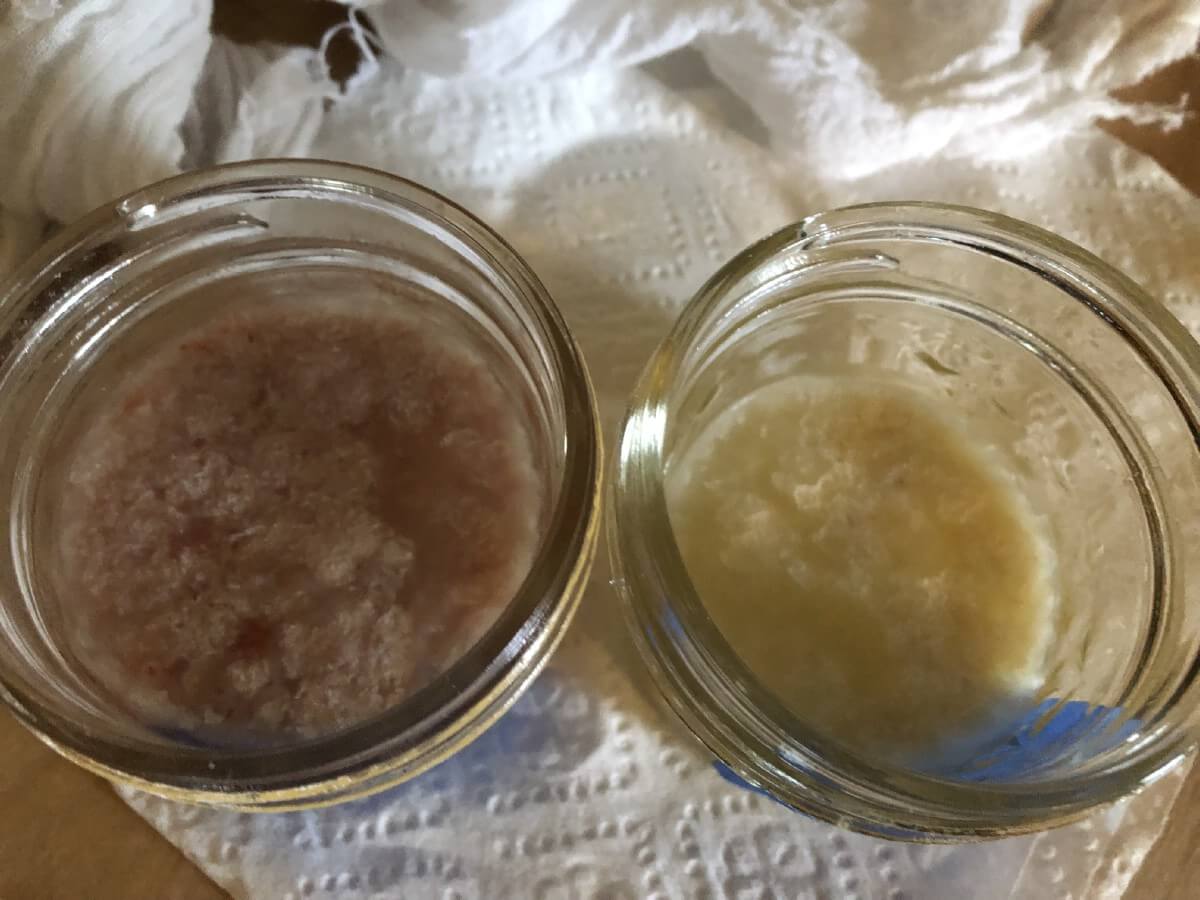
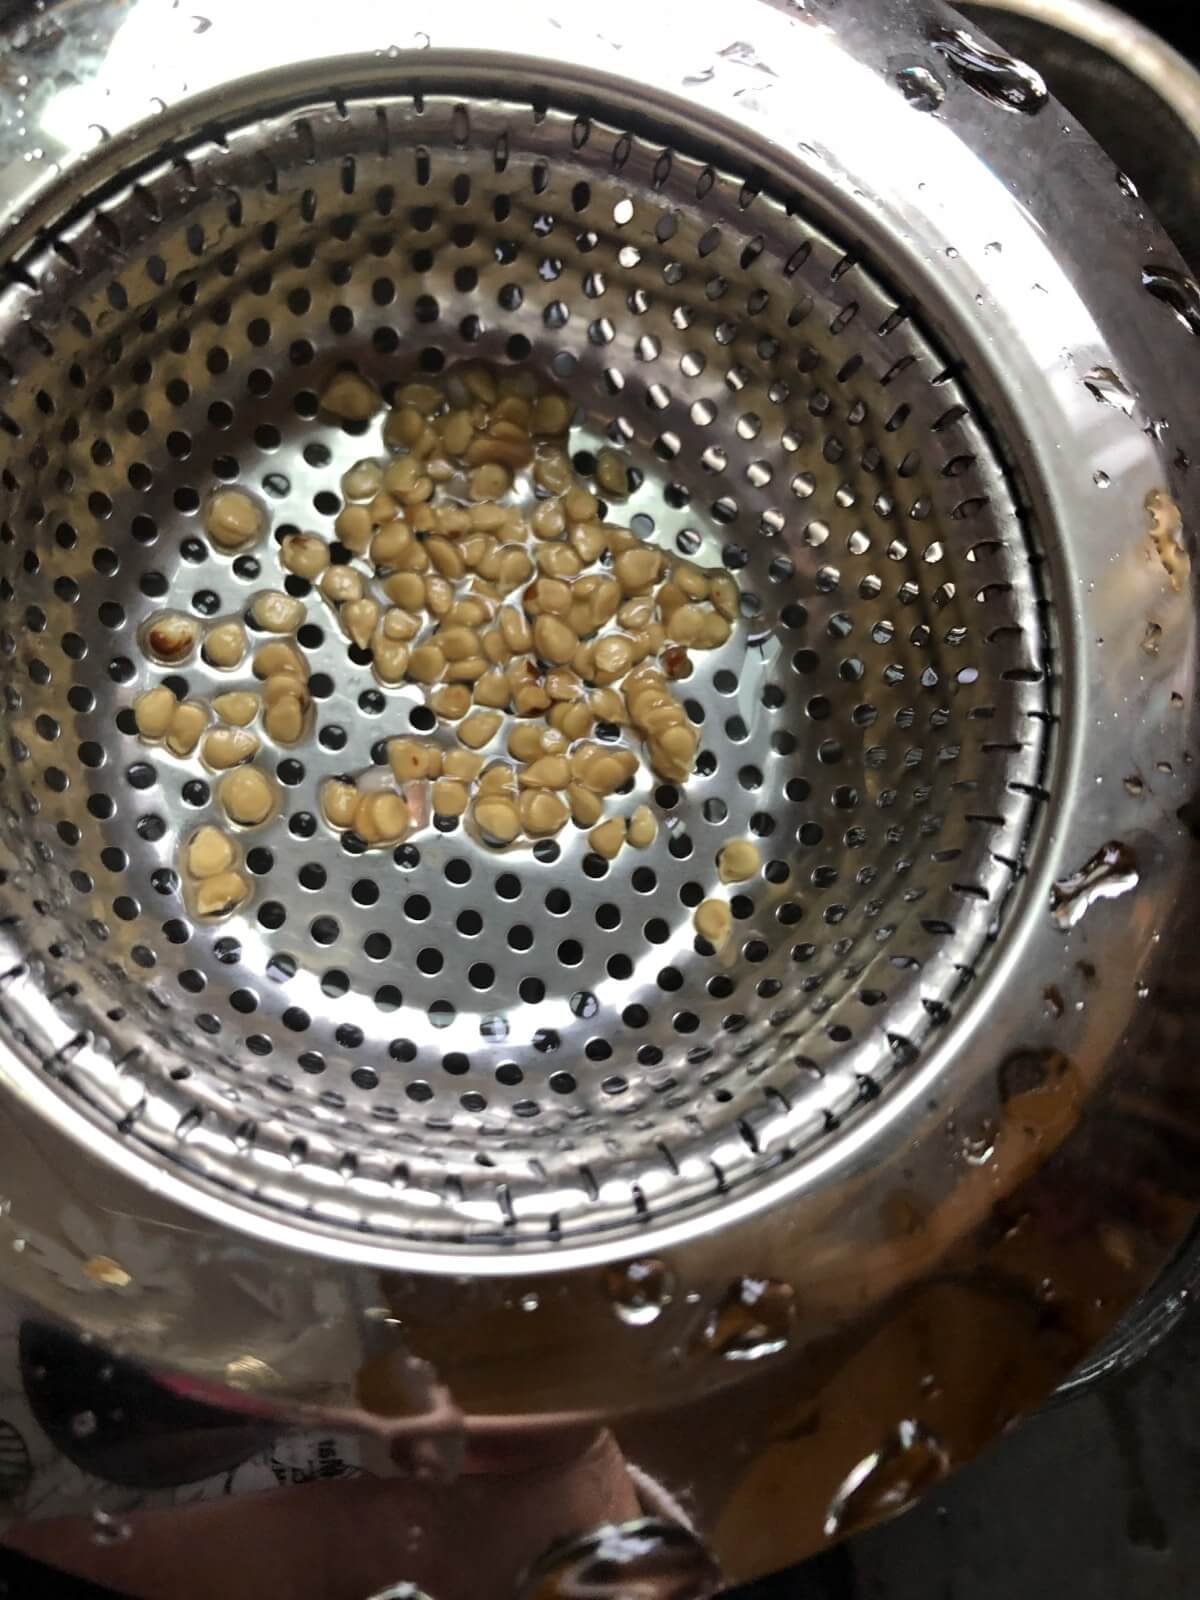
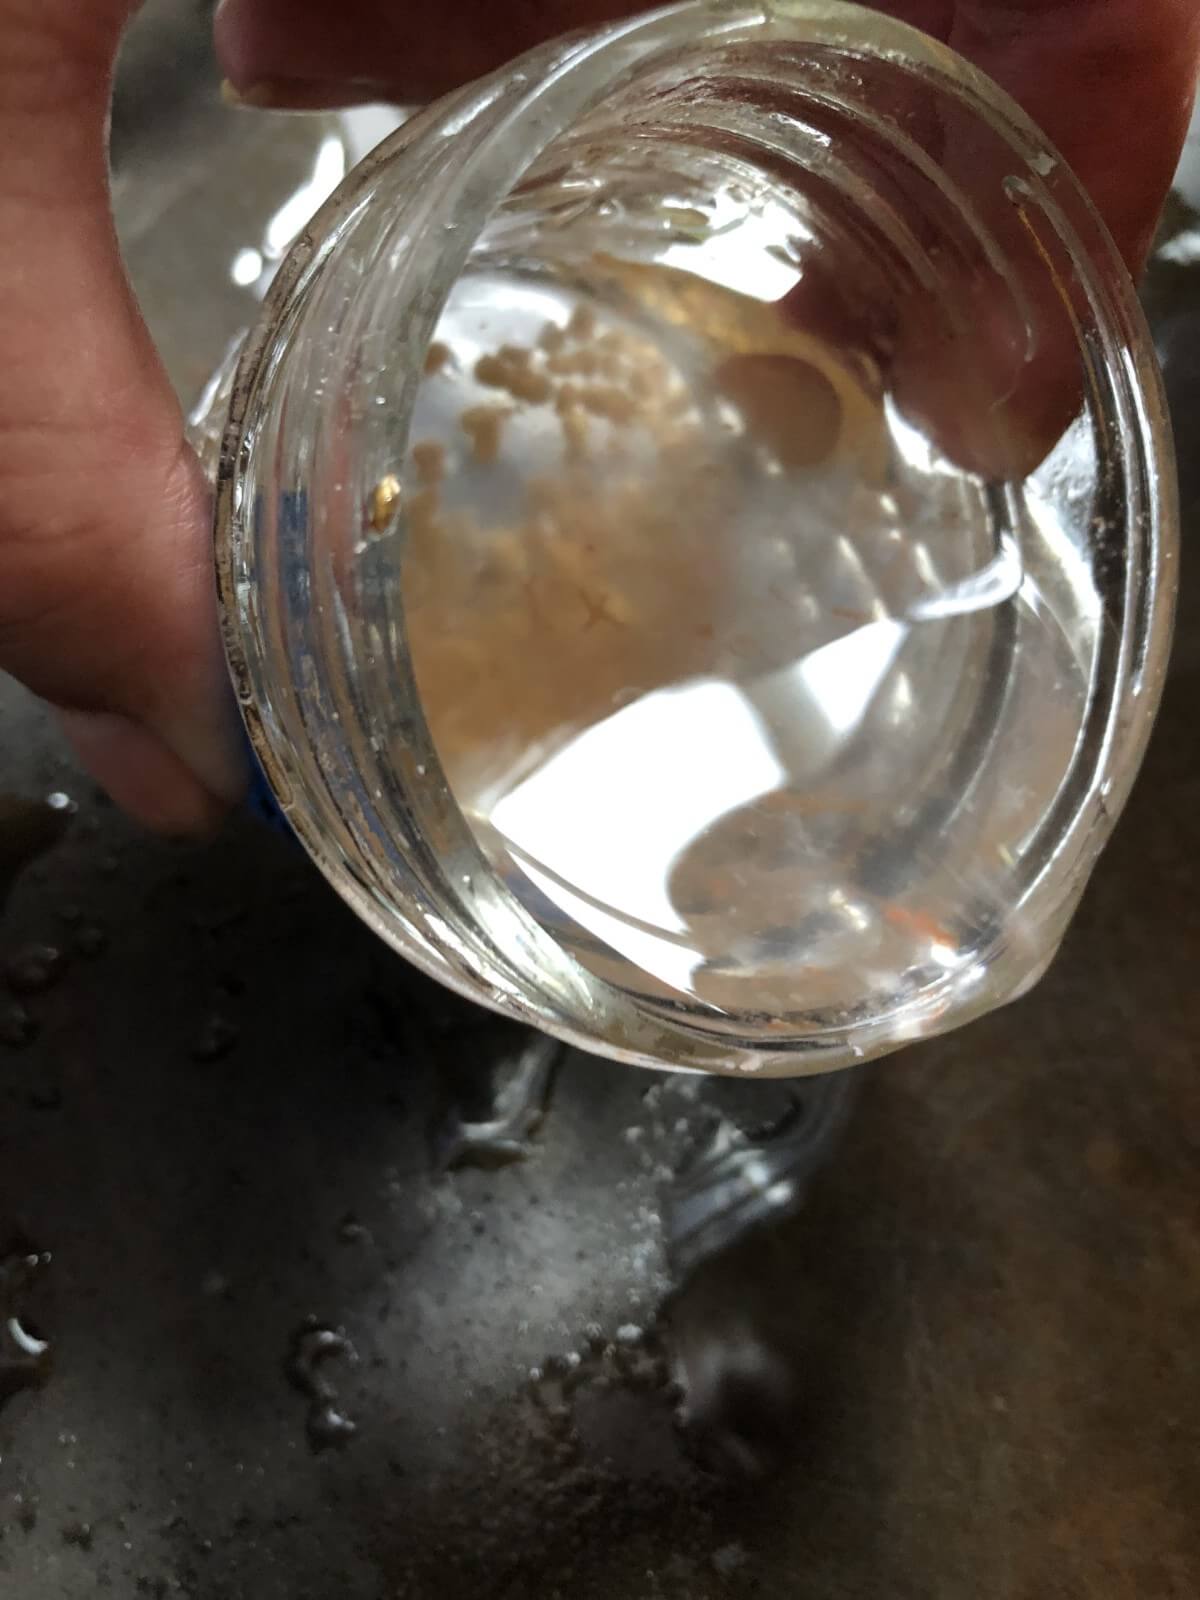
The most popular seeds you’ll want to save that have gel coatings are tomatoes. The way to remove the coat is to start a controlled, natural decomposition process and ferment the seed coats away. Start to finish, this takes about a week.
Here’s how to do it:
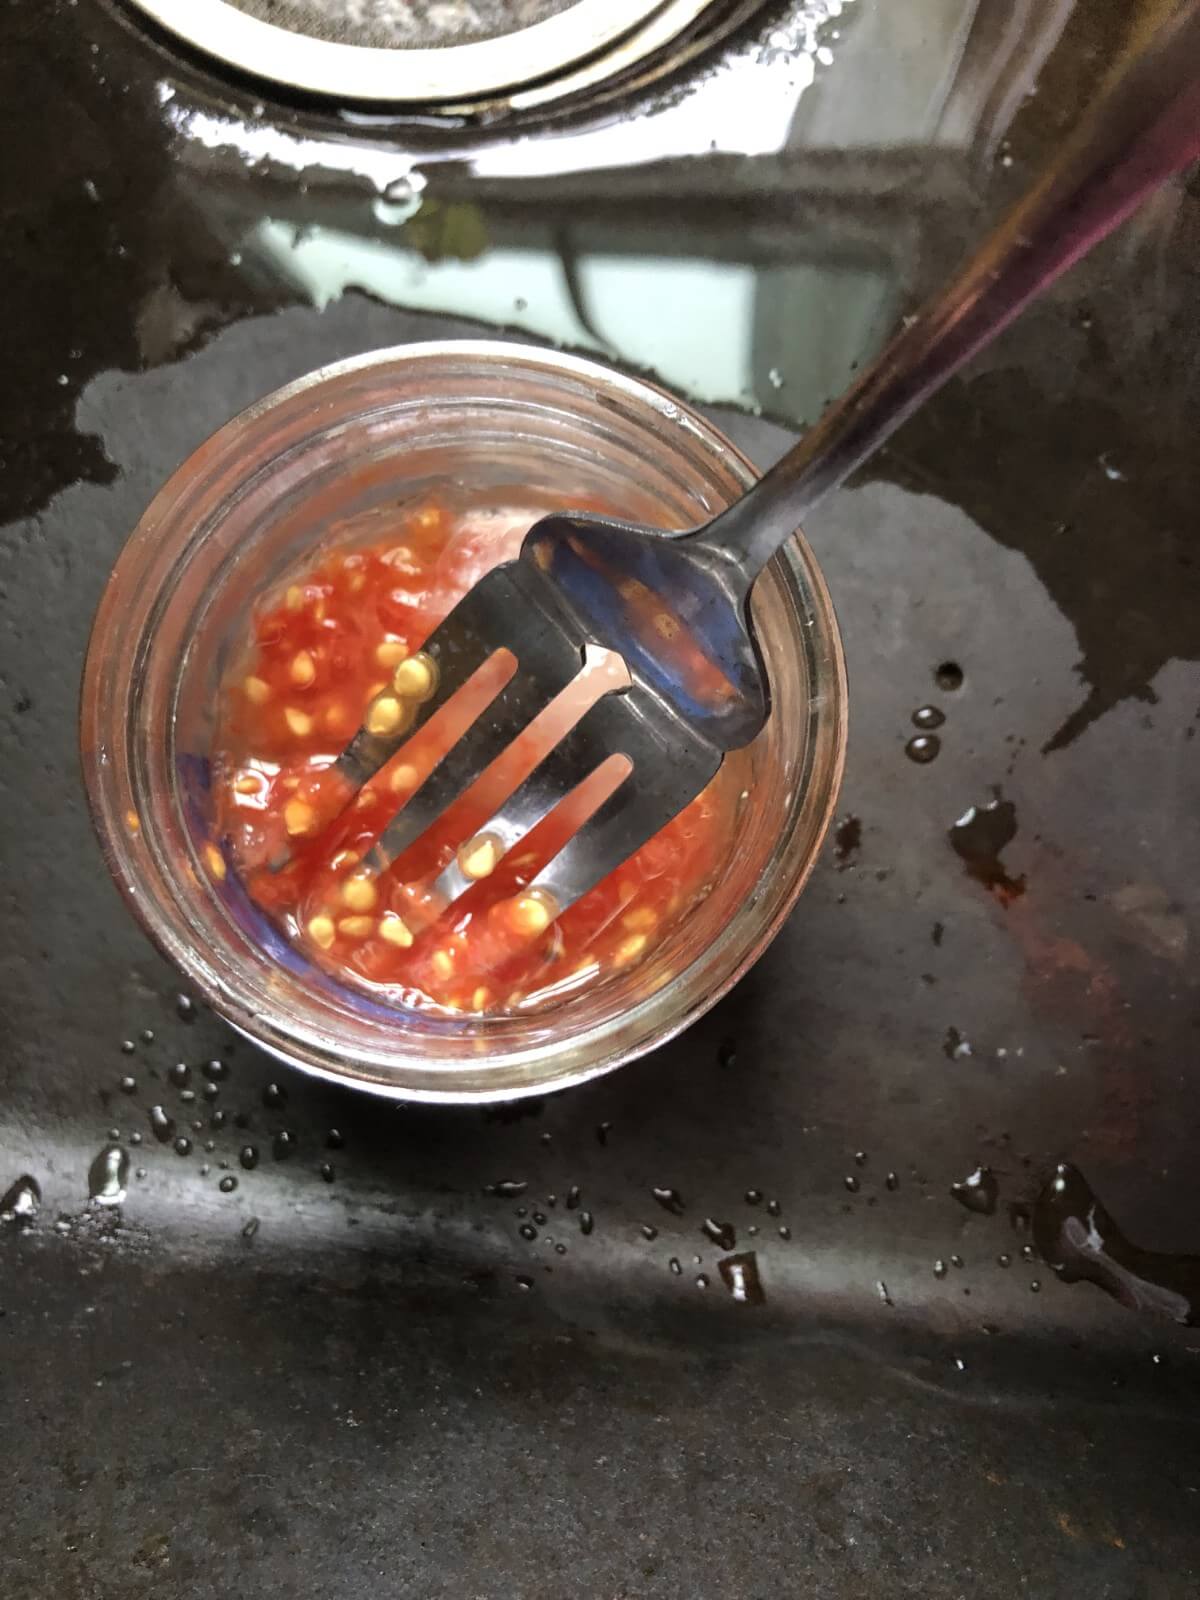
- Scoop or squeeze the seeds from the fruit into a small bowl.
- Add a small amount of water—for every one or two tomatoes, add around two tablespoons of water.
- Swirl, then let sit in a warm place (70F, 22C).
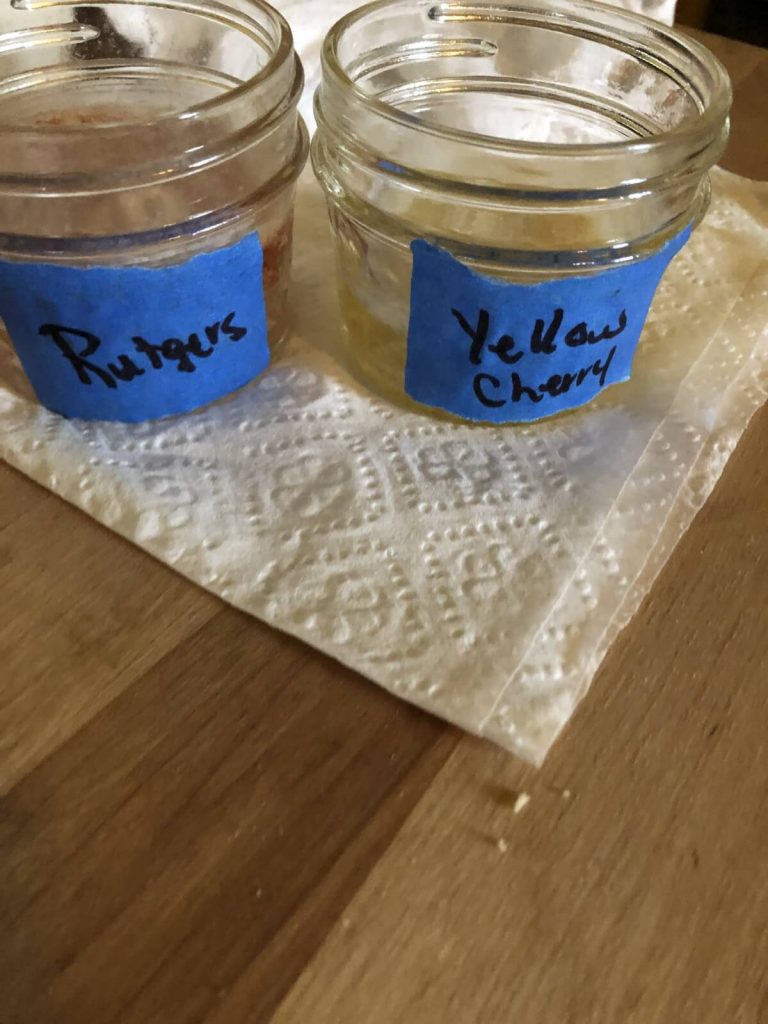
Stir the mixture a couple of times each day. You will note a not-so-pleasant odor and often a layer of scum on the top of the concoction, but this is all a normal part of the process that indicates fermentation is occurring.
Handling Small Encased Seeds
Some seeds aren’t really gel-coated but they may be firmly encased in the flesh of the vegetable, fruit, or berry. These are often tiny seeds and so trying to hand-clean these types can be tough. This is the case for many berries like blueberries, elderberries, blackberries, raspberries, et cetera. Tomatillos also fall into this category.
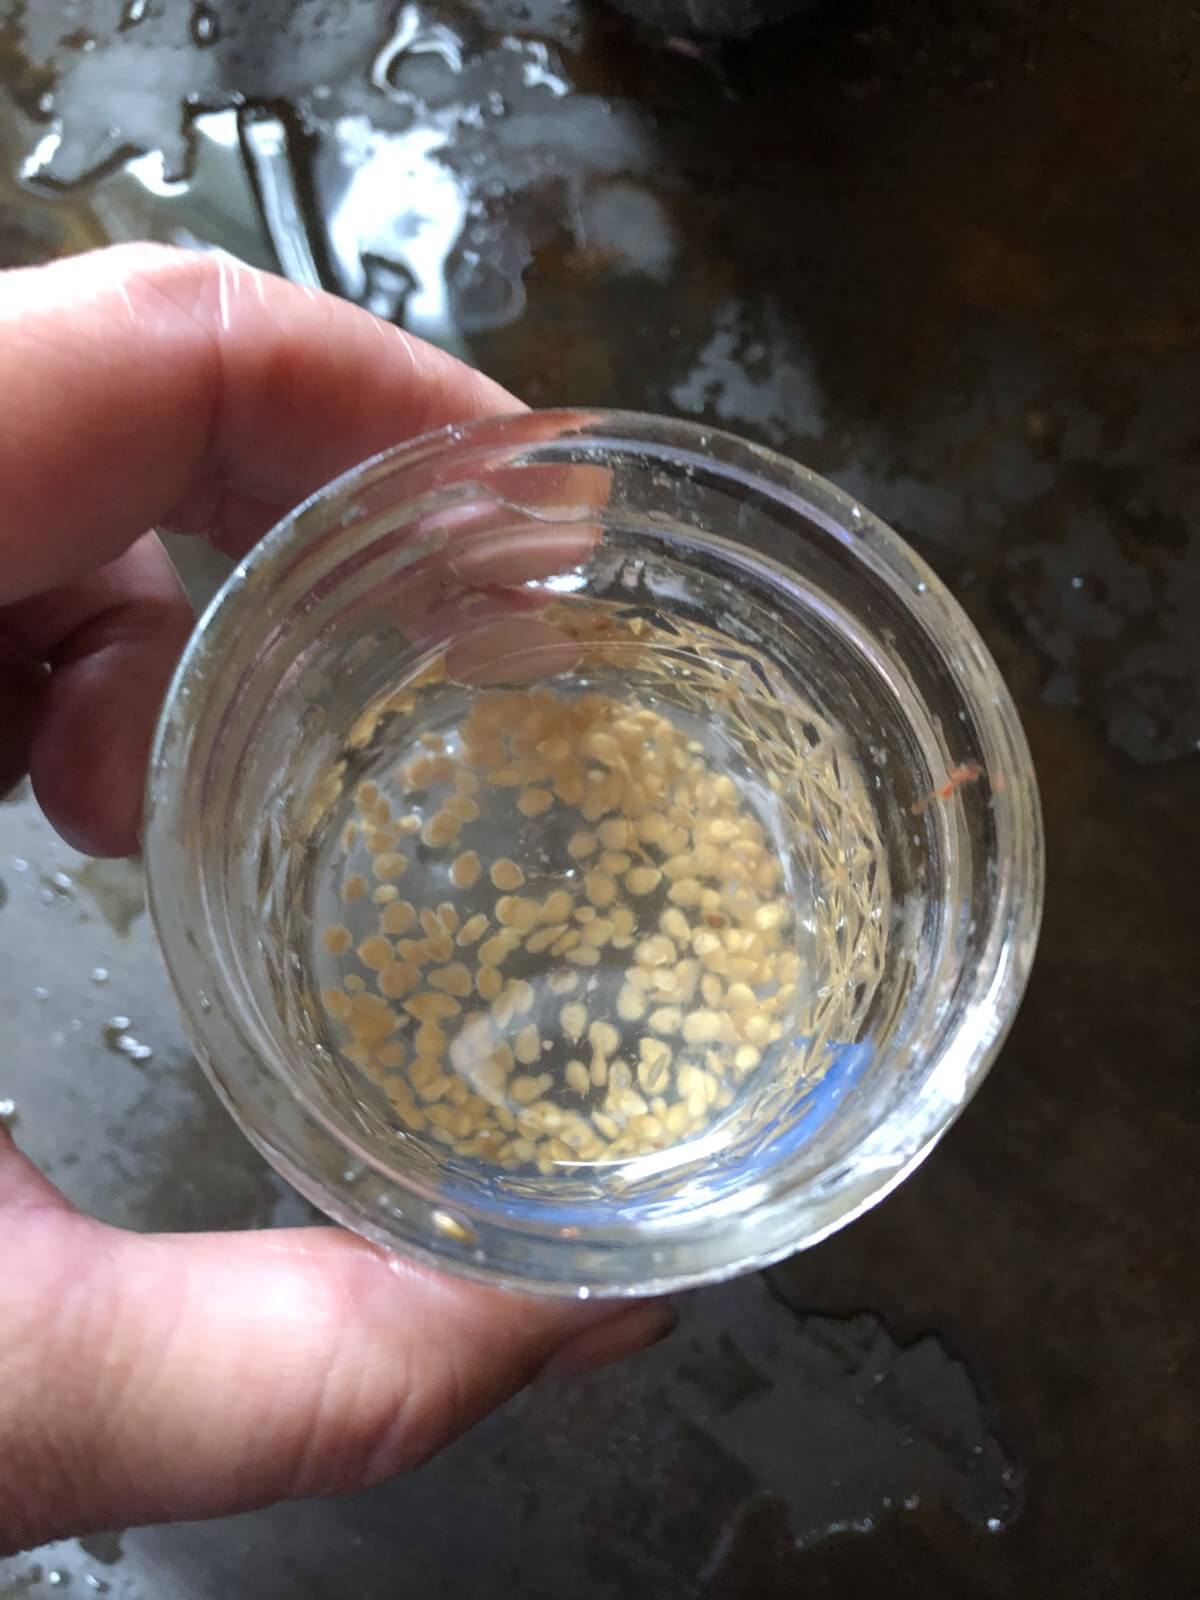
This blender method works well for cleaning and removing tiny, flesh-embedded seeds:
- Put fruit or berries in a kitchen blender, then cover with water.
- Blend until the water and fruit/berry pulp is completely blended.
A Note About Genetic Depression in Seeds
Genetic depression or inbreeding depression in seeds refers to a weakening of seed and plant performance over time that results from in-line breeding and seed saving from the same limited genetic line over and over. Some plants depress easily in just a generation or two—corn, for example—while others hardly if ever experience this type of weakening at all. Self-pollinating plants are genetically designed for in-line breeding so they don’t usually suffer much from genetic depression; that means that the seeds we’re focusing on for simple seed saving are less prone to this, anyway.
The way to combat genetic depression is to save seeds from several individual vegetables and plants for each type of seed that you are trying to save. So, if we take tomatoes, for example, it is best not to save seed from just one or two tomatoes, even though there are probably more seeds in a single tomato than you could need for the coming year or two or three. Select a few of the best fruits of the plant you want to save seed from, or the best fruits of two or three good plants, and mix and save them all together. This will widen your genetic pot, so to speak, and increase the chances of good genetics, good germination, and good plant viability and vigor. Extra seeds can also be stored for a future season, or swapped and shared with others.
Packaging and Storing Saved Seeds
There are many opinions on how best to store saved seeds. Some freeze them, some do not; some put them in plastic bags, some do not. The most important thing to know is that in order to stay viable your seeds need to be kept cool and dry. They should also be kept out of direct sunlight.
Paper envelopes work well because they will not sweat or condensate. Small paper coin envelopes are ideal. Be sure to label each envelope!
It’s usually best for packaged seeds to be stored in a moisture-proof container of some sort. So once your seeds are tucked away in their nicely labeled paper envelope, place the envelopes in a water-proof container. A plastic tote works well. Many gardeners like to keep their seeds in plastic photo storage or craft units because they have different compartments that make sorting and organizing easier.
If you are storing your seeds for use within a year or two, dark, dry space at around 60 F (15 C) or lower (or as near as you can get to it) will suffice. Under a bed in a cool bedroom or in a dark closet away from a heat source are good options. Cooler temperatures of 32 to 40 F are even better if you can achieve them without issues of condensation or moisture (so a cold garage can work well, but not if it tends to be damp).
If you save the desiccant packets that come with shoes, handbags, and other clothing items, you can add them to your storage containers to help absorb any rogue moisture or humidity. These can be dried out in a low food dehydrator or low oven to restore their maximum absorption capacity. Other container options that work well include vacuum-sealing the envelopes in a vacuum-sealer bag or storing envelopes in a clean, dry, air-tight mason jar.
For longer-term storage where you want to keep the seeds for more than one or two years, seal the seeds in moisture-proof freezer bags and keep them in the freezer. For such long-term storage, sub-zero temperatures (Fahrenheit) are needed (around -20 in Celsius).
Different seeds do have different “shelf” lives. Lettuce and onions, for example, do not germinate well after about a year and it is not generally recommended that you save them for multiple years, but rather start with a fresh batch each season (lucky lettuce is a pretty easy seed to save and onions can be once you learn to handle biennials). Squash and melons have a much better longevity of four to five years (though they are harder to save due to issues of cross-pollination).
One final note—though it may be a handy place, a greenhouse of any type, large or small, is NOT a place to store your seeds! Greenhouses and growing areas are far too warm, too moist, and too light to save seeds well and maintain their viability.
Final Thoughts for Simple Seed Saving
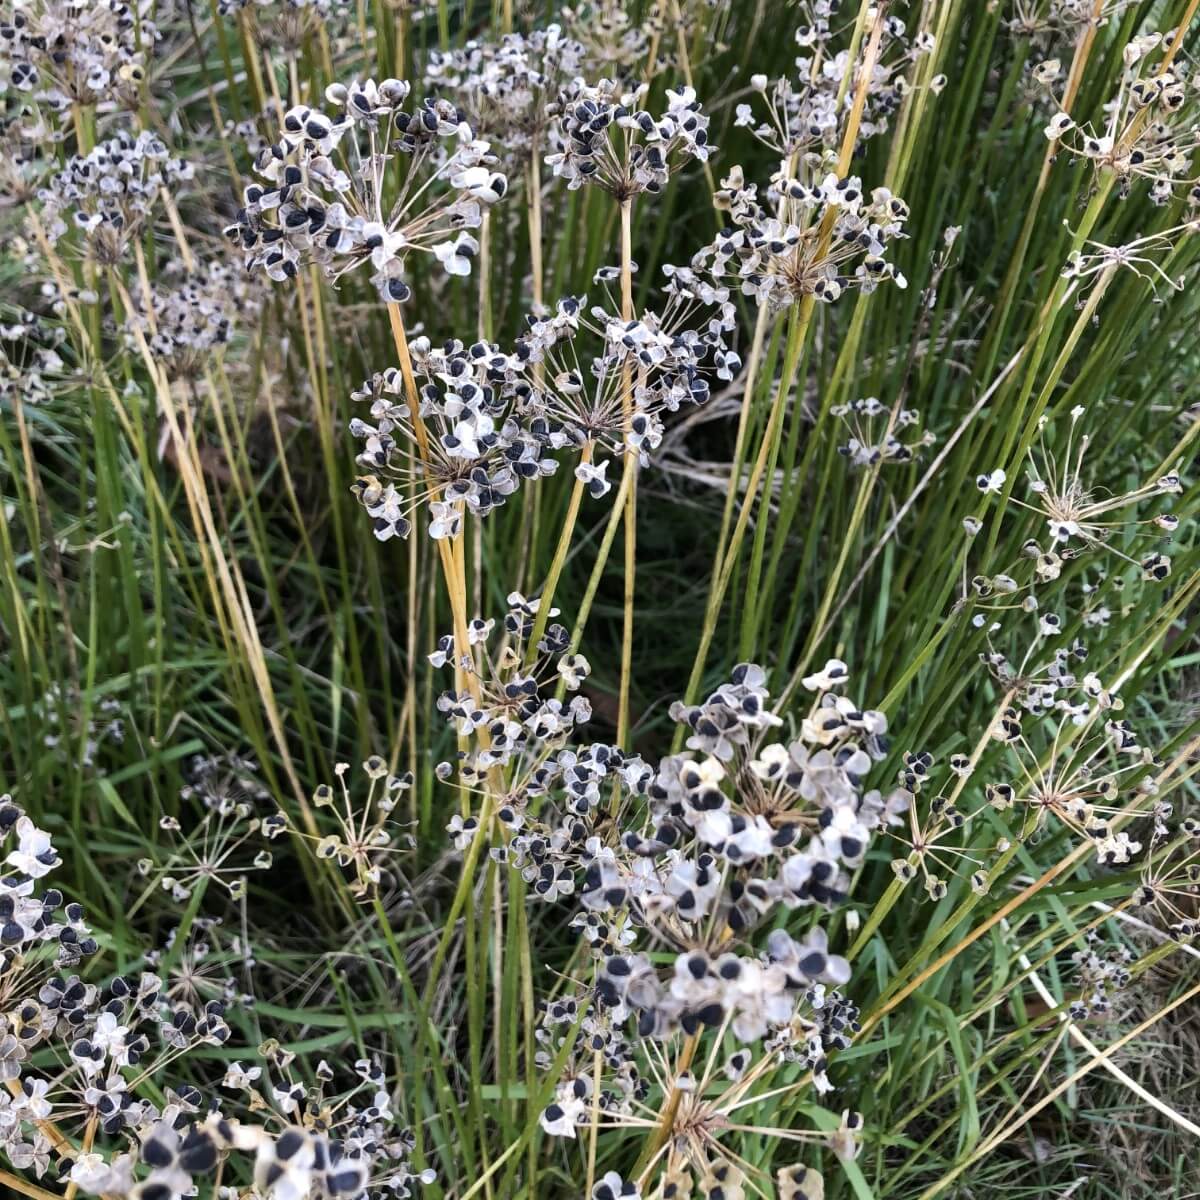
Though saving seeds may be overwhelming at the outset, it’s truly easier than it seems. Start small with the simpler seeds without worrying over cross-pollination and seed distortion. Plant single varieties of vegetables and plants so you don’t need to worry about it being an issue. Get yourself a good reference or references to fall back on (we can recommend The Complete Guide To Saving Seeds by Robert Gough and Cheryl Moore-Gough). Seed catalogs and websites of quality seed suppliers are top-notch resources, too. You might be surprised at the free education they offer!
When you’re ready to move on to more complicated plants and seeds, use simple isolation techniques like garden row covers, caging, the timing of planting to stagger flowering and pollen, garden planning to use taller crops as isolation partners, and so on.
Seed saving can become addicting once you’ve started. You’ll fall in love with how independent and self-sufficient you and your garden are; you’ll enjoy the cost savings. You’ll appreciate knowing that you are helping to maintain a strong and diverse plant community. Save a seed today and enjoy growing and learning alongside your new, interesting, garden hobby!


Mary.Coakley
I am so enjoying your emails you are a font of knowledge I am learning lots Thank.you