Here’s the problem. You have a gorgeous, huge antique rose blooming its head off in your yard … but now you’ve got to transplant it.

Perhaps you’re relocating due to moving, and you don’t want to leave your great-grandma’s rose behind. Or maybe you see an heirloom rose on a construction site that’s on the verge of being bulldozed. Or perhaps the tag said this rose grew only 4 feet tall, but for some reason, it decided that 10 feet tall was more accurate.
Transplanting a rosebush might sound like a scary option that might kill off your rose. It also might sound like a lot of work.
Neither of these need to be true.
If you follow these steps, you’ll give the rose a strong chance of survival while also making the task as easy as possible.
Jump to:
- List of Supplies
- 1. Choose the Right Time for Transplanting Your Rose
- 2. Select the New Planting Site
- 3. Dig a $100 Hole for the Transplanted Rose
- 4. Clip and Tie Back the Rose for Transplanting
- 5. Digging Up the Rose
- 6. Wrap Up the Rose Rootball
- 7. Setting the Transplanted Rose in Its New Home
- 8. Post-Transplant Rose Care
List of Supplies

Here’s what you’ll need to dig up and transplant a mature rose:
- Several 5-gallon buckets of compost
- A cup of organic soil amendment, like kelp meal (optional)
- Rose pruners
- Loppers (for big rose canes or roots)
- A sharp spade
- A shovel
- A large piece of burlap, or an old tarp, to wrap the rootball in
- An extra tarp to put the soil upon as you’re digging
- Water
- Mulch
Now, let’s get started.
1. Choose the Right Time for Transplanting Your Rose
Late fall or winter (when the soil isn’t frozen) is generally considered the best time for transplanting roses. Naturally, fall has much milder temperatures, which makes it easier on the rose (and on you). The transplanted rose also has a longer time to recover before putting on new growth in spring.
However, there are urgent situations in which a rose must be moved, regardless of the season. The key is to prepare for the process and follow these steps.
2. Select the New Planting Site
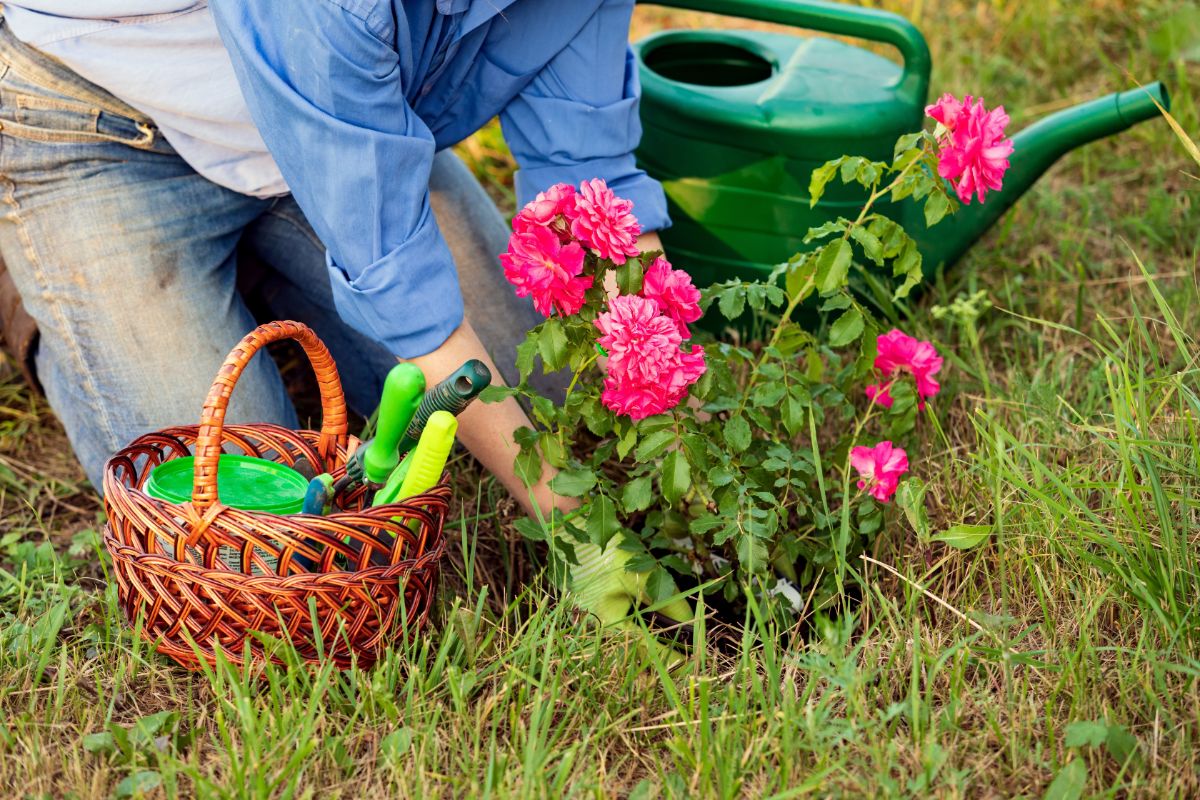
Don’t dig up the rose just yet. First, choose the new planting site, one with full sun for at least 6 hours a day with well-drained soil. If possible, choose a site where a rose hasn’t recently been growing. Roses tend to deplete the soil of nutrients and minerals. Old rose soil could harbor diseases and pests that would affect your new rose.
Then, once you’ve found a good planting site, dig the hole for the rose.
Digging the hole first will make your rose transplanting task a thousand times easier. Believe me, after you’ve wrestled a gigantic rose rootball out of the ground, the last thing you want to do is dig a second gigantic hole. By digging the hole first, you’ll be able to haul the rose rootball over and drop it in.
3. Dig a $100 Hole for the Transplanted Rose
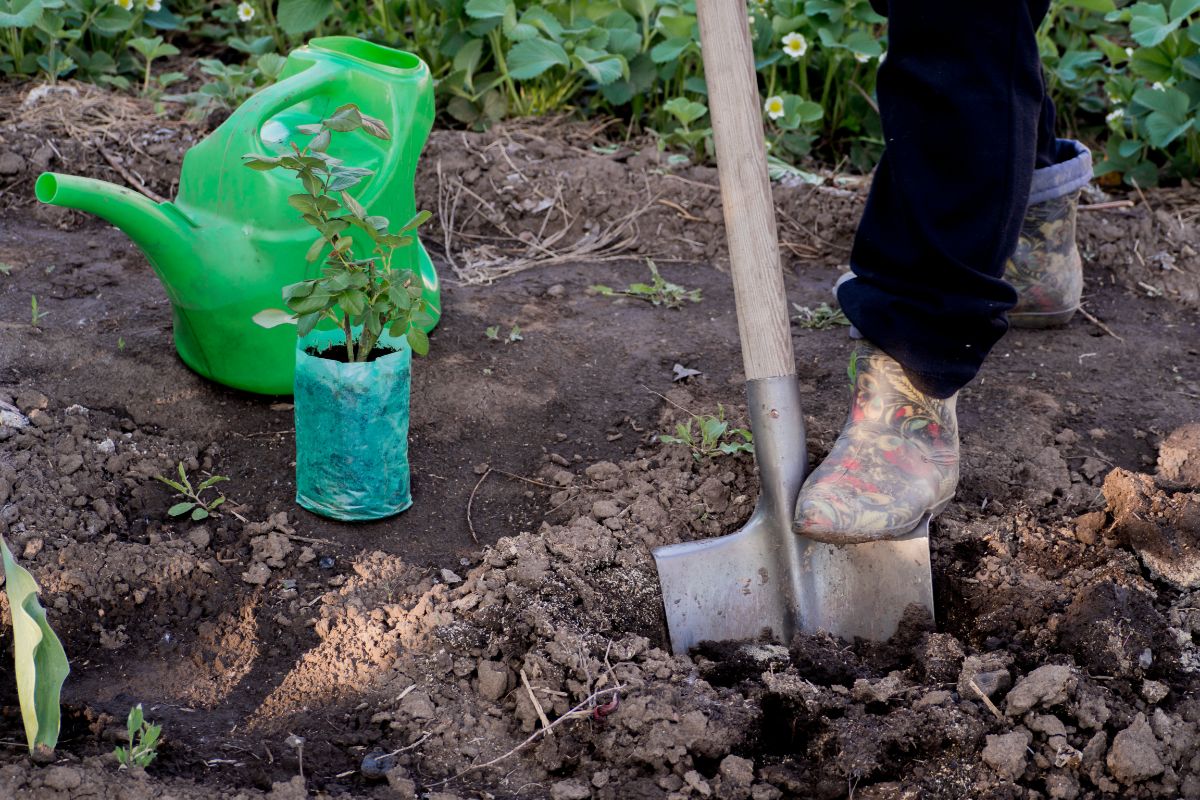
Make sure the hole is spacious enough to comfortably accommodate the rose’s rootball while keeping the bud union (if present) around three to five inches below ground level. A hole that’s 2 feet wide and about 1.5 feet deep might be deep enough to accommodate the rootball. Get rid of half of the soil. Mix the rest with compost and maybe a cup of soil amendment like kelp meal, and set it aside.
Protip: When you dig a hole, lay a piece of tarp next to it and put the dirt on it. This makes it easier to deal with the soil or mix compost with it. Then when you’re finished planting, you can cart any leftover soil elsewhere, leaving your work area nice and tidy.
4. Clip and Tie Back the Rose for Transplanting
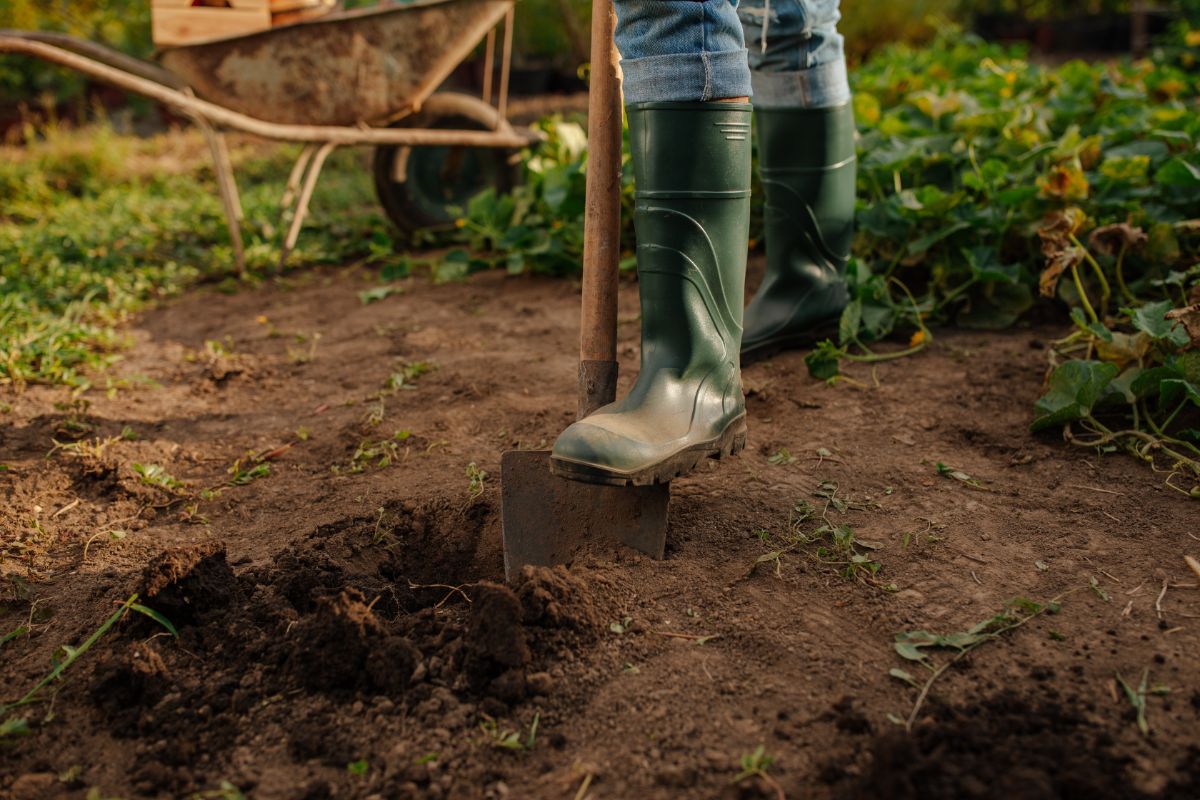
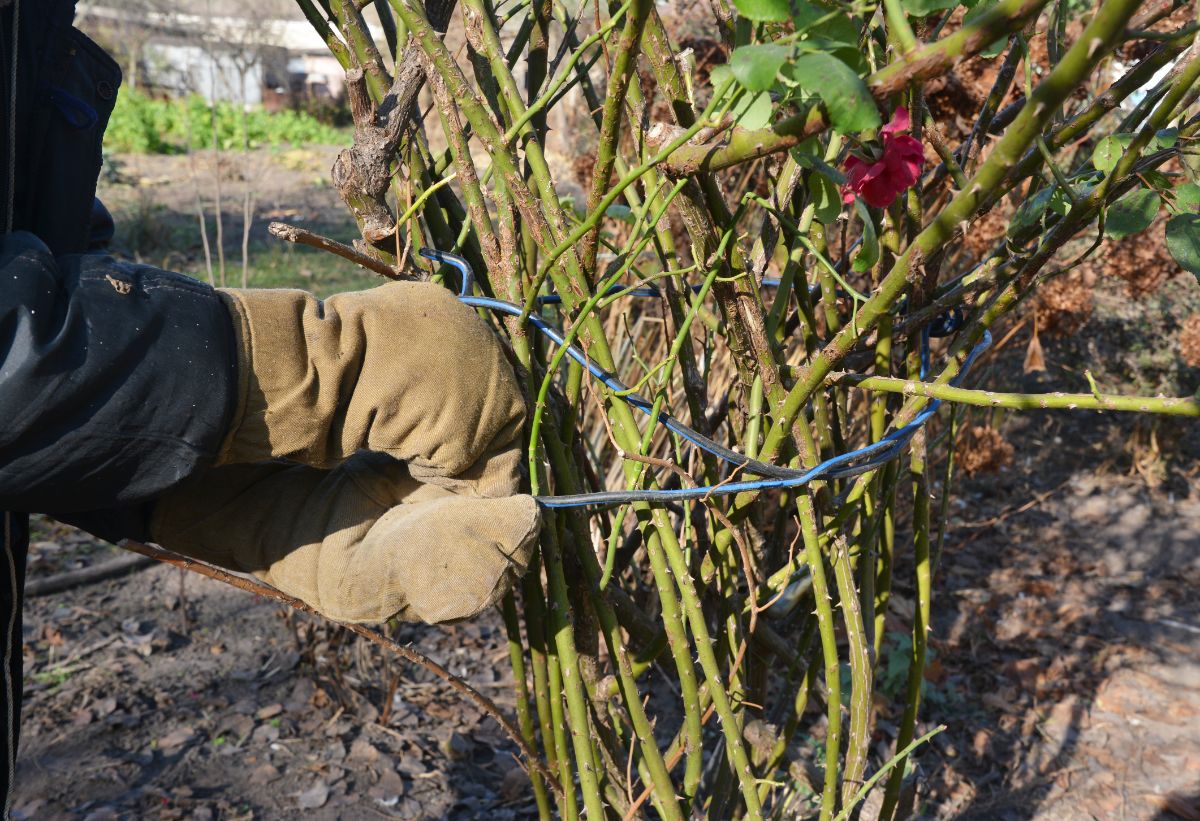
To make the transplant easier on the rose – and on you – trim it back. Remove deadwood. Cut out old canes that aren’t putting out new shoots, as well as slender twigs and crossed canes, and open up the center of the rose.
Cut back the entire rose bush by approximately one-third to half its size. It will help the rose to be cut back because you’ll be drastically reducing its root size, and the shortened roots will have to work much harder to support the top half.
Then tie up the rosebush with some rope or twine to keep the canes out of your way during the transplanting process. Don’t pull the rope so tight that the canes break!
5. Digging Up the Rose
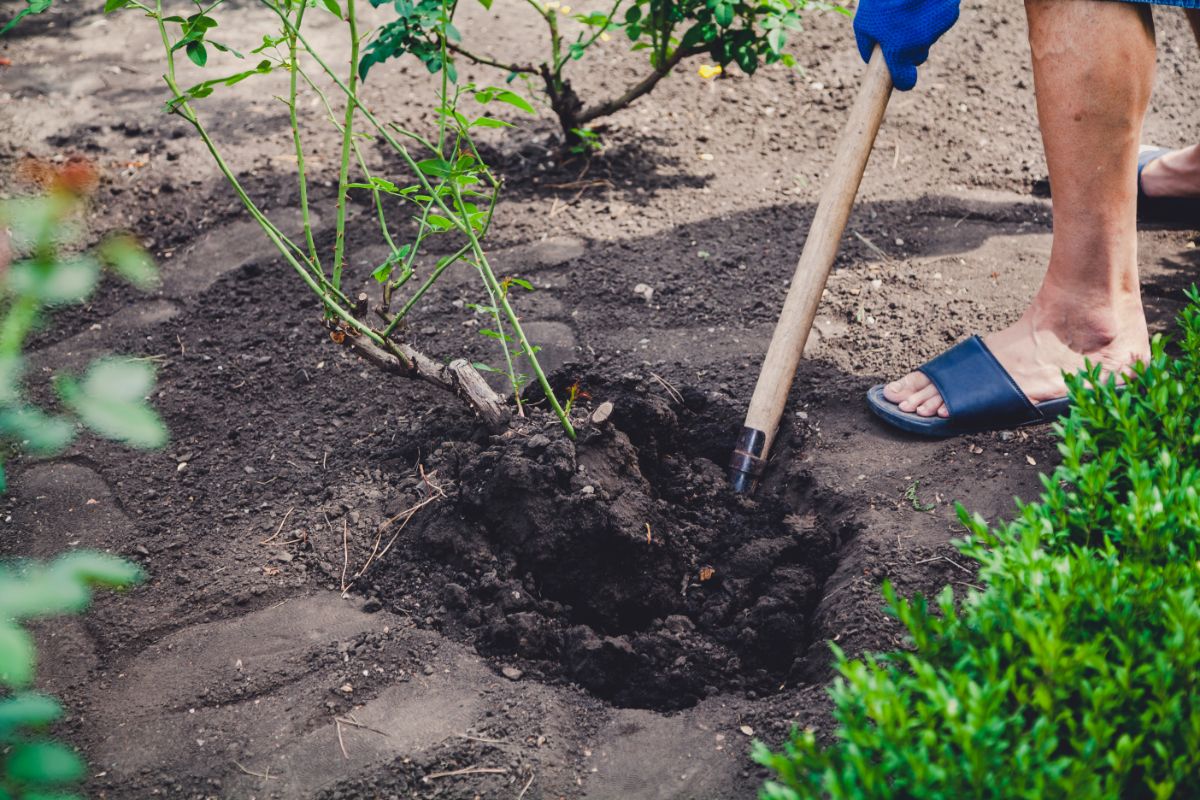
Now grab your shovel, along with the burlap, to wrap the rootball in. Using a sharp spade, cut into the ground around the rootball, less than a foot from the center of the rose. You might run into roots that are too large for your shovel to cut through. For these, you might need to go in with pruning shears or limb cutters.
Now set the shovel into the cuts you’ve made, and work your way around the rose again, levering it up a little at a time. I’ll generally cut out some of the surrounding soil in order to get the shovel further underneath the rose and to work in the loppers to cut stubborn roots underneath. Slowly you’ll work the rose back and forth, getting more of the soil and roots.
Sometimes the process can take longer if there’s a mystery root that you can’t find in the soil underneath the rose’s rootball. There was one rose that we could roll around in the soil but couldn’t pull out. I finally went in with a trowel, probing the dirt until I found the hidden root right in the middle of the rose, still holding it in place.
6. Wrap Up the Rose Rootball
Once the rootball is freed, lean the rose hard to the right and push a wet sheet or burlap into the hole next to it. Roll the rose around and put more of the burlap under it, and repeat the process a few times until you have enough of the burlap under it.
Put one foot on the burlap next to the hole, then hoist the rose out of the hole onto the sheet. (A buddy working on the other side will make this part easier.) Wrap the rootball in the burlap.
If the new hole is nearby, you might be able to drag the rose there, rootball and all. A wheelbarrow might make transport easier.
If you’re going to drive the rose to its new home, wrap the burlap in a garbage bag or a tarp to keep it from drying out. If it’s a smaller rose, you can just carry it in a large pot.
7. Setting the Transplanted Rose in Its New Home
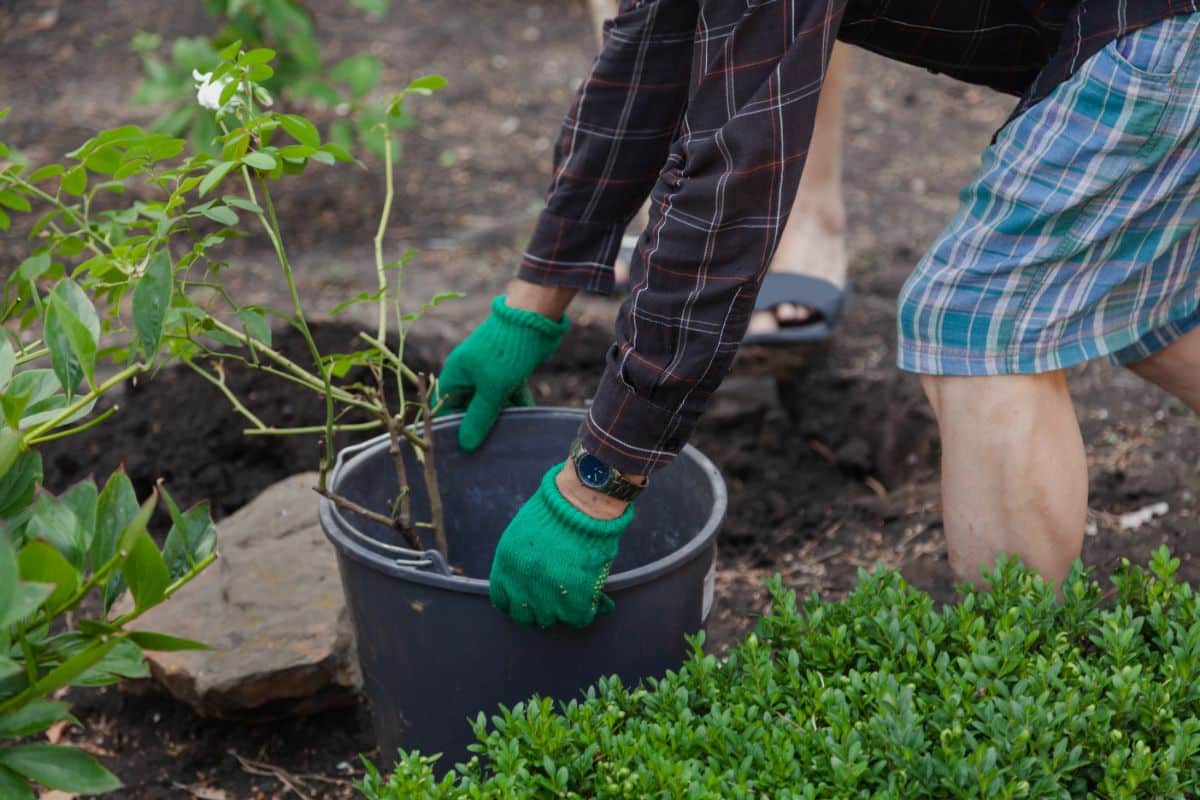
Take the rose to the new planting hole. Use your shovel handle to measure the height and width of the rootball and compare it to the hole you’ve dug. Make sure the bud union will be an inch or two below ground level when the rootball is placed in the hole. Expand the hole if necessary.
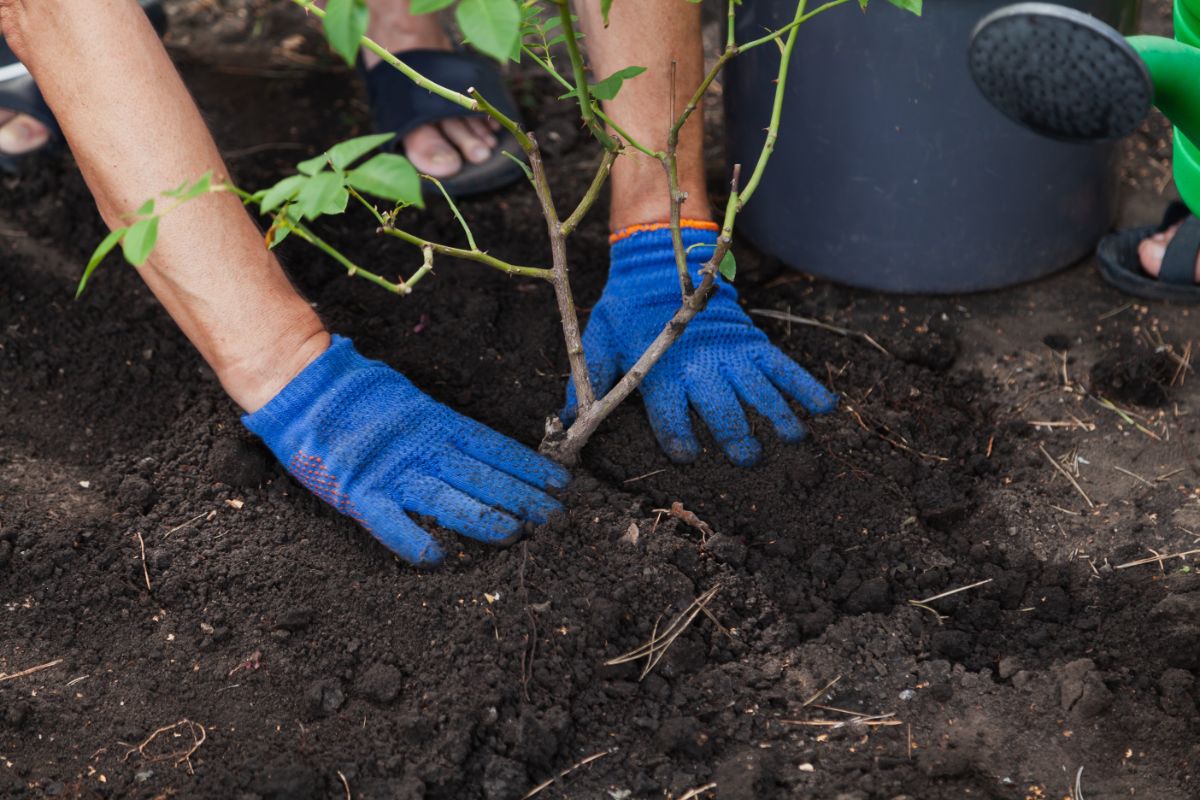
Once that’s done, slide or lift the rose off the burlap and guide it into the hole. Gently position the rose in the hole, then backfill the hole with the soil/compost mix you created earlier.
With some of the extra soil, create a saucer shape around the plant to keep the water in place. Water the rose generously, and add more soil if the dirt in the planting hole sinks while it’s being watered. Once that’s done, add a thick layer of organic mulch.
8. Post-Transplant Rose Care
After successfully transplanting the rose, it’s essential to provide ongoing care to help the rose live its best life.
Be sure to water the transplanted rose deeply every week. Turn the hose on to a trickle and let it run for about 30 minutes (but don’t forget it’s on). Or use a soaker hose so it is watered deeply.
A neat trick is to mist the rose daily for the first two weeks. The rose will be able to take in water through its leaves, so this will help you make sure that it stays fully hydrated until its new roots form.
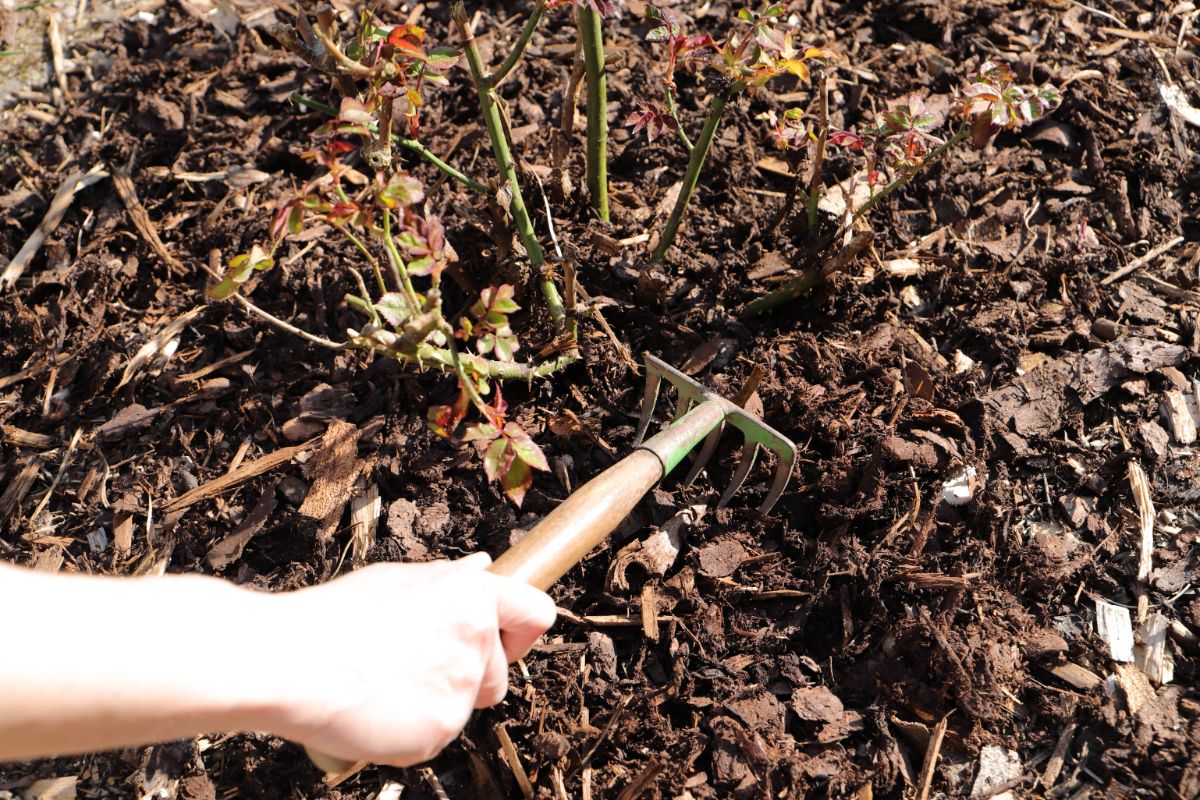
Regularly monitor the transplanted rose for signs of stress, such as wilting or discoloration, and give it a little extra water.
Following these steps will help your transplanted rosebush thrive.



Leave a Reply